
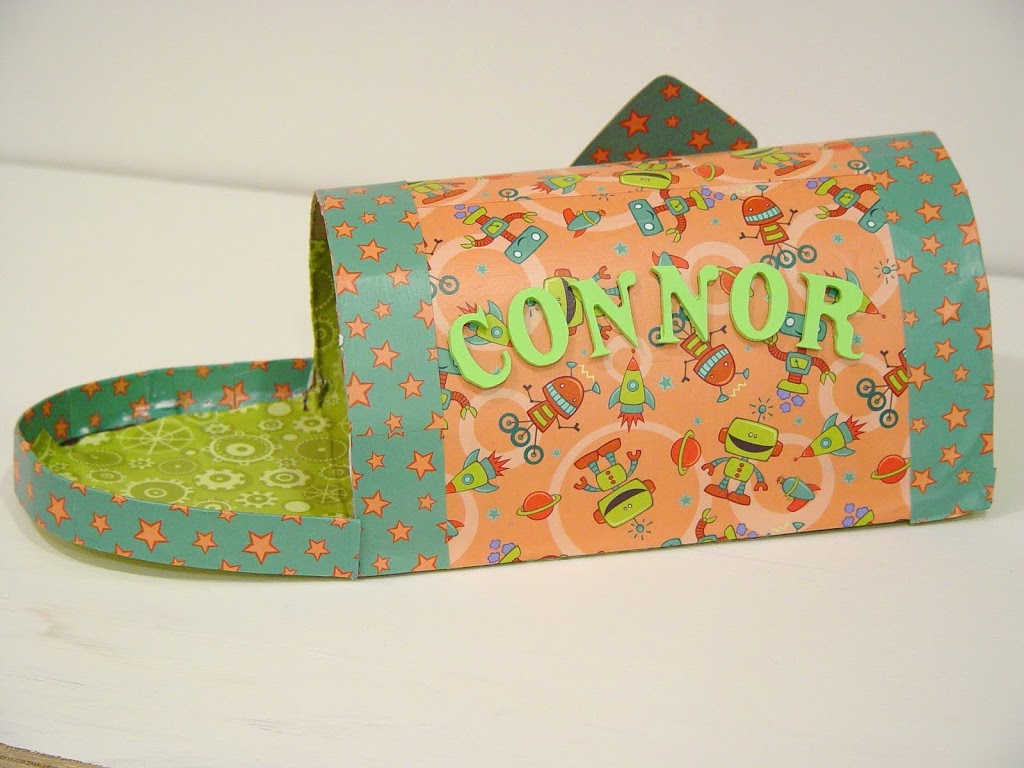
Yesterday my son came home from school with an announcement about a Valentine’s Day party they would be having. He needs a decorated box with a slot for mailing Valentines and an opening to open the box so that he can retrieve his Valentines and his name has to be on it. I think I went a bit overboard, but I sure had fun. I thought you might like to see what I did.
Need: 2 cereal boxes, glue gun, good scissors, scrapbook paper, mod podge, x-acto knife.
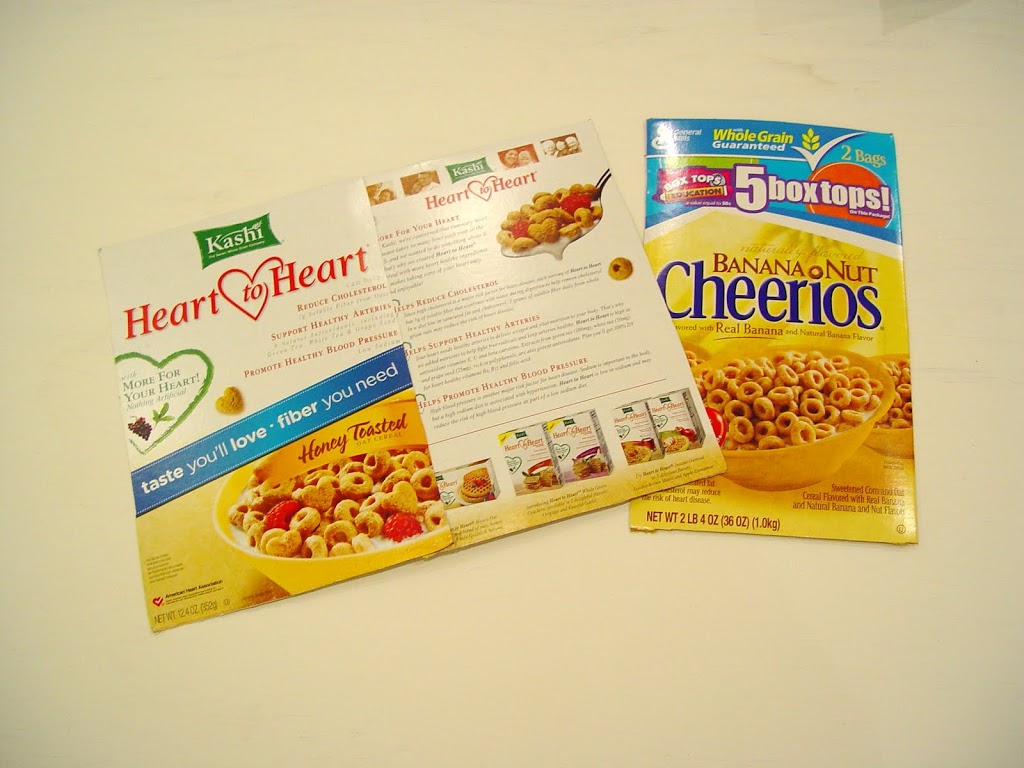
Cut two rectangular pieces from the cereal boxes. It can be any size depending on how big you want your mailbox. I used 10 3/4″ x 14″ (top) and 6 3/4″ x 10 3/4″ (bottom). For the top piece, I had to glue two pieces of cardboard together.
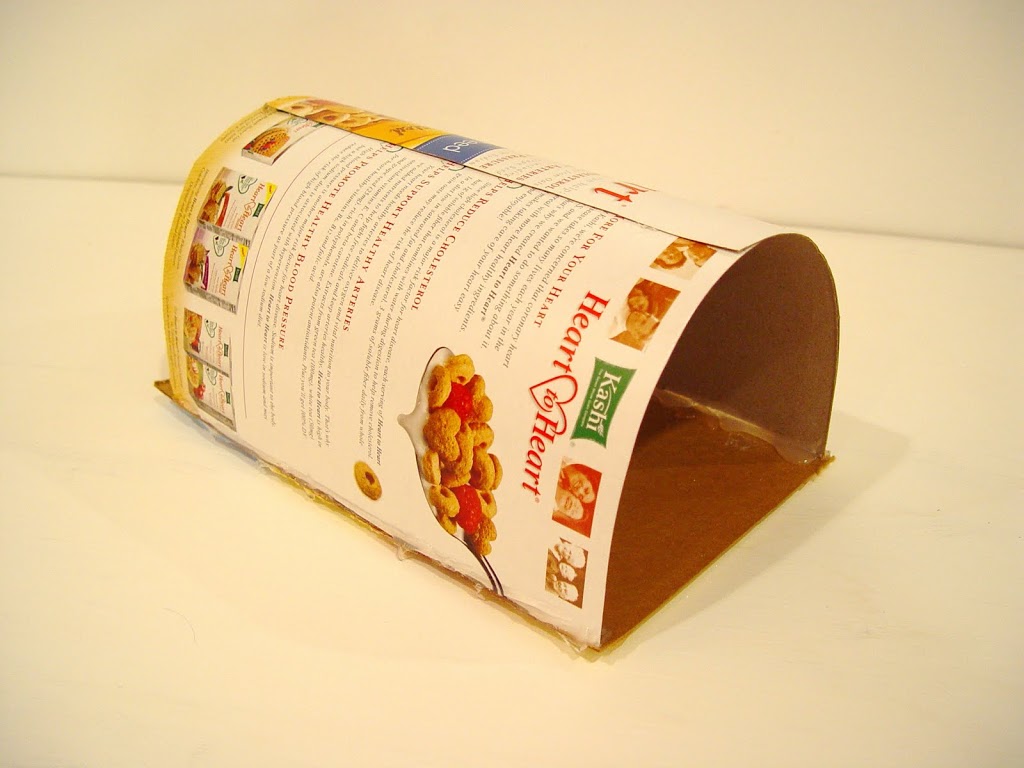
Using a glue gun, glue pieces together creating the mailbox basic shape. Don’t worry if it’s not perfect, you can trim it later and your scrapbook paper will hide some of the imperfections.
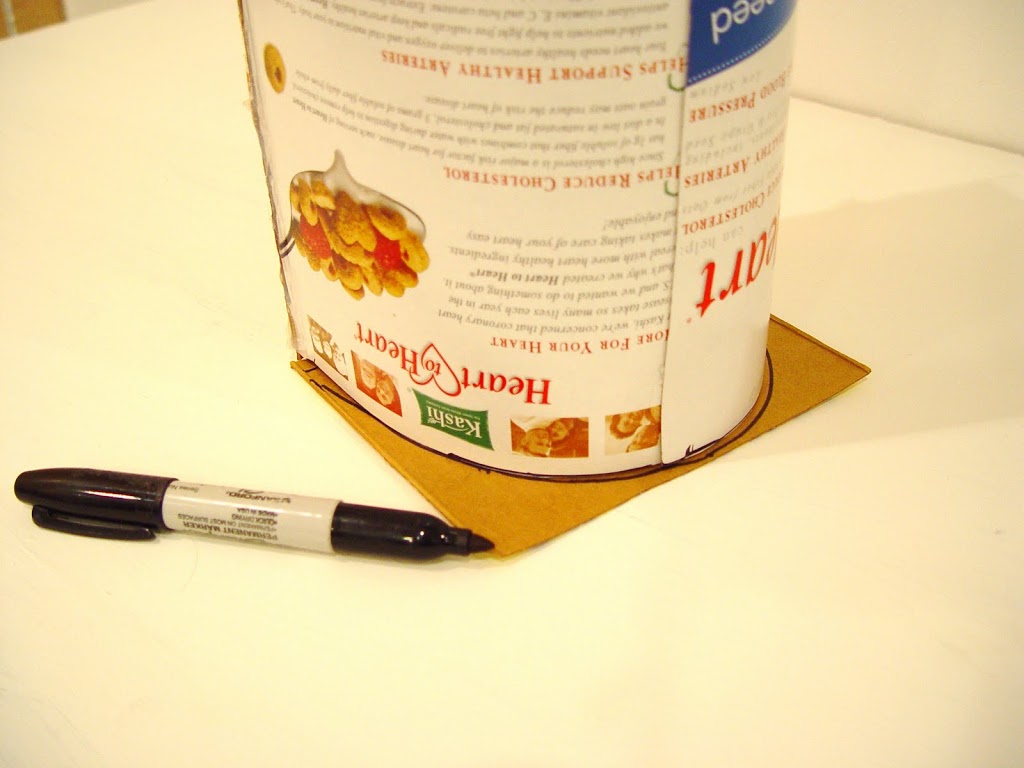
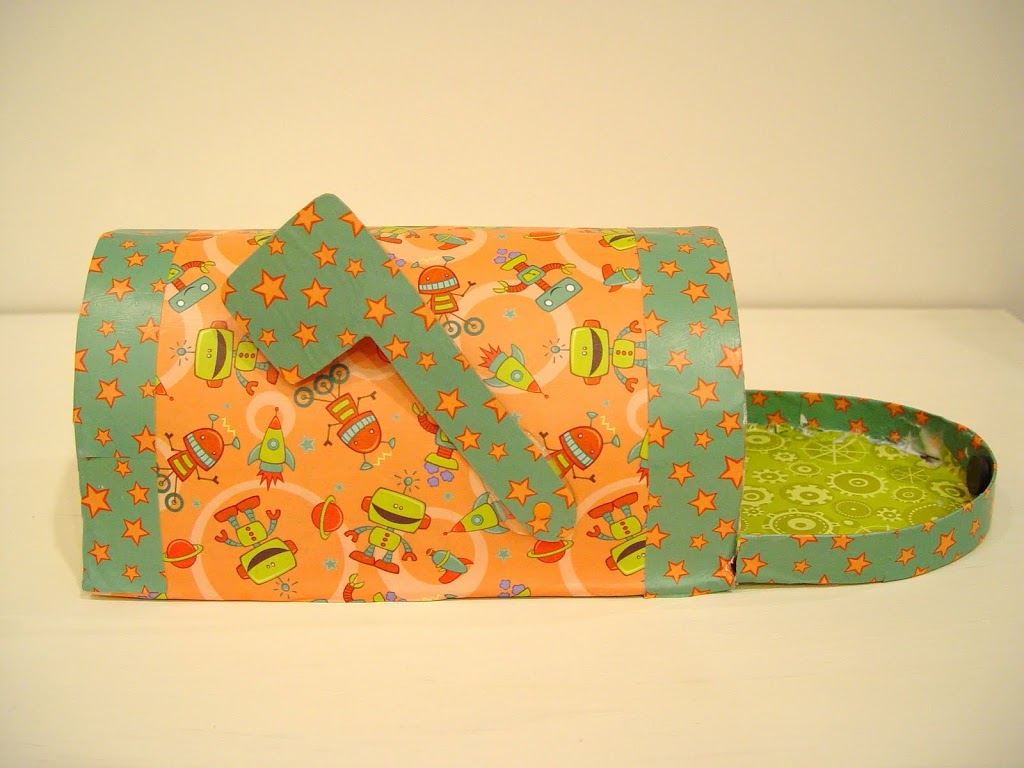
Place on end and trace a pattern for end of the mailbox and cut out.
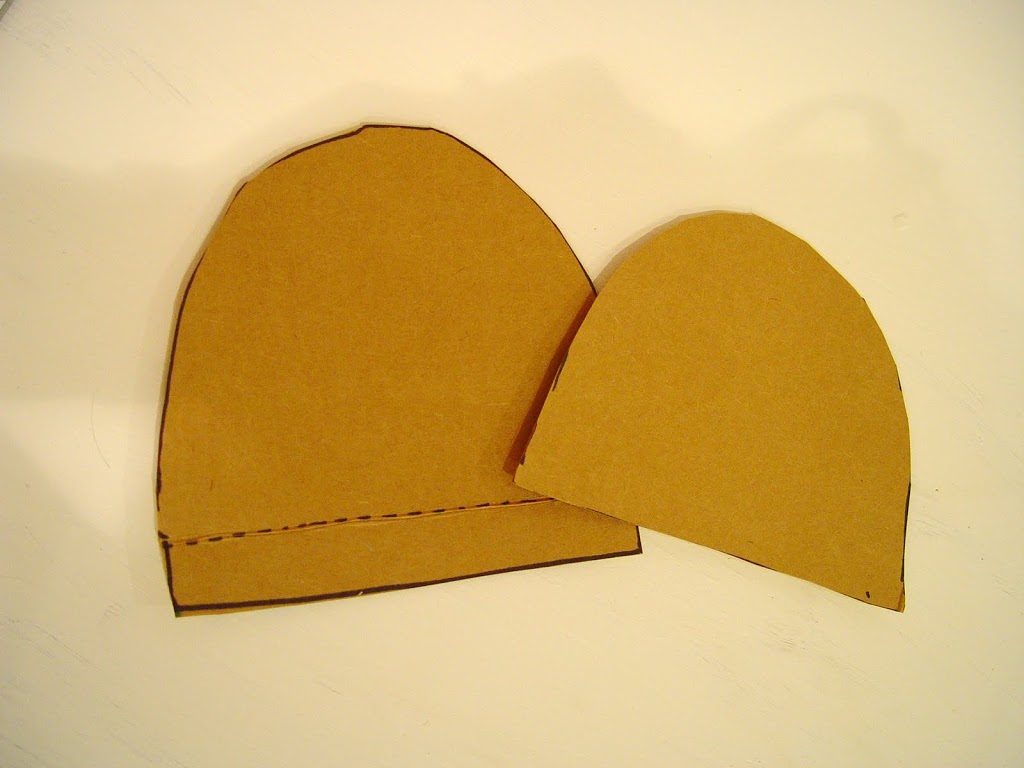
Repeat for the other end of the mailbox but add 1 – 1.5″ to the straight edge. Score a fold line 1.5″ up from the bottom of this piece.
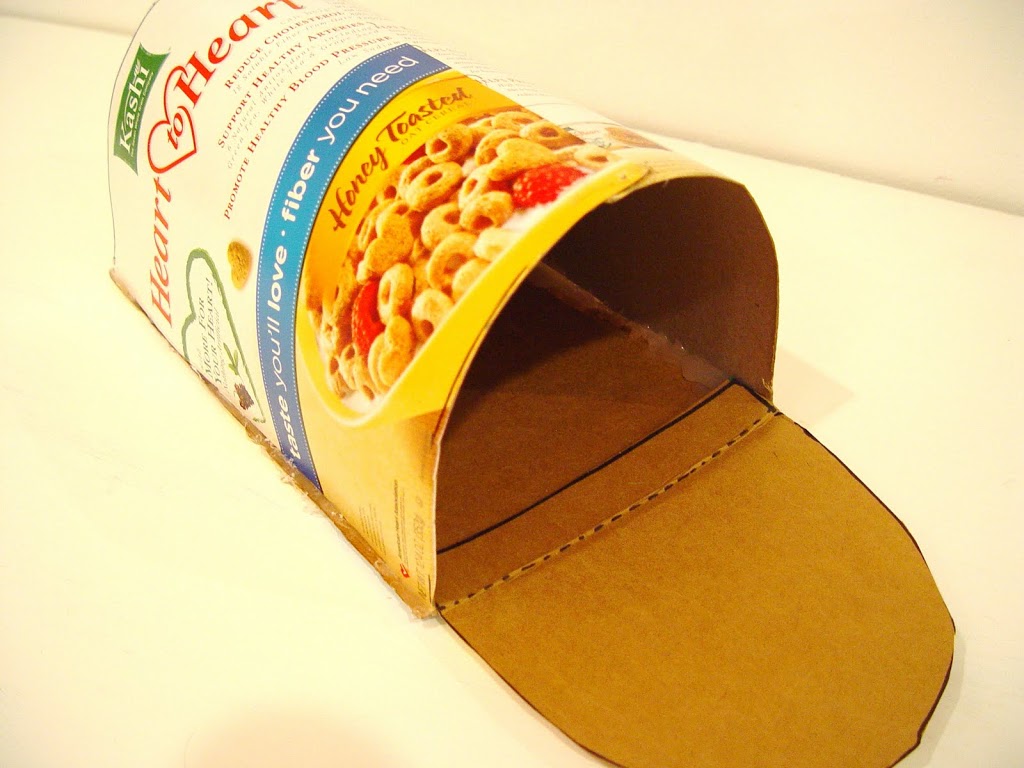
Glue the section below the scored line to the inside of the mailbox and then glue the other end in (around all sides) sealing the box.
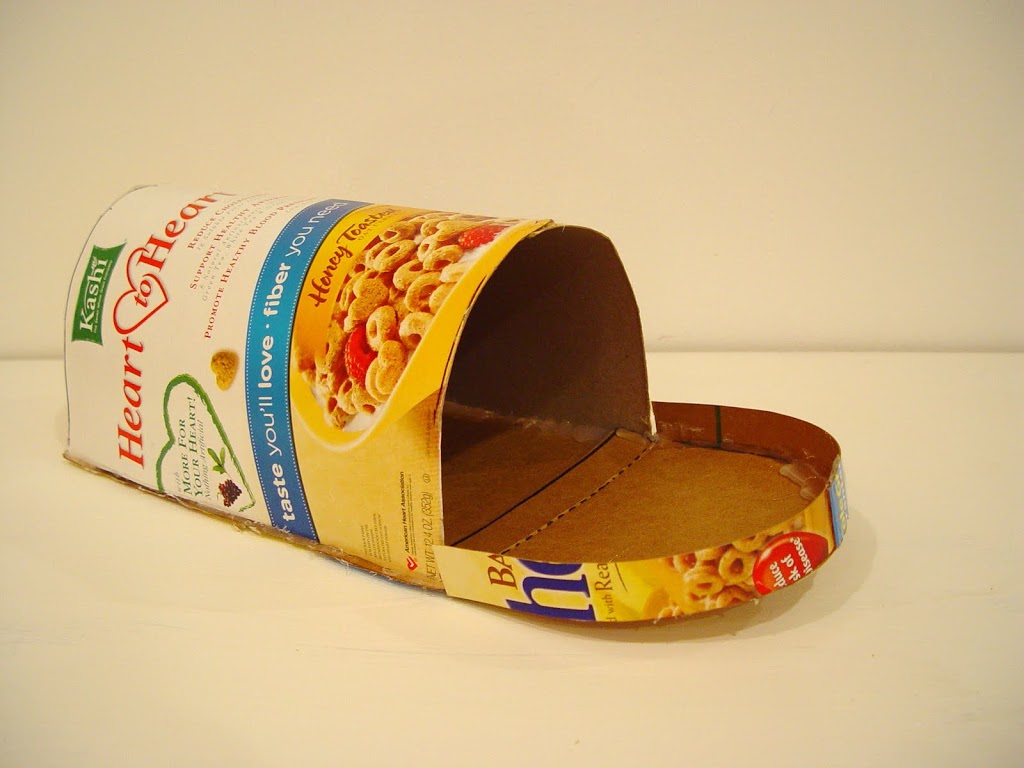
Cut out a piece of cardboard approx. 1″ x 13″ (enough to go around the opening piece). Glue on the opening piece and trim any extra cardboard.
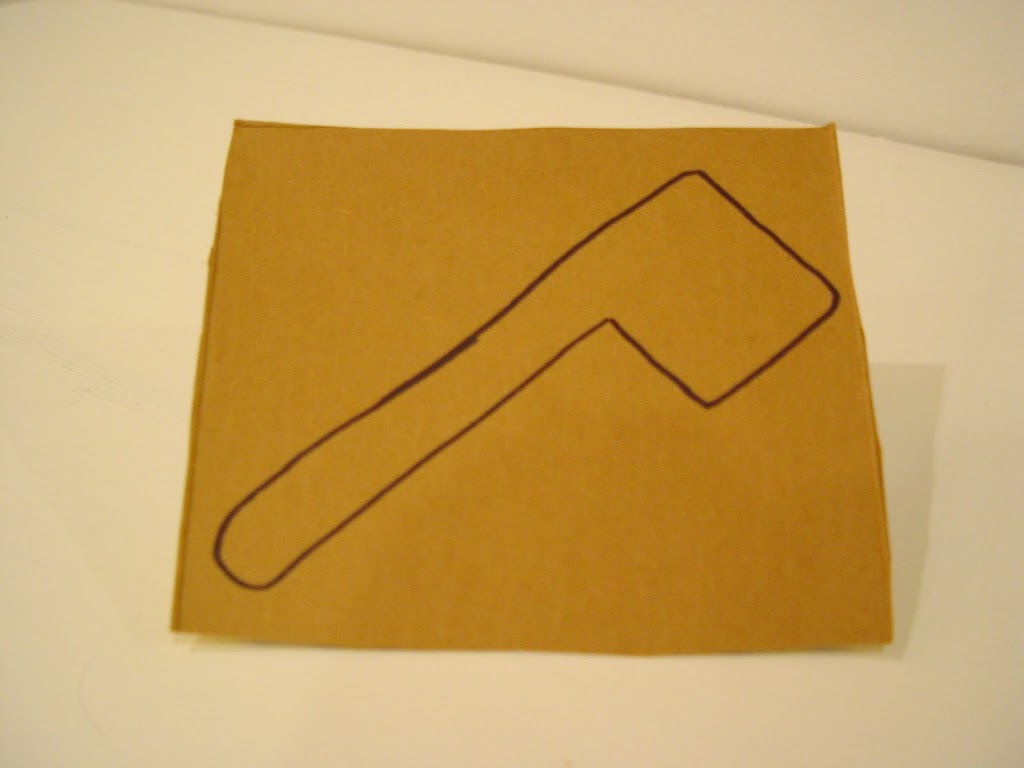
Draw a flag on cardboard and cut out. Don’t attach it to the mailbox yet.
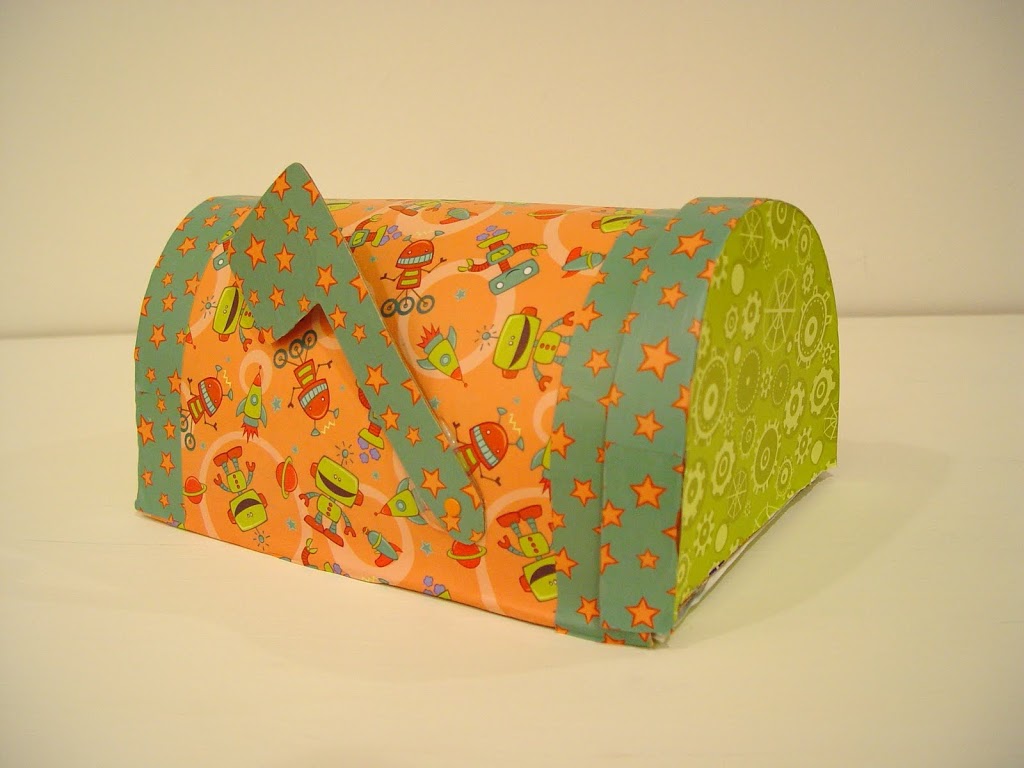
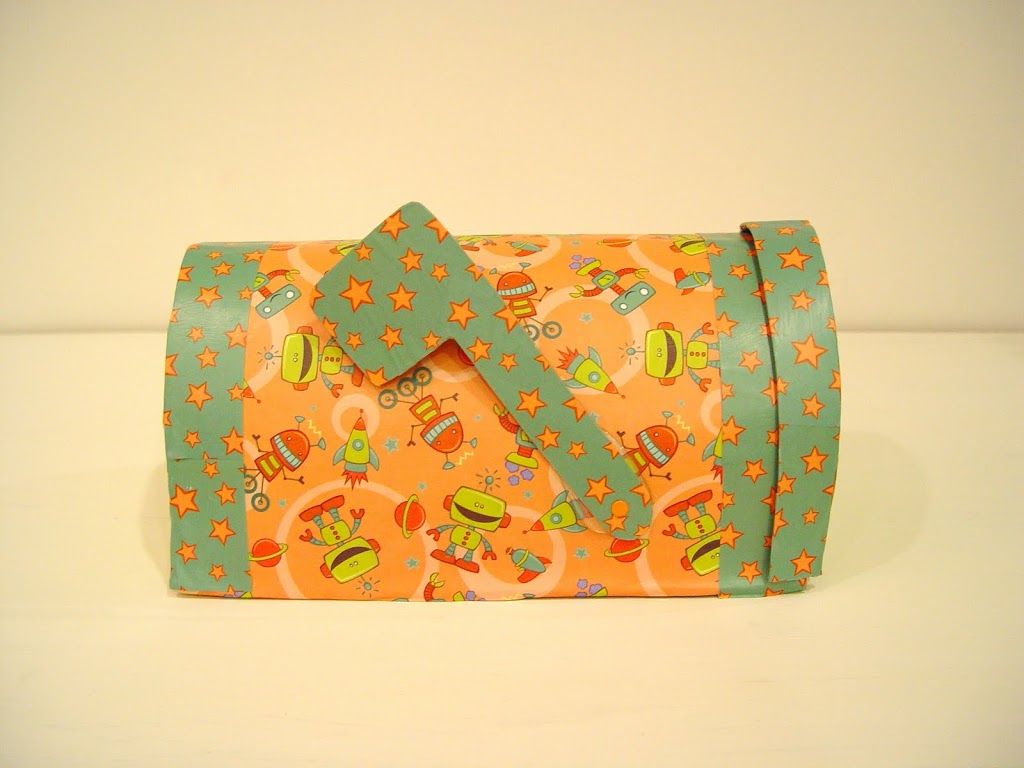
Once you’ve completed your mailbox, you can decorate it with your scrapbook paper. I used some really cute robot/rocket paper, with complimenting green gears paper and starry paper. I thought it would be great for a four year old boy.
To attach your paper, start with the back of the mailbox. Brush the back with mod podge and lay on paper. Once slightly dried, cut around the edge with an x-acto knife to remove excess. Brush mod podge on top of this piece. Allow to dry. Repeat for bottom, then outside of door. Next do the top of the mailbox and finally add any accents you’d like. Cover the flag as well. Once everything is dry, attach flag however you like. Enjoy!

great job Vanessa! cute
loved! tkx a lot…xoxoxo from Brazil!
that was really cute thanx for the idea
Looks awesome, thanks for the idea!
Very nice! Thanks for sharing.