One of my more popular tutorials is a simple sweet tooth pouch made of candy wrappers. It is cute, but if you use a small wrapper, very tiny.
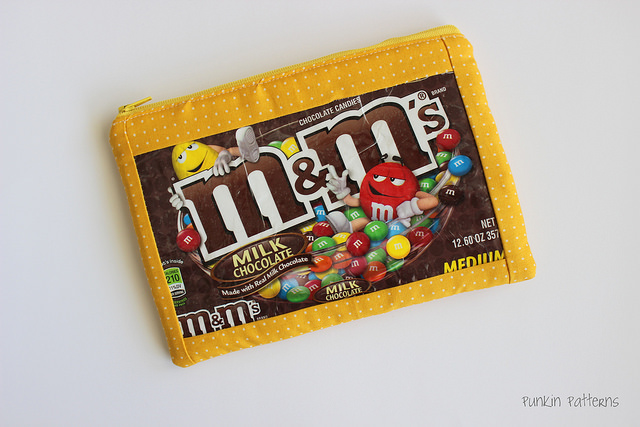
I wanted to make larger versions of the same pouch with a fabric frame. I finally did and I really like how they turned out!

To make the sweet tooth pouch, version 2.0 simply follow the instructions for the original tutorial found HERE. There are only a few changes I made. Here’s what I did:
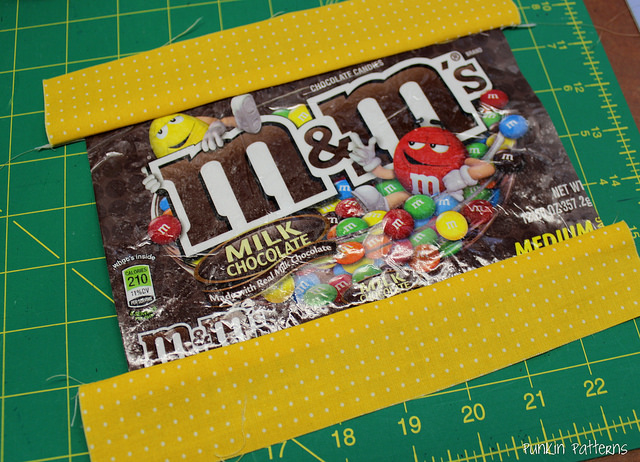
After you’ve cut out your candy wrapper and applied the vinyl, trim to 1/4″ larger than what you want to see. Add strips of fabric to the top and bottom. Start with a 2″ wide strip x 1″ longer than your wrapper. You can trim it down later if you want. Finger press the seams flat. If you want to press with an iron, be careful not to heat the vinyl directly.

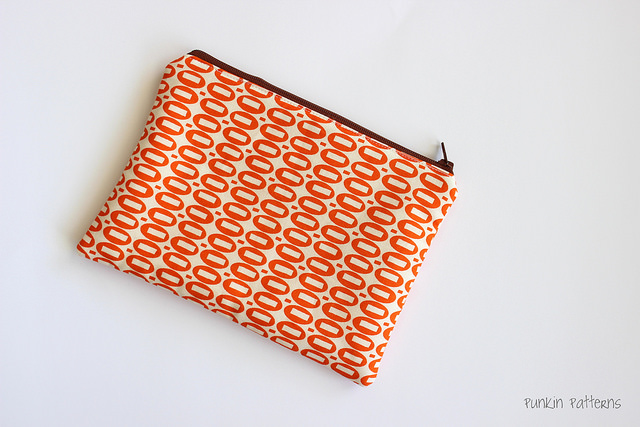
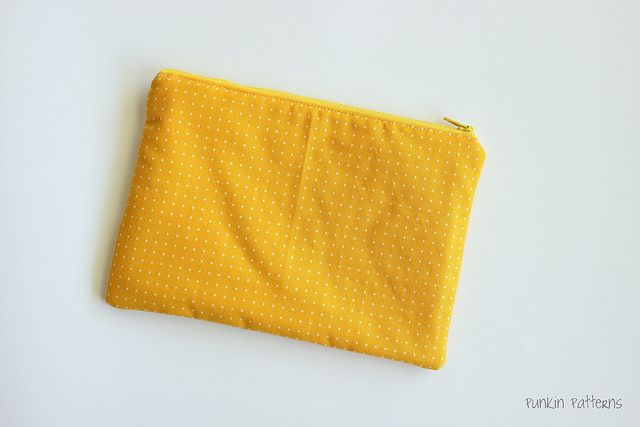
Add fabric at the sides (2″ wide x 1″ longer than the side). Repeat the careful pressing. Trim to the size you’d like. Use this as a template to cut the back piece, lining (two of them). I also added fusible batting to both of the exterior pieces of mine to give it a soft feel, but I could not fuse the batting to the entire front piece, just the edges where the fabric was.
Continue to assemble the pouch following the old instructions. (Again found HERE).

They would make a great Valentine’s day gift, don’t you think?

Happy Sewing.


sweet pouch, i tried the link for the tutorial, something seems wrong; the link is blank.
i’ll check back another day,
thanks
eva
Link fixed. Thanks for pointing that out. -Vanessa
great idea!