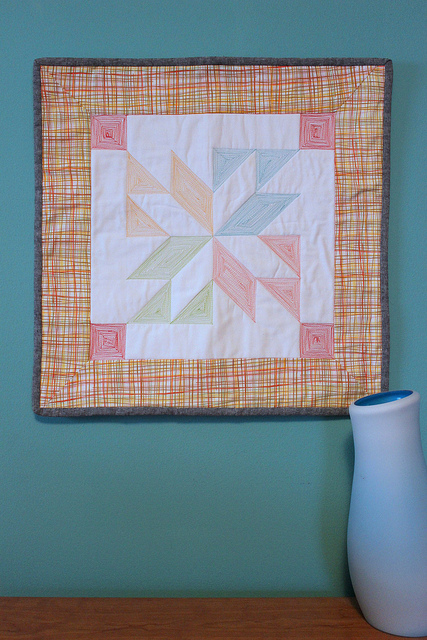
Sew Mama Sew and Aurifil had a challenge to design a mini quilt with some of Aurifil’s beautiful thread and I was lucky enough to participate.
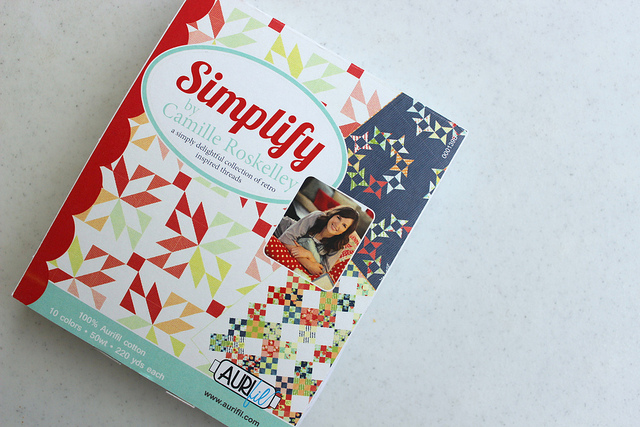
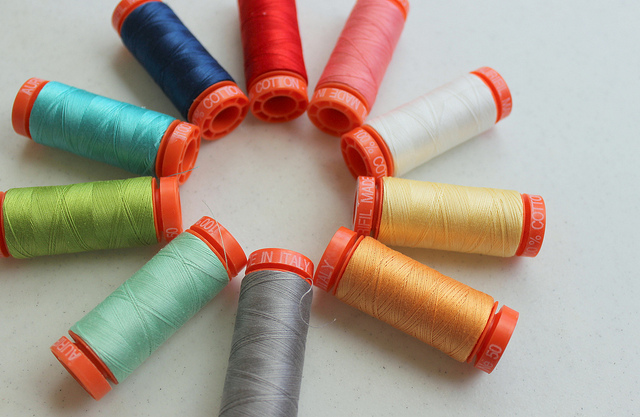
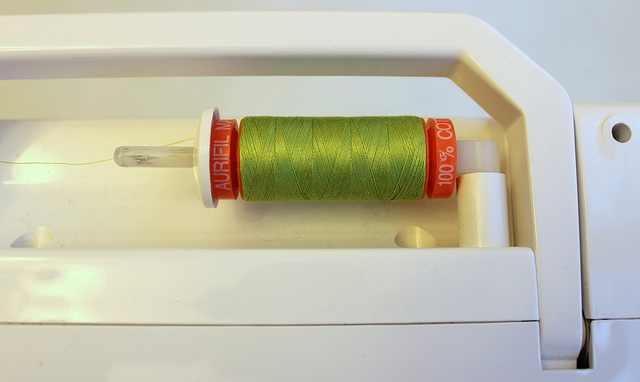
The thread is a collection of colors put together for Aurifil by Camille Roskelley — so many pretty colors!
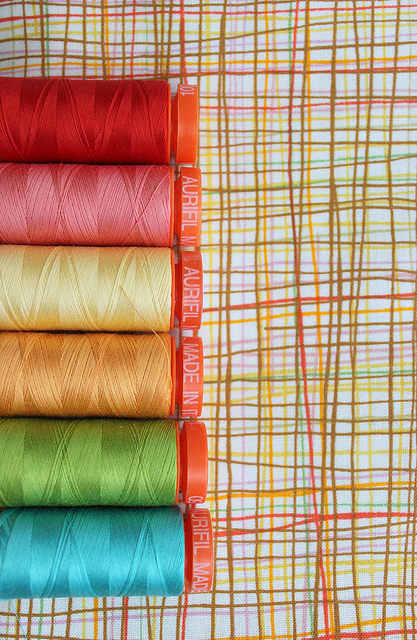
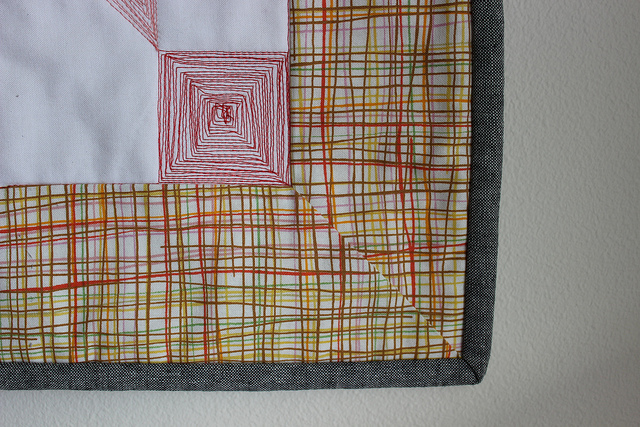
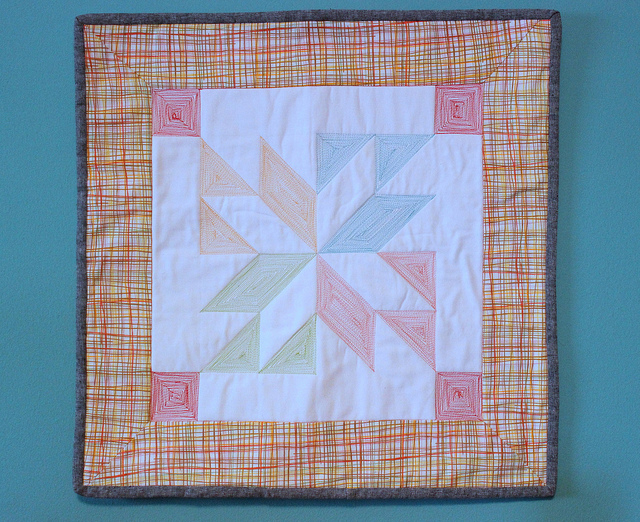
I matched my thread choices with this print from Alexander Henry (crosshatch). I love how it looks with the thread.
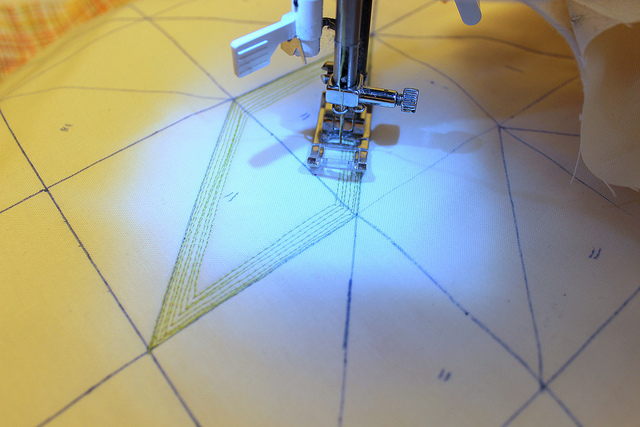
I was inspired by the image on the box which happens to be a quilt block from Camille. I also wanted to really show off the thread and it’s color.
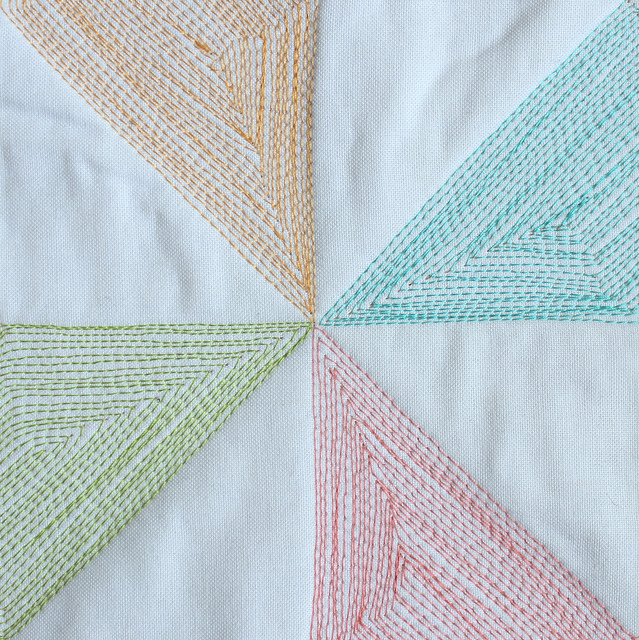
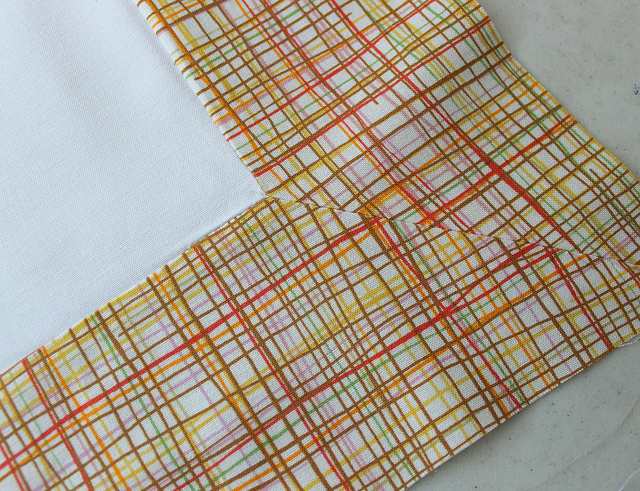
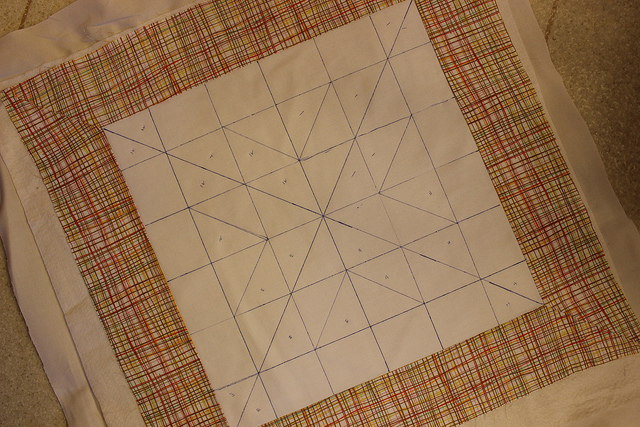
The finished mini is 20″ x 20″. The white fabric is KONA white and the binding is Essex in black. The border fabric was mitered. I love how the line in the border continues up into the sewn square and also into the binding.
So here’s how I made it::
First sew the block top together (and miter the corners).
I started with a 14.5″ square of KONA white and three strips of the Alexander Henry border fabric, each 3.5″ wide x 22″ long.
When mitering the corners of a block, take the length of the side of the block you’re bordering, the 14.5″ block, add 2x the seam width of the block bordering it. (The result is 21.5″) Then add a little bit extra just in case. (Now we’re up to the 22″ length.) Include seam allowances in the calculations.
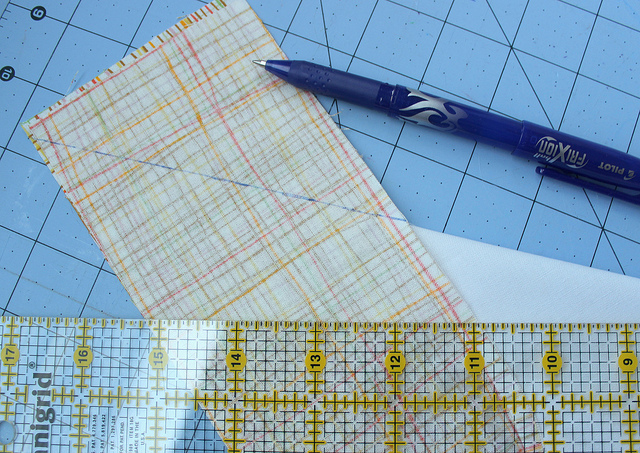
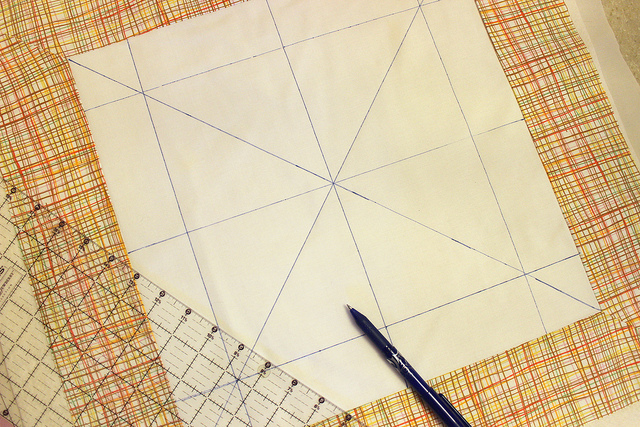
On the interior fabric piece (white), mark the fabric at 1/4″ on both sides of the corners. Do this at all four corners.
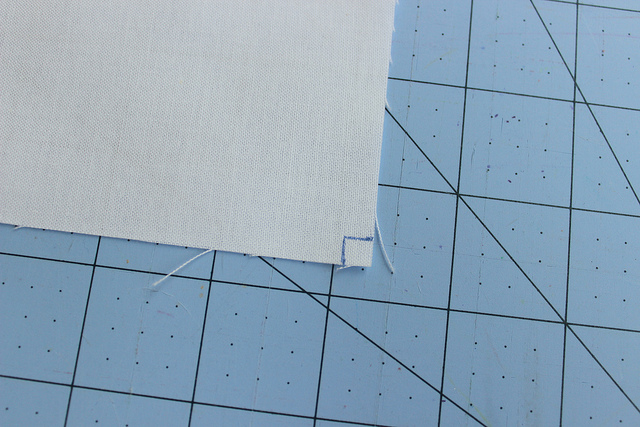
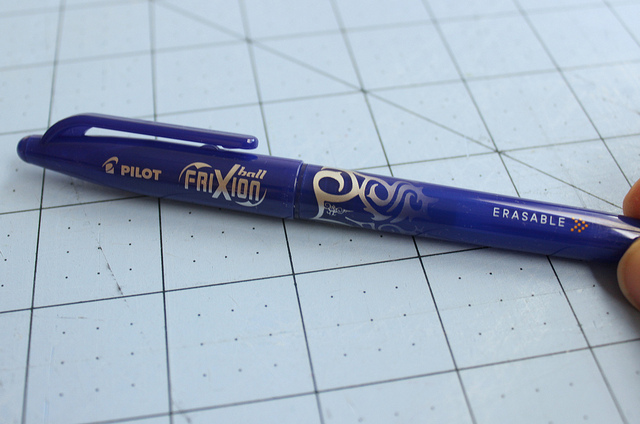
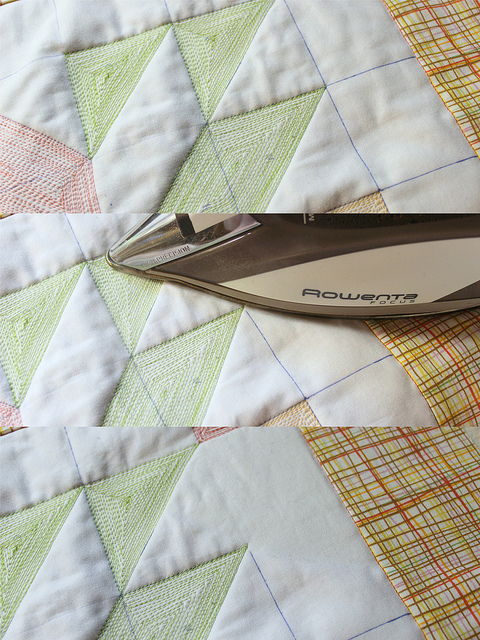
For this project, I’m using a Frixion pen. I recently learned about these from some friends on a quilting retreat. The ink disappears with heat so I thought I would test them out on this project.
Find the center of the block (on all sides) and the center of the strips. Mark with a small line within the seam allowance.
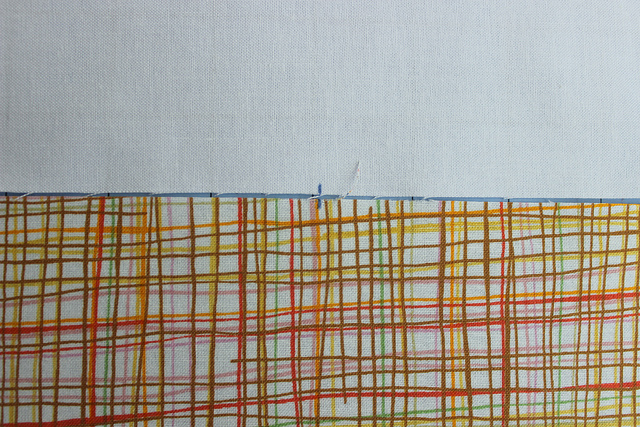
Place the border fabric on top of the center fabric (white) lining up the center marks. Sew together with a 1/4″ seam allowance, starting and stopping 1/4″ in in from the ends. You can use the marks you made at the corners of the center fabric as a guide.
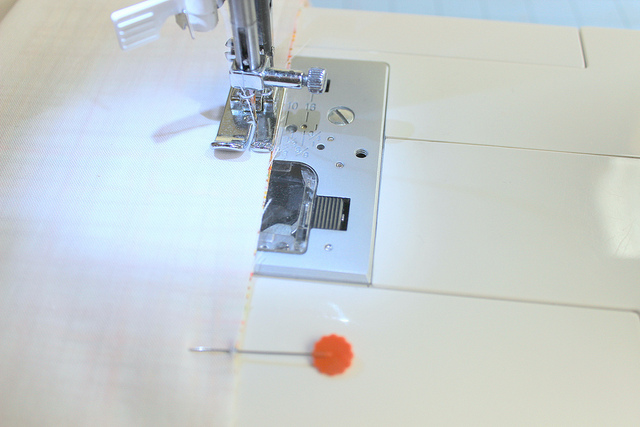
Repeat for the other sides of the block, keeping the ends of the block out of the way.
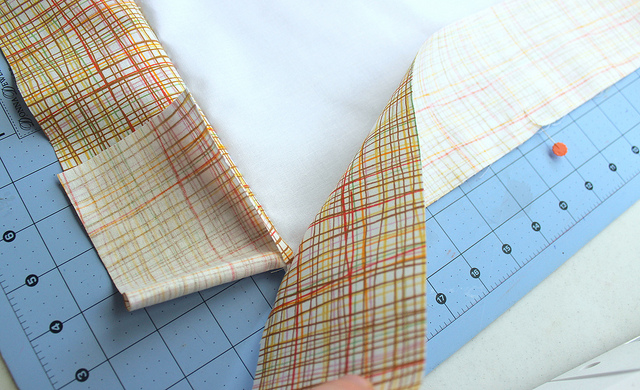
When all four sides of the border have been added, you can now sew the borders together at the corners.
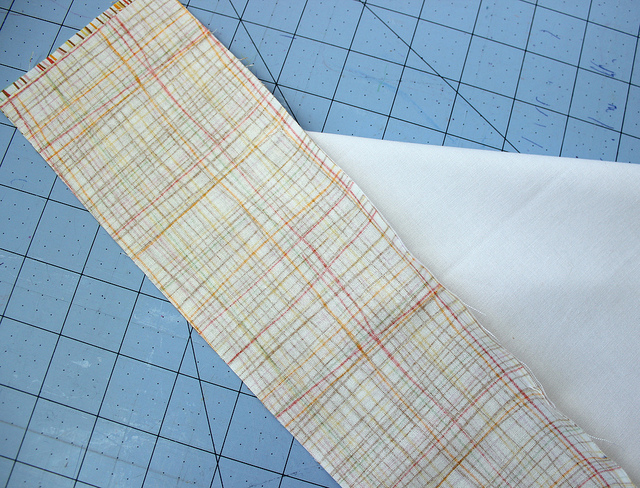
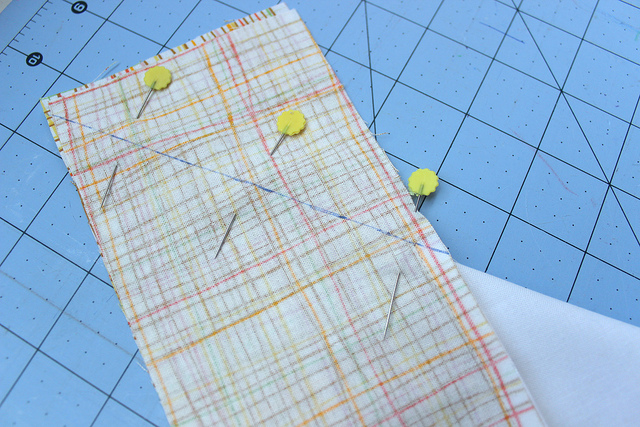
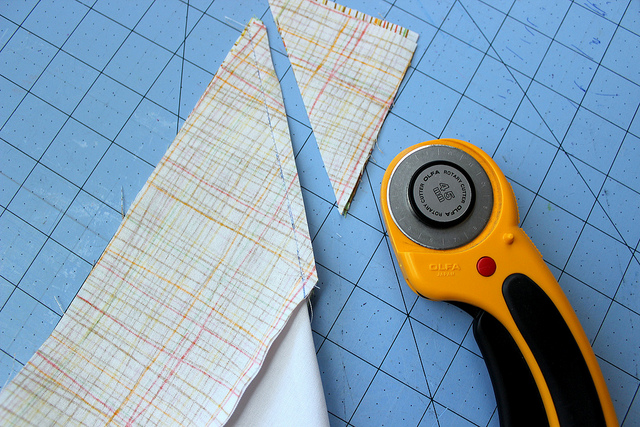
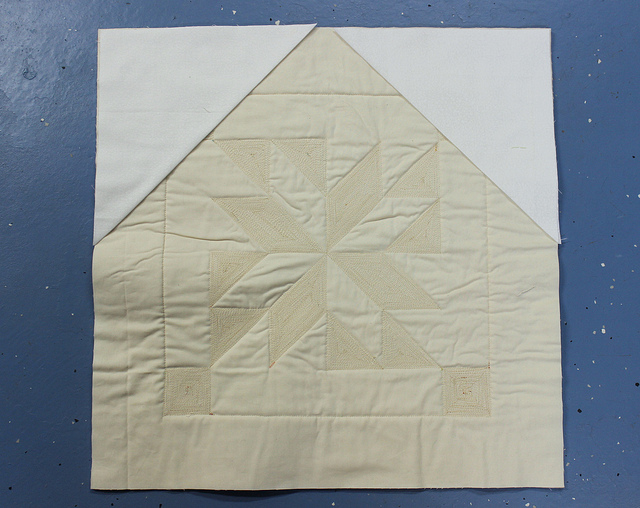
Begin by folding the fabric at the corners so the borders lay on top of each other and the center block is folded as well. The center block will look like a triangle now.


This sounds like such a fun thing to do. I can’t wait to try it!
Hello meen, I’ve been following your blog for almost 6 months now without leaving any comment so I decided to quickly say hi today, just so you know you’ve got a fan somewhere. LOL. Your blog makes sense to me just like http://danieluyi.com, another similarly interesting blog that I’m also a fan of.
Keep it up.
You certainly met the challenge Vanessa and exceeded! So original too! Beautiful.
I love it!!! And I can’t get over how bright the thread becomes with dense quilting. You and Penny (Sew Take a Hike) win for staging your quilts. Great photos.
Very clever!
Wow! This looks fab! What a clever way to fulfil the brief – well done 🙂
Very very clever and what a fun use of the threads!
Very unique – love it! What is the purpose of the hanging corners?