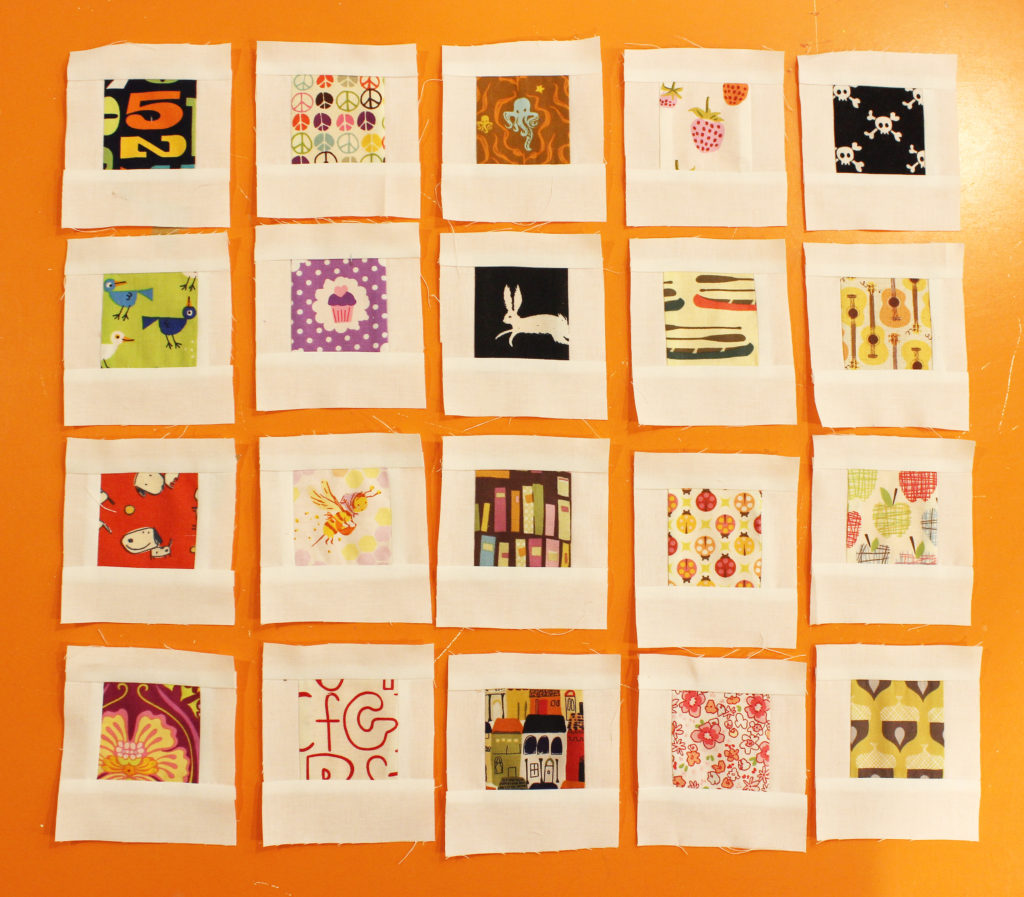
I love to take photos. Fussy cutting your fabric is sometimes like taking a fiber photo. Why not add a frame and make it a photo? There are a lot of Polaroid block tutorials out there – I wanted to document what I was doing and how I was making mine and maybe you’ll be inspired to make a few too. Who doesn’t love little Polaroid blocks?
I have a small stash (100+) of 2.5″ squares I have been keeping for an i-spy quilt. And how fun would it be to make little Polaroid pictures to hold my small fabric squares?
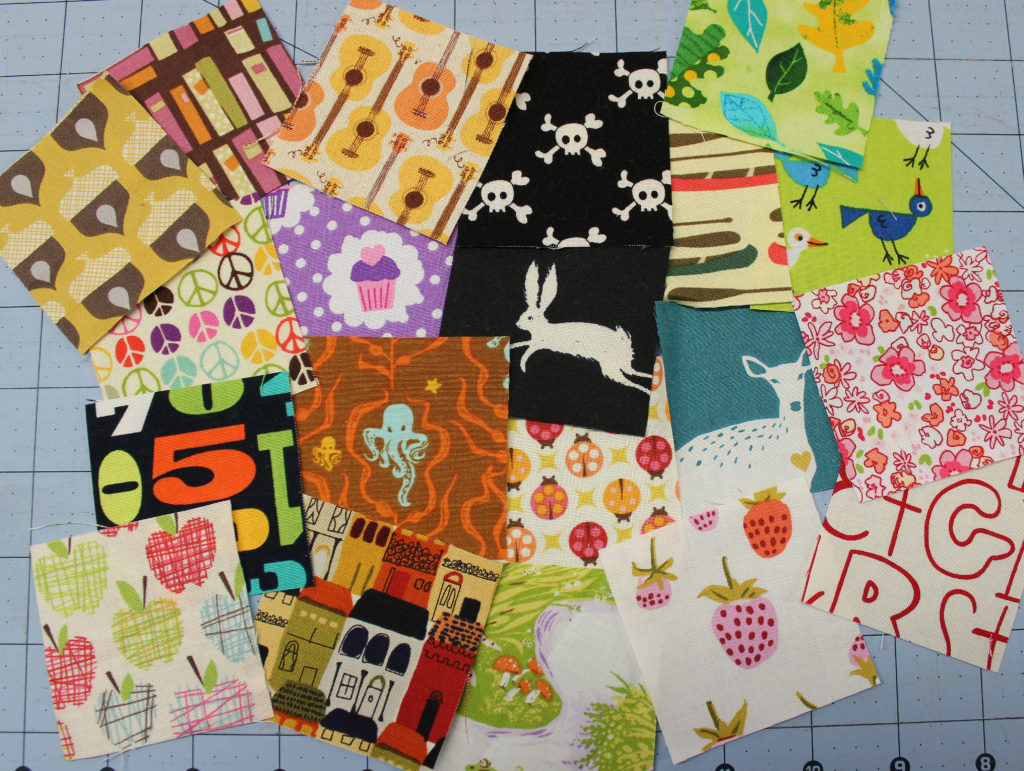
I use a little 2.5″ x 2.5″ quilting ruler to cut my squares. I like the little quilting ruler, because I can see through it and see what my block will look like. I usually cut them from my scraps so sometimes things aren’t always placed perfectly, but in the end, those are usually my favorite blocks.
For 20 blocks, you’ll need roughly a 1/4 yard of white photo background fabric. This 1/4 yard should be subcut into (5) 1″ x WOF (width of fabric) strips AND (2) 1.5″ x WOF strips. I actually got 23 blocks framed out of these strips, but it depends on how much space you leave between blocks. I don’t leave much. Only about 1/4″ – 3/8″. You don’t need to leave much space at all.
The strip-piecing method is handy so you can make small batches of 20 blocks at a time or if you want to do them all at once, you can just do some quick math based on the number of blocks you want to make. (Jump to the bottom of the tutorial if you want to just make one block.)
Use a 1/4″ seam allowance throughout.
Start by using your 1″ x WOF strips.
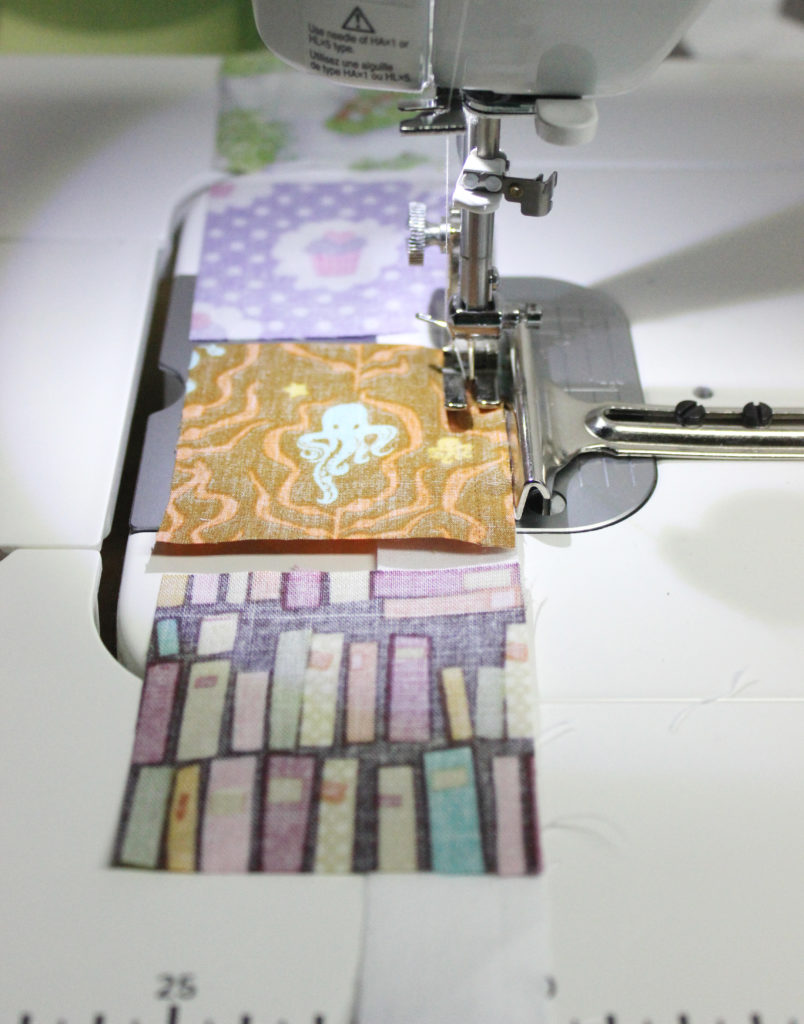
Sew the strip onto the left side of the 2.5″ squares. Keep adding squares with a small space between them (about 1/4″ or so) and continue all the way down the strip. You should be able to fit about 14 blocks per strip.
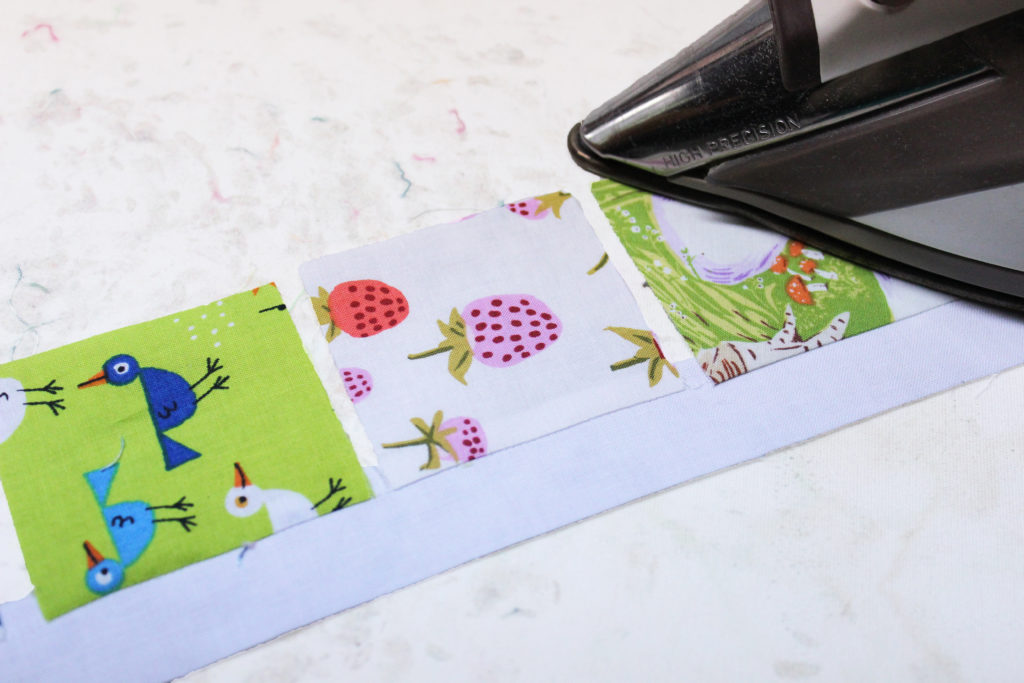
Press seams toward the center block.
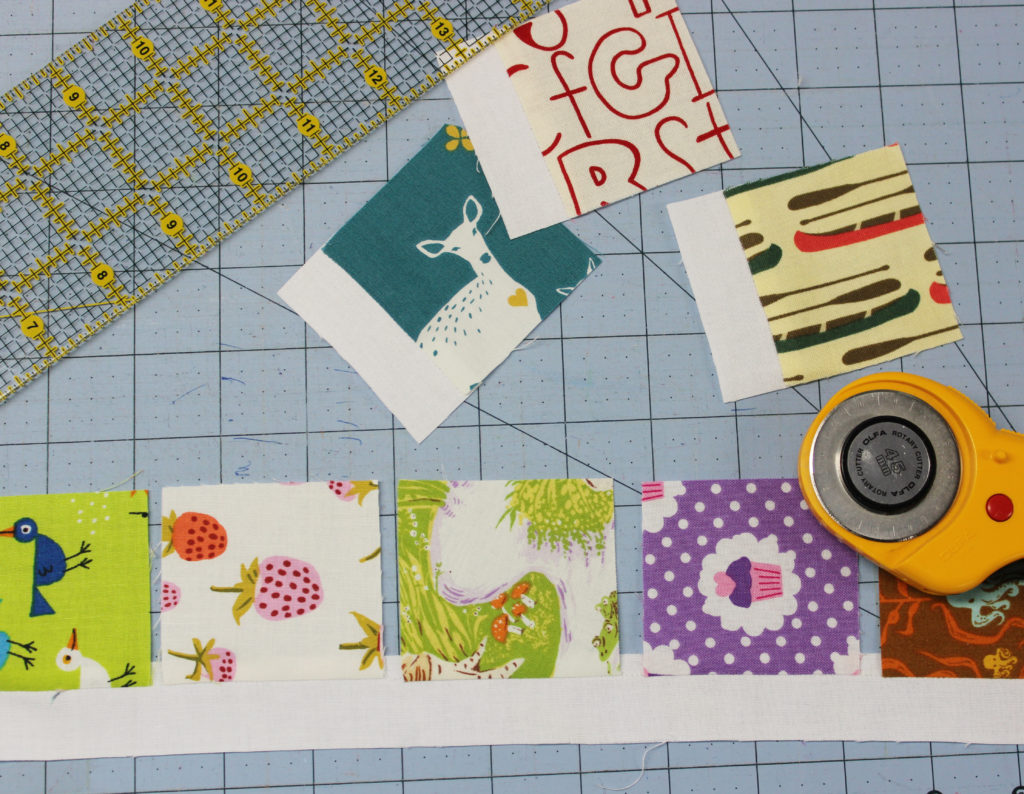
Trim the sashing.
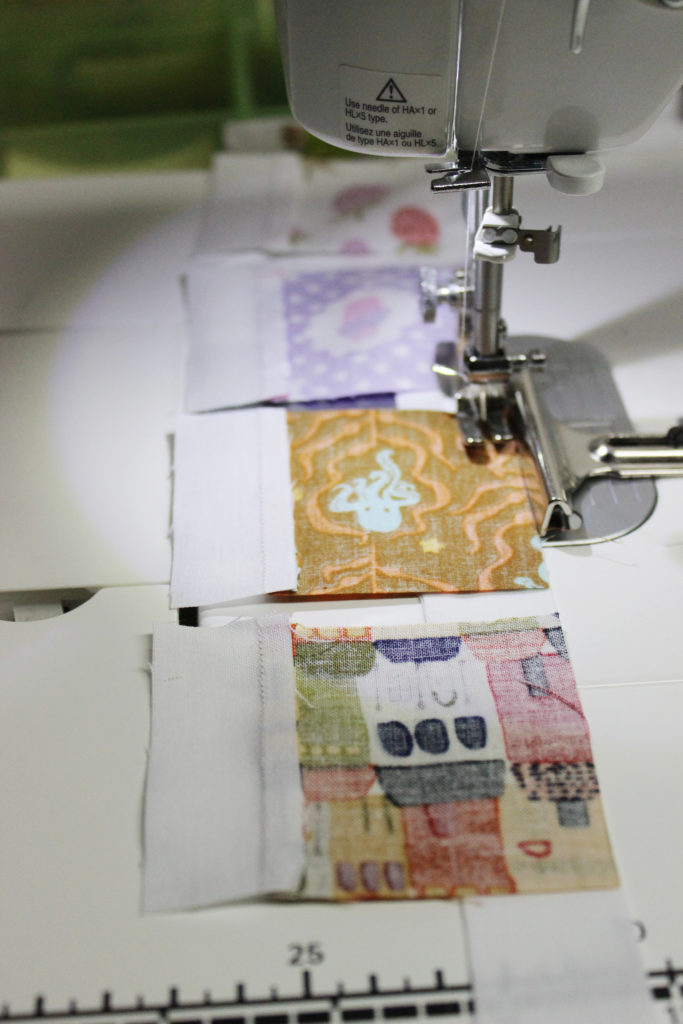 Continue adding sashing, using 1″ strips. You’ll add the 1″ sashing to both sides, and the top of the block.
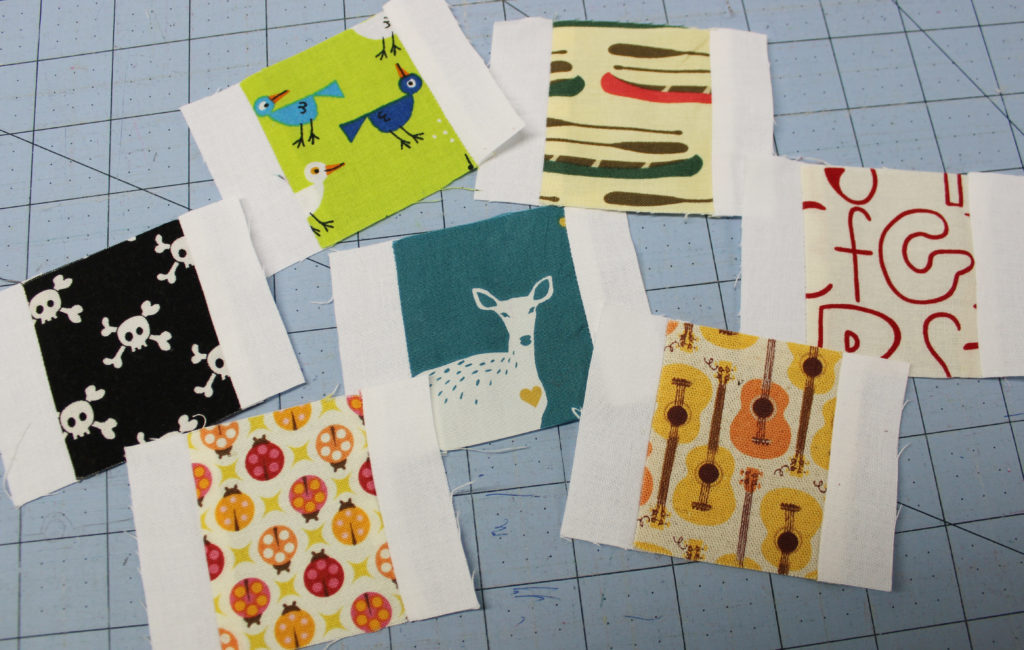
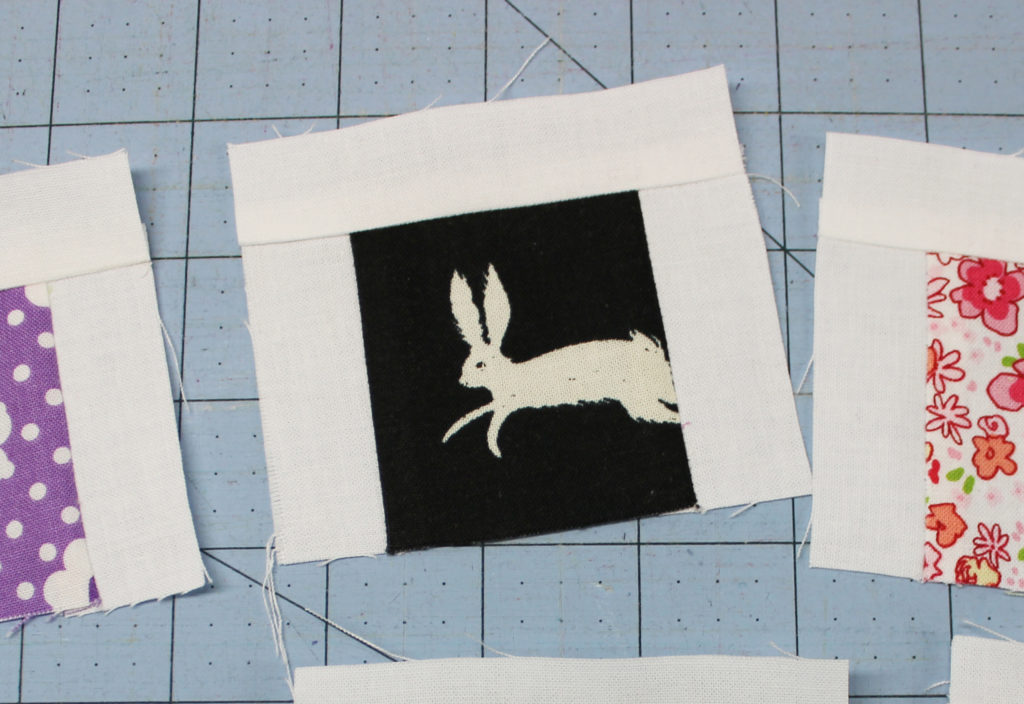
On the bottom side, you’ll use your 1.5″ sashing.
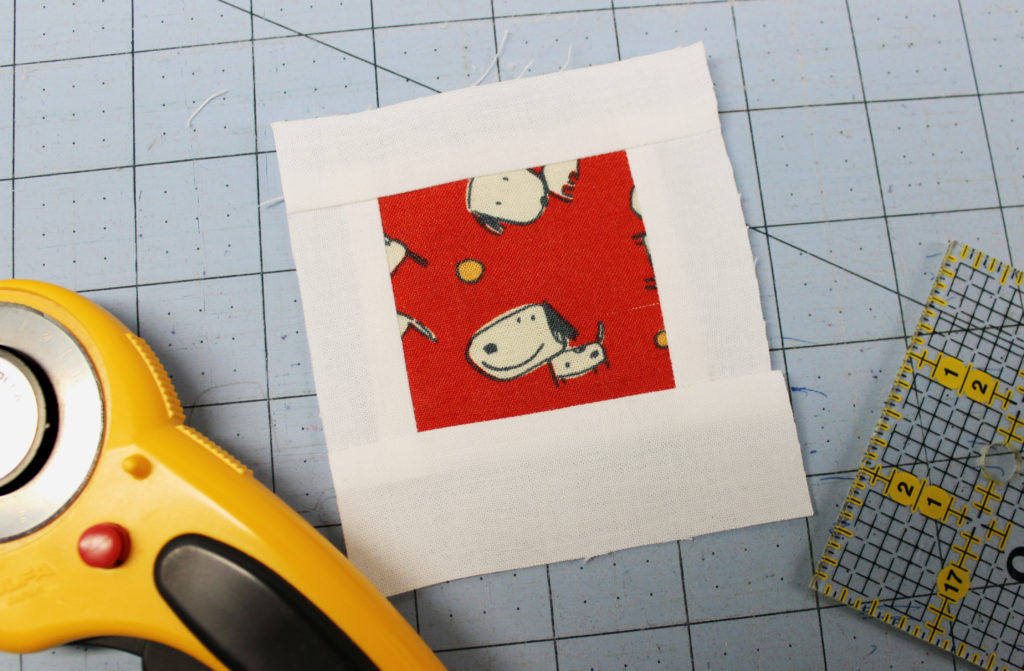
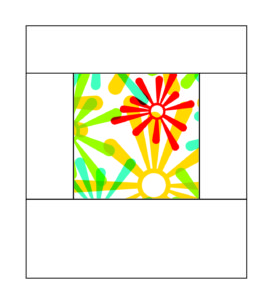
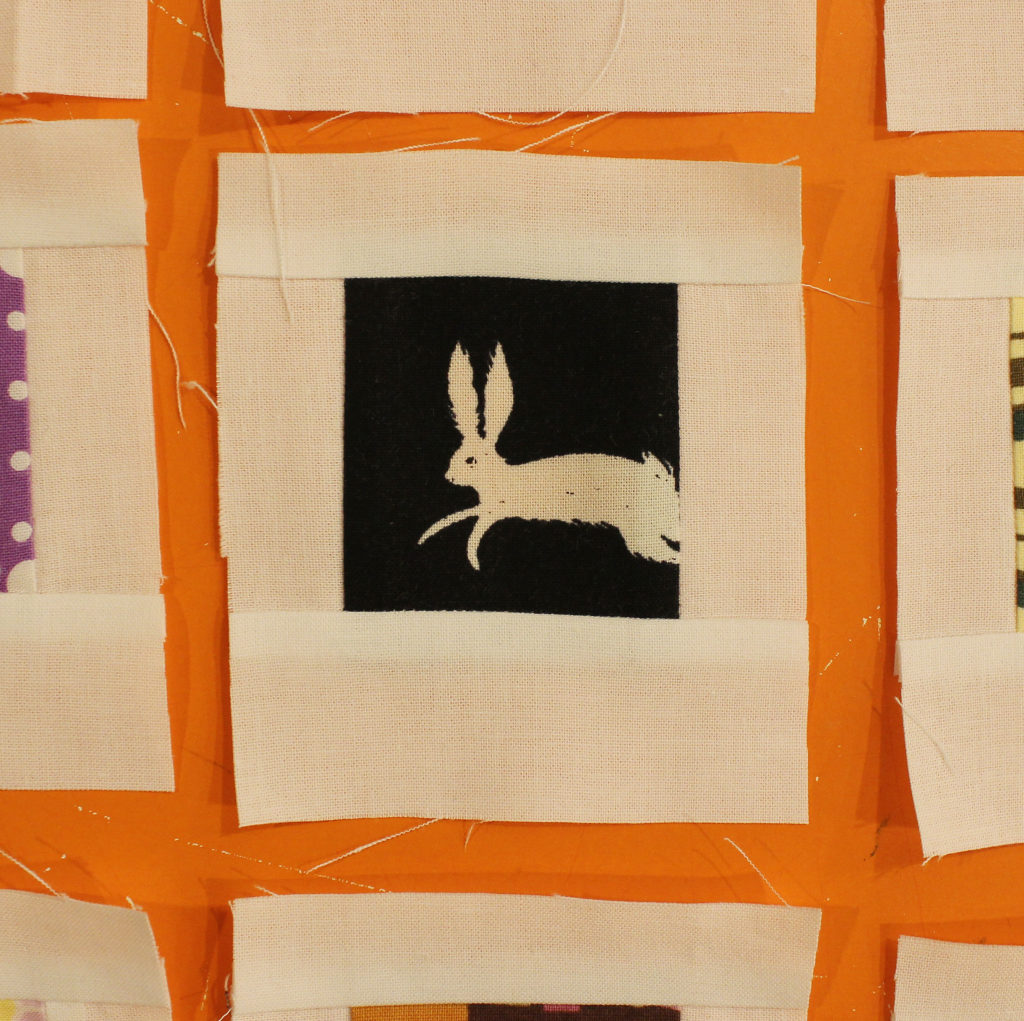
So the final measurements of the block are 3.5″ x 4″.
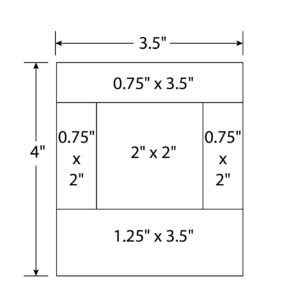
If you’re sewing one block at a time, here are the sizes to cut and how to assemble them:
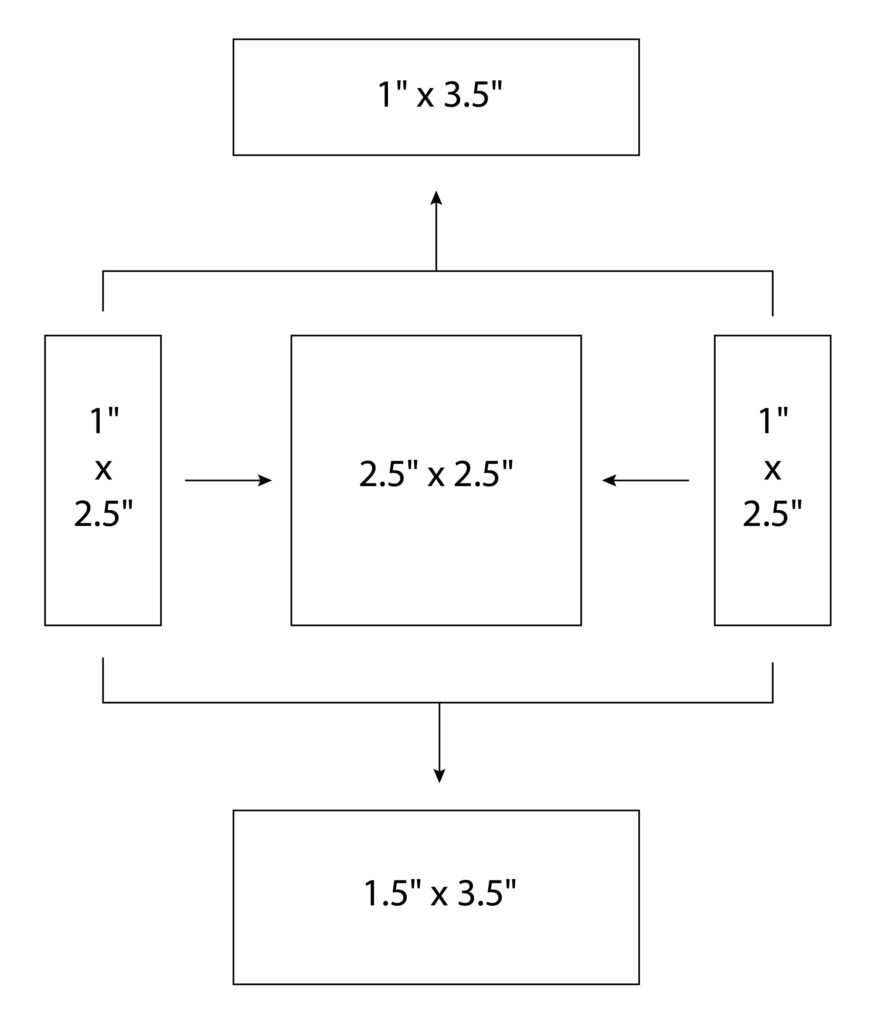
So for right now, these will stay as basic Polaroid blocks. In a future post, I’ll show you how to put another border on (once I decide how I want to do that – so many options. 🙂 )
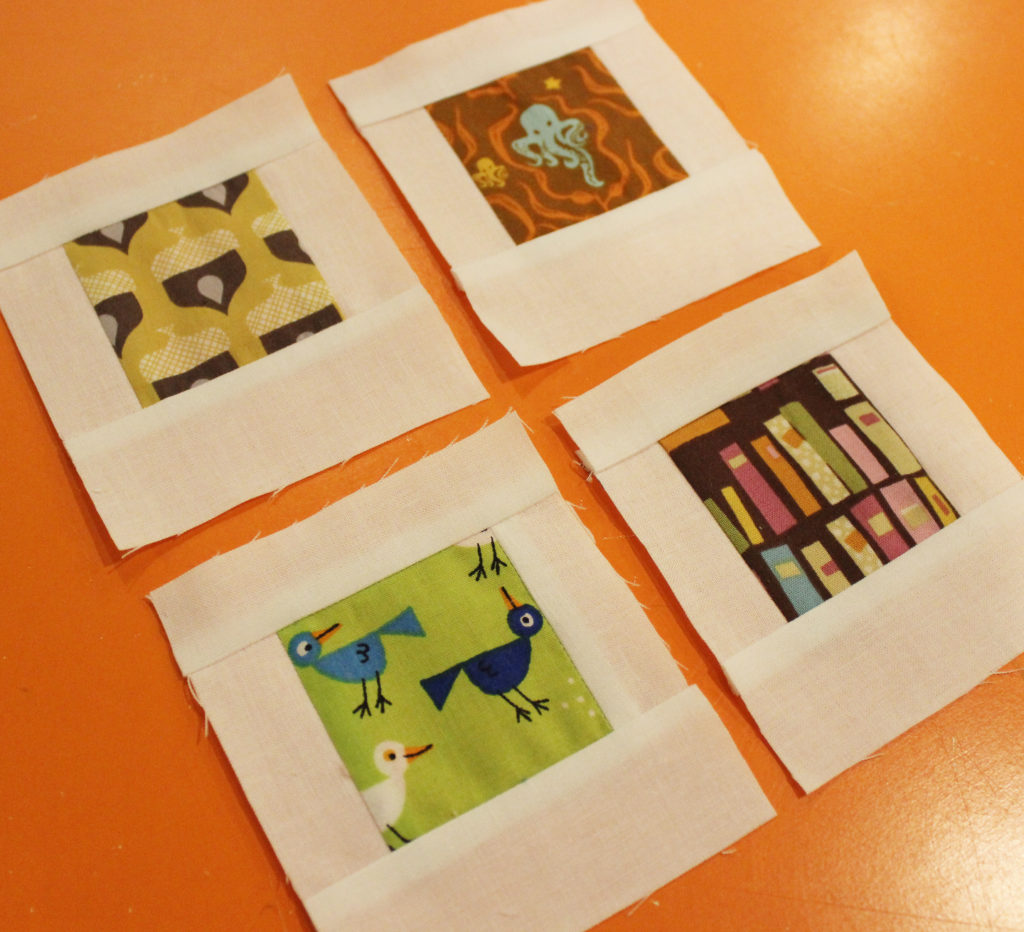


Did you ever see them together???? They are so cute
Ha! Not yet. I want to make a bunch more. 🙂
How would the measurements change if using a charm pack of 5 inch squares?