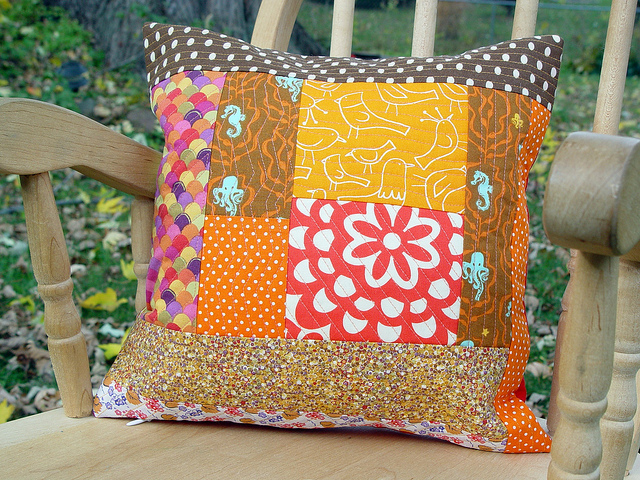
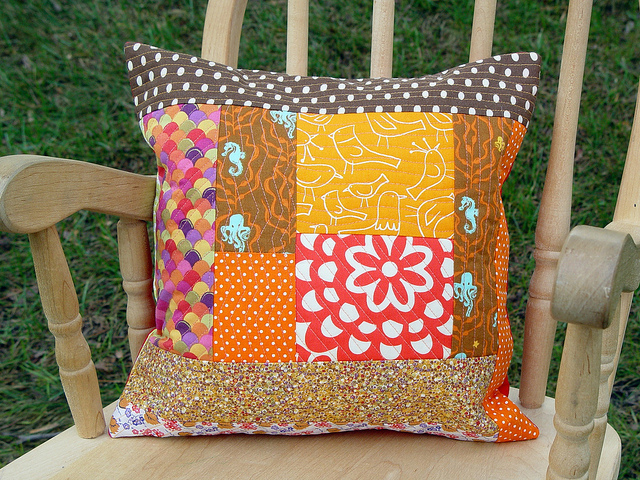
I made this little pillow many months ago. Once I completed the top, it was left in a pile to be completed. I finally put on a back and a zipper. Then it sat for a while longer. Finally I took pictures of it back in October and here I am in December finally sharing them with you.
It’s a small pillow (12″ x 12″) that has found a permanent place on my kids rocking chair. Don’t worry the rocking chair is not sitting in the snow now — it’s inside, of course.
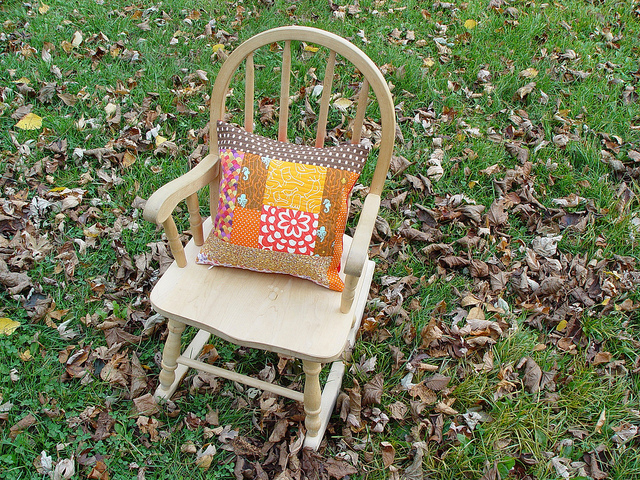
The pillow top was sewn using a technique that I had heard about, but never tried. It’s made using the quilt-as-you-go method — which is exactly what it sounds like. Here’s how you do it:
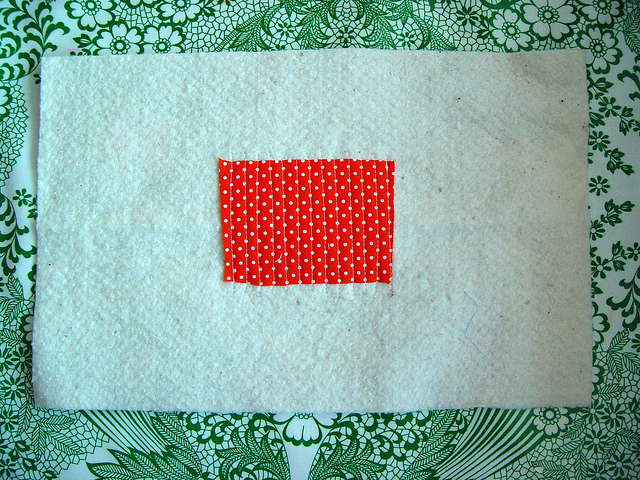
Grab a piece of batting. You start in the center and sew your fabric directly onto the batting, quilting it right away.
To add a second piece, lay it down right sides together matching the edges of your fabric together and sew a seam.
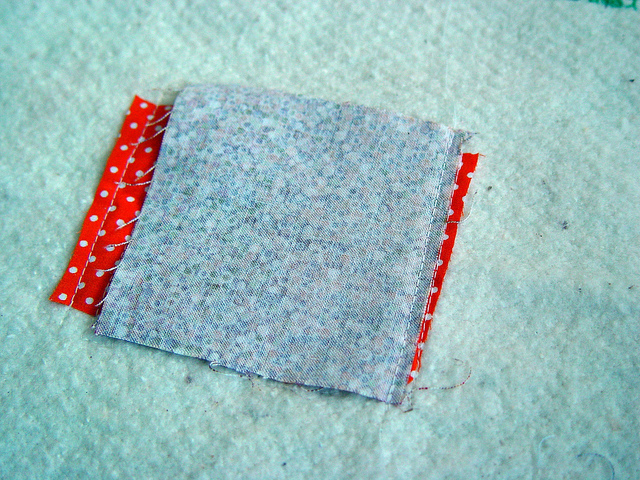
Fold the fabric over and iron it.
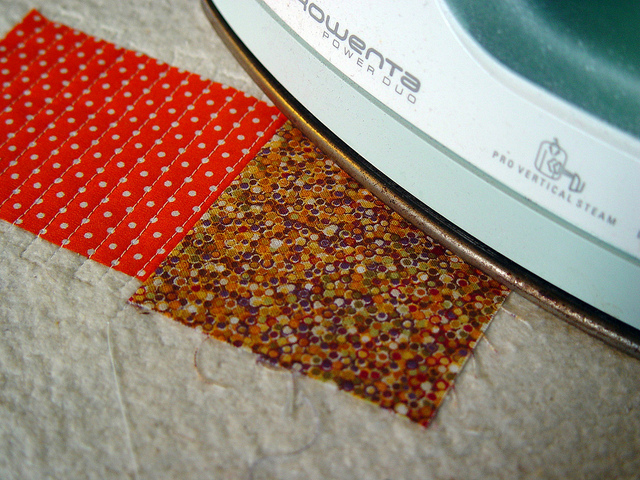
Now quilt in place.
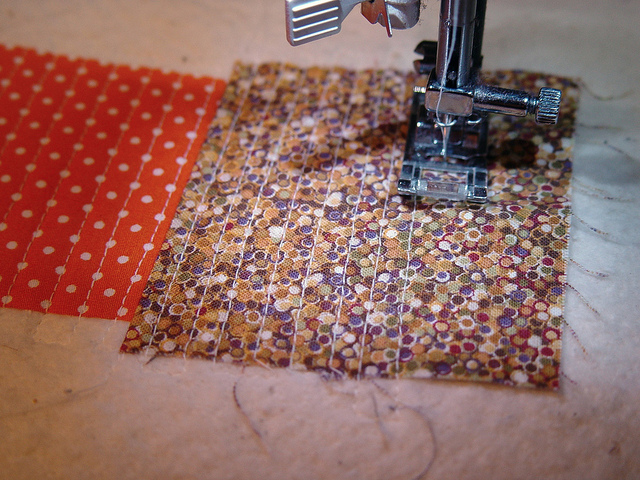
Continue until your batting is covered.
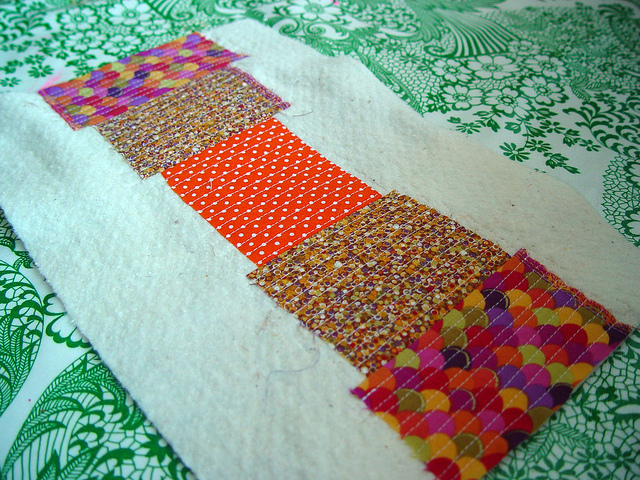
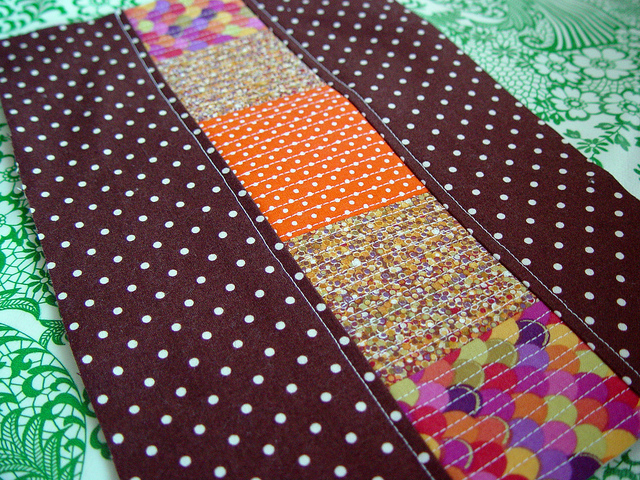
This method works well for small projects like pillows, doll quilts, mug rugs and maybe even a baby blanket (if you’re brave). I have heard of people quilting smaller sections like this and then sewing the batting together to create a much larger quilt, but I’ve never tried it. This method is best with log cabin blocks or stripes – but of course you can be creative and have fun!! I quilted each section of this pillow with a different style of quilting (wavy lines, diagonal, zig-zag, straight lines – so many possibilities).


I have always wanted to try that method. It looks pretty easy! Your pillow came out so nice.
love this! you make it look easy-i might have to try it! thanks
Thanks for the tutorial. It looks easier than I realized!
My daughter saw the picture and asked me if I can make one. Thanks for the tutorial!
cool…i love it…..i am busy right now and not able to tackle a full-blown quilt….this would be a wonderful project to do when your life is busy but you just have to quilt something!
Thank you so much!