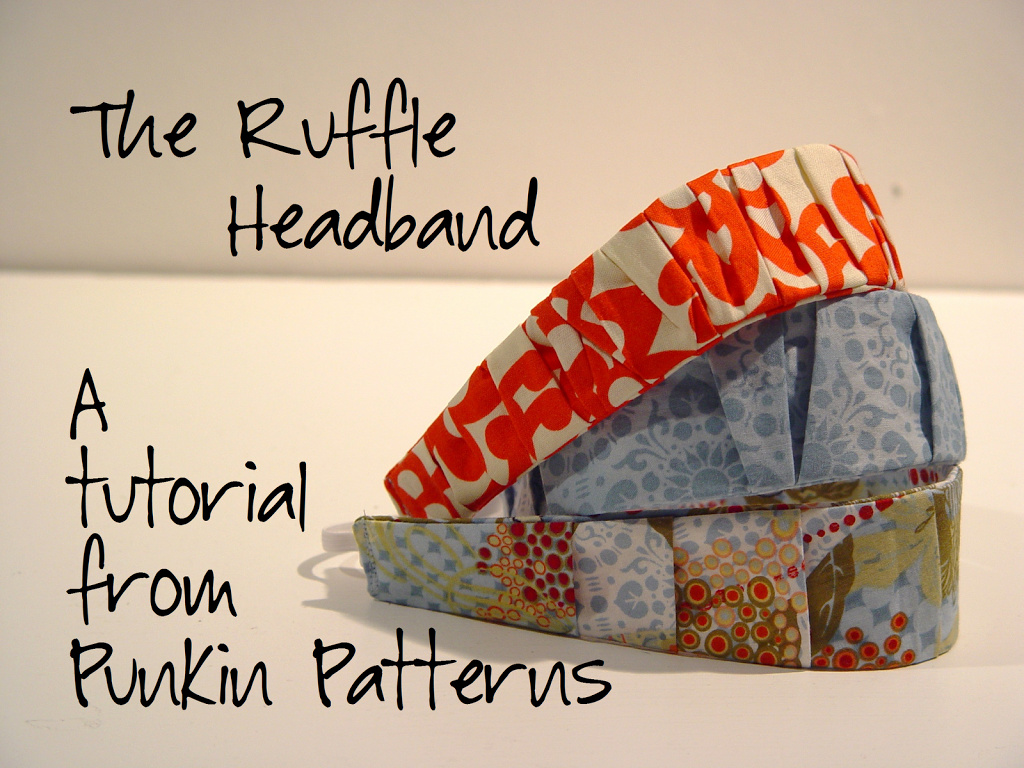
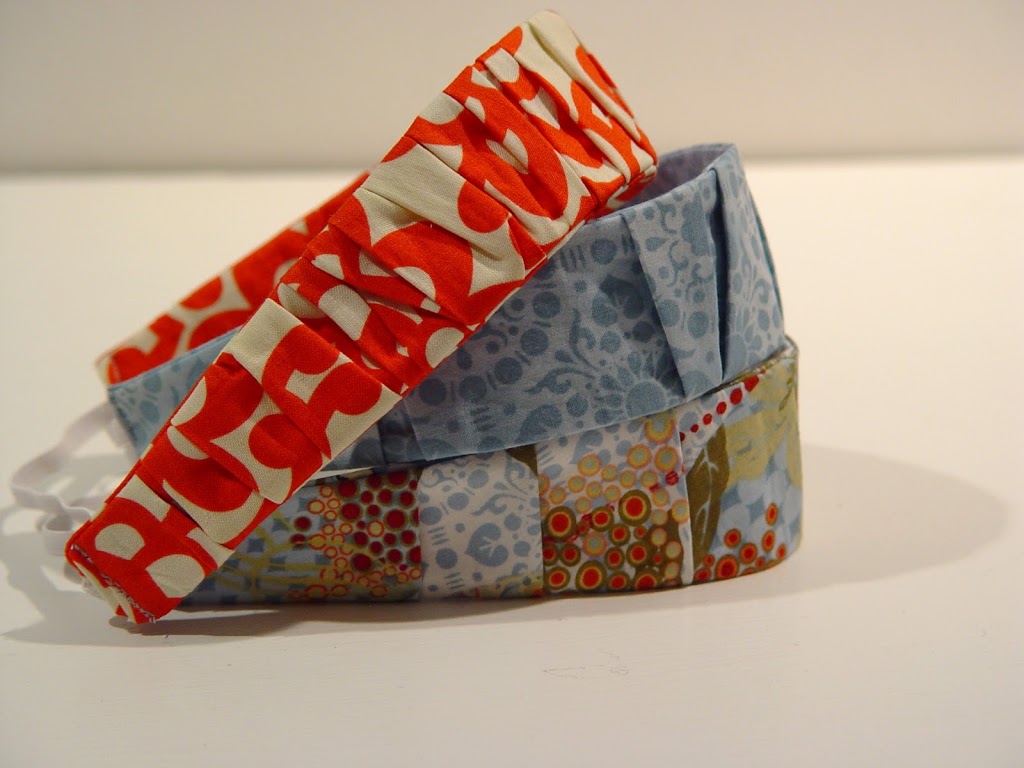
Hi everyone! I hope you all had a nice Thanksgiving! Today I wanted to share with you a great idea I had for a ruffle (or more accurately – a gathered) headband. It’s very simple and a it would make a great stocking stuffer or gift for a friend in the office.
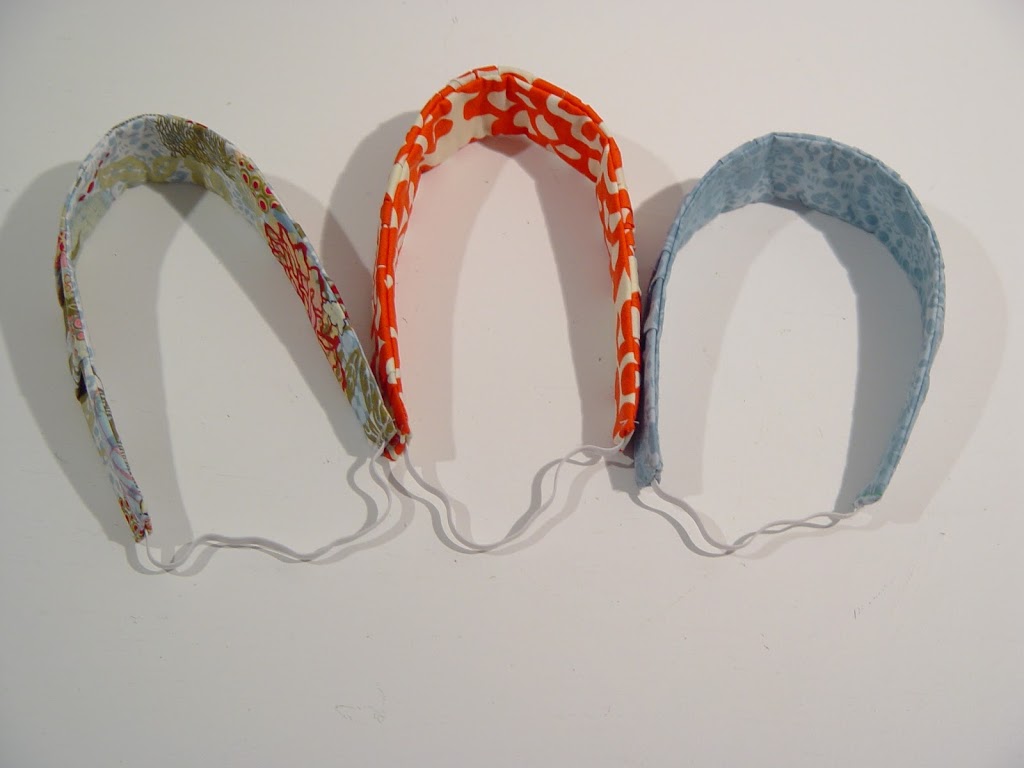
You’ll need:
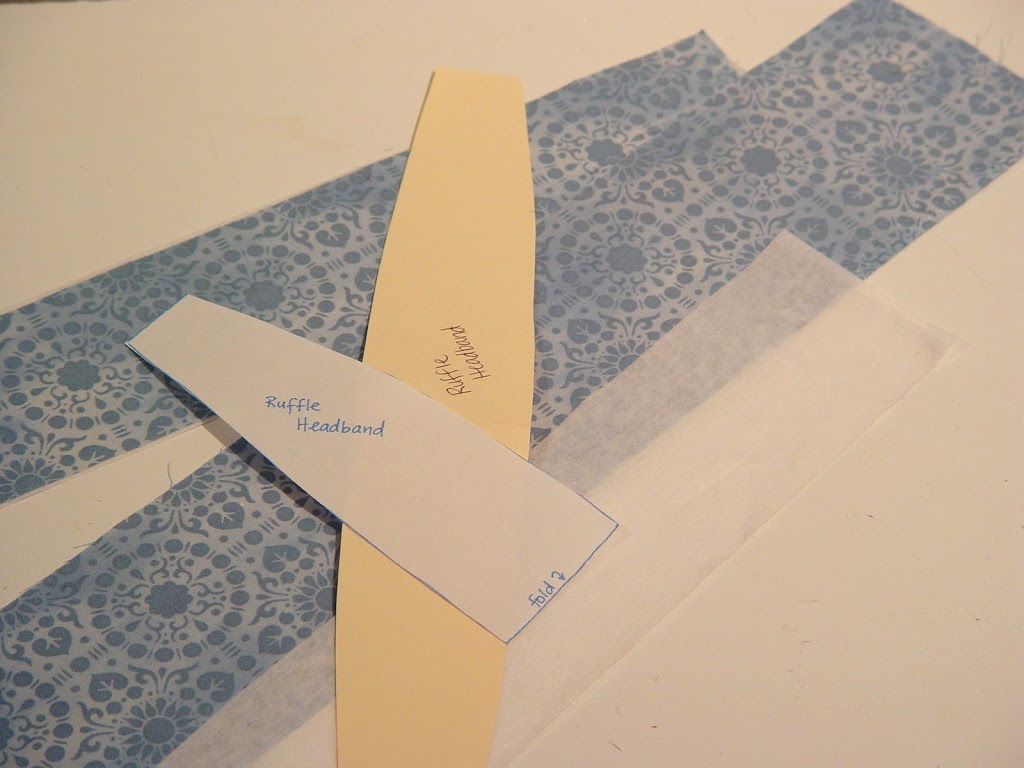
22″ x 4″ piece of fabric (or 42″ x 4″ for more gathers as in the red/white headband)
15″ x 3″ piece of fabric, interfaced
light weight fusible interfacing (15″ x 4″)
6″ piece of 1/4″ wide elastic (4.5″ for child size and 3.5″ for toddler size)
the ruffle headband pattern (found here)
To gather the fabric, set your sewing machine to the longest stitch length and sew two parallel lines 1/4″ and 1/2″ away from the edge of the 22″ long (or 42″ long) piece. Sew all the way to the edge and don’t back stitch.
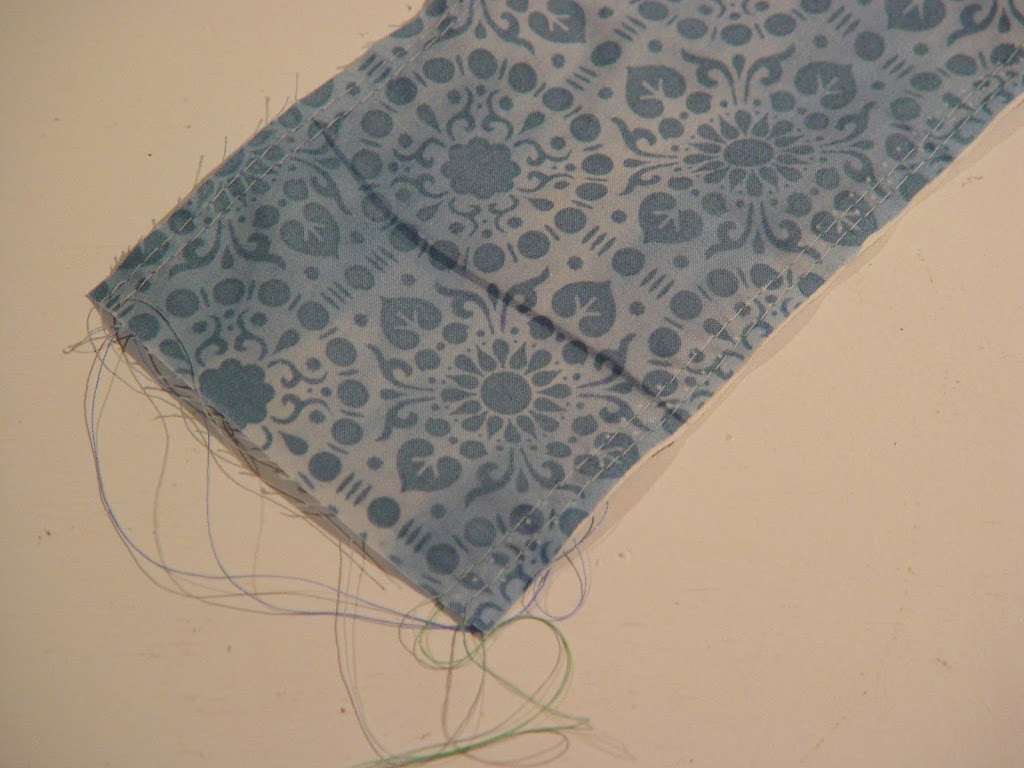
Pull the bottom threads and gather the fabric to be approximately 15″ long.
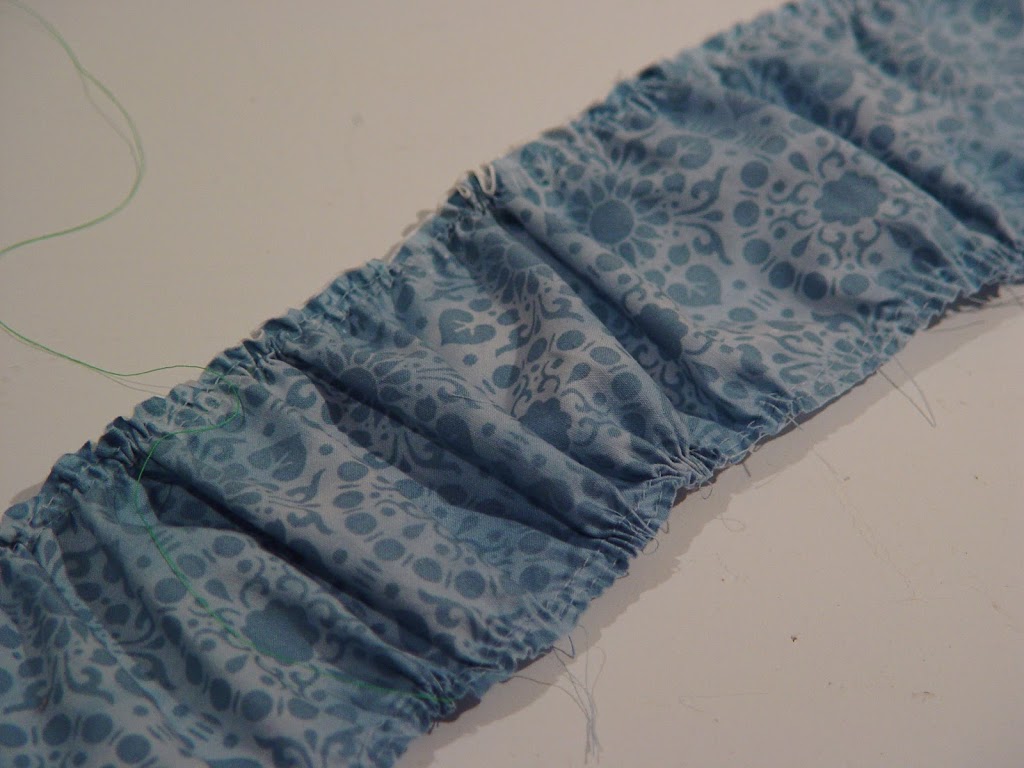
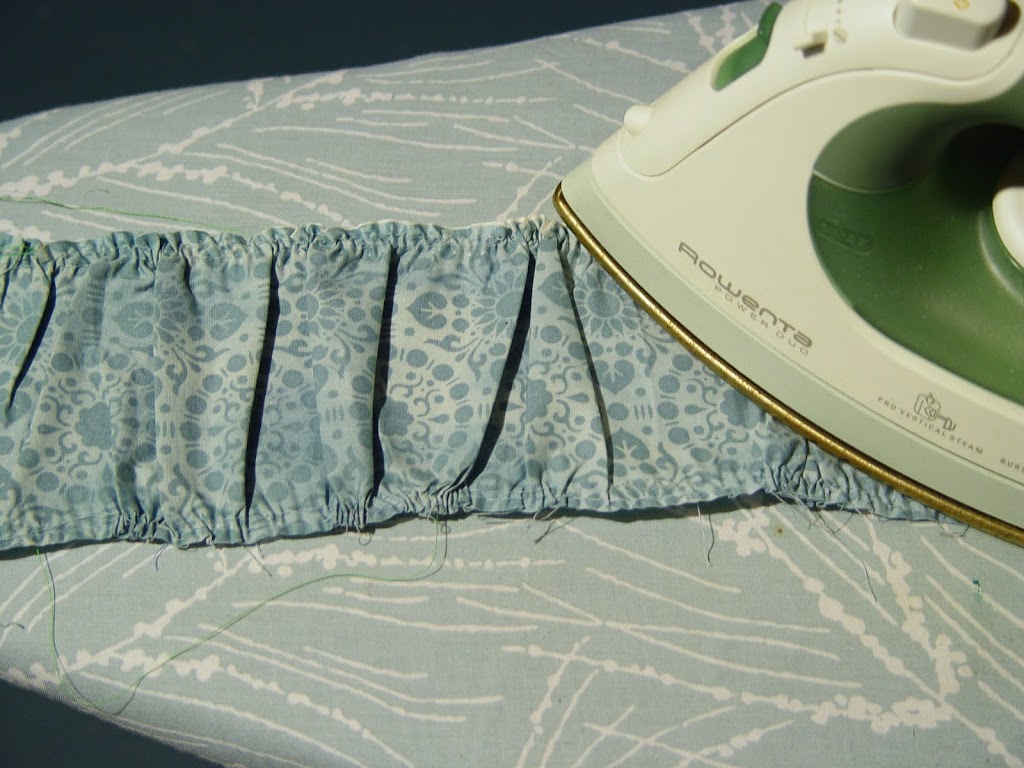
Lightly iron in place and iron the interfacing on the wrong side.
Take your pattern piece and cut out the headband from the top (ruffled) and bottom (15″ x 3″ plain) pieces. The pattern piece I’ve given you is only half. Either cut on a fold or make a larger pattern with a file folder.
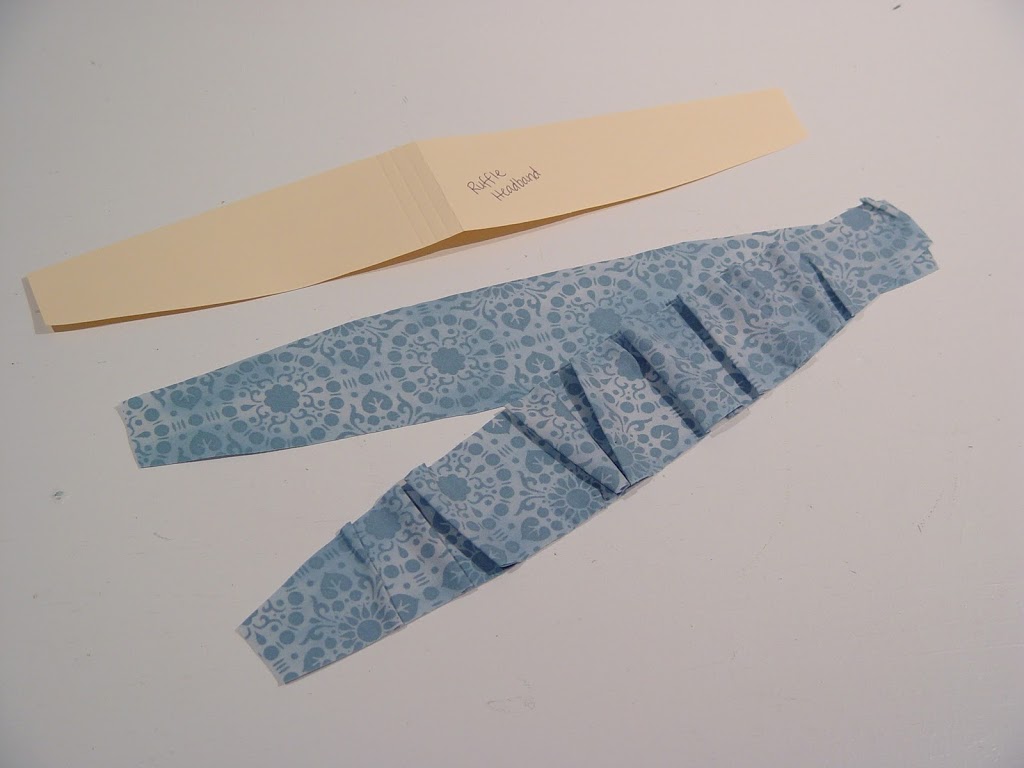
Pin the two pieces (right sides together) and sew along the sides with a 1/4″ seam allowance creating a long tube.
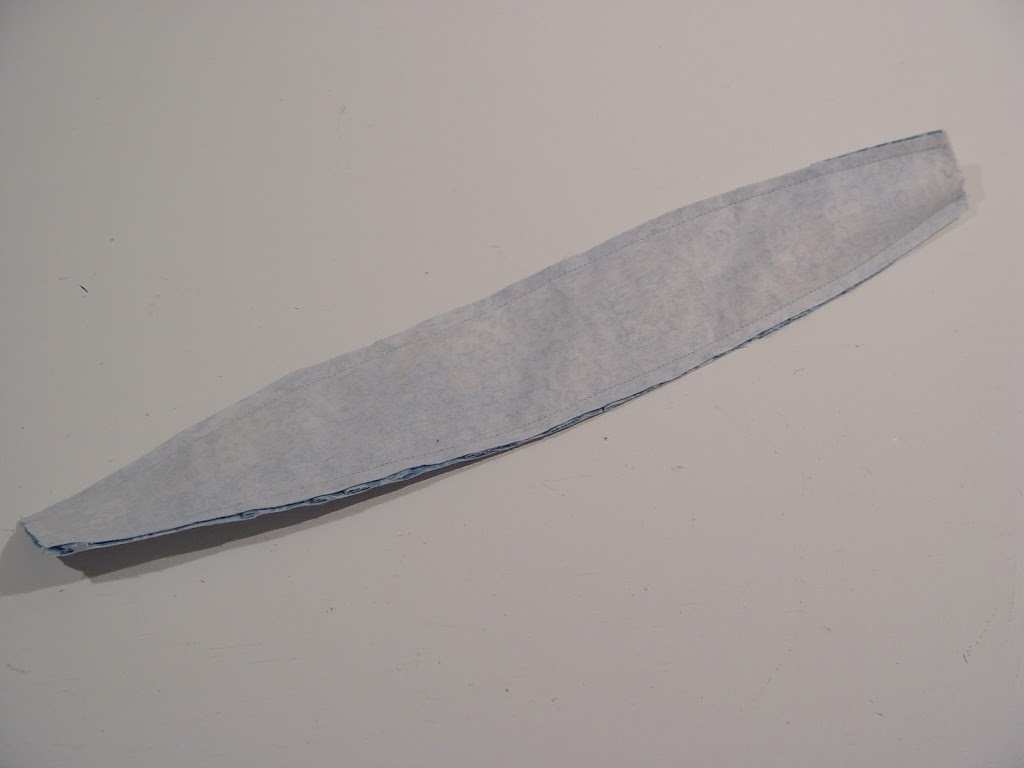
Turn right side out and press.
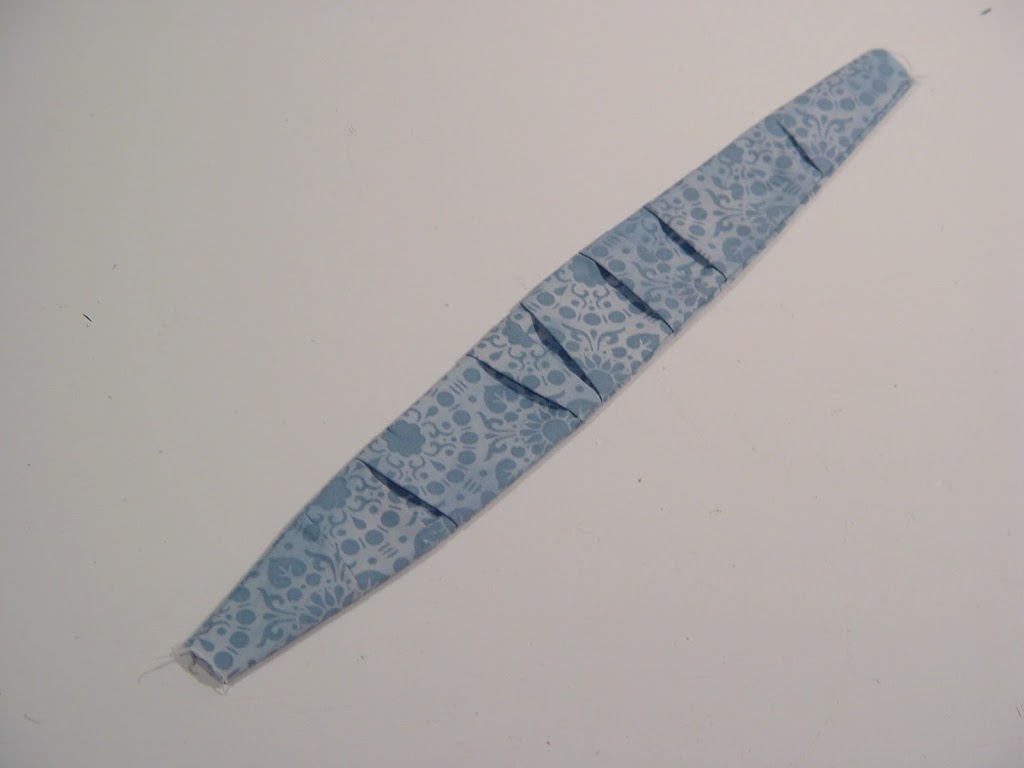
Turn ends inward about 1/4″ and press.
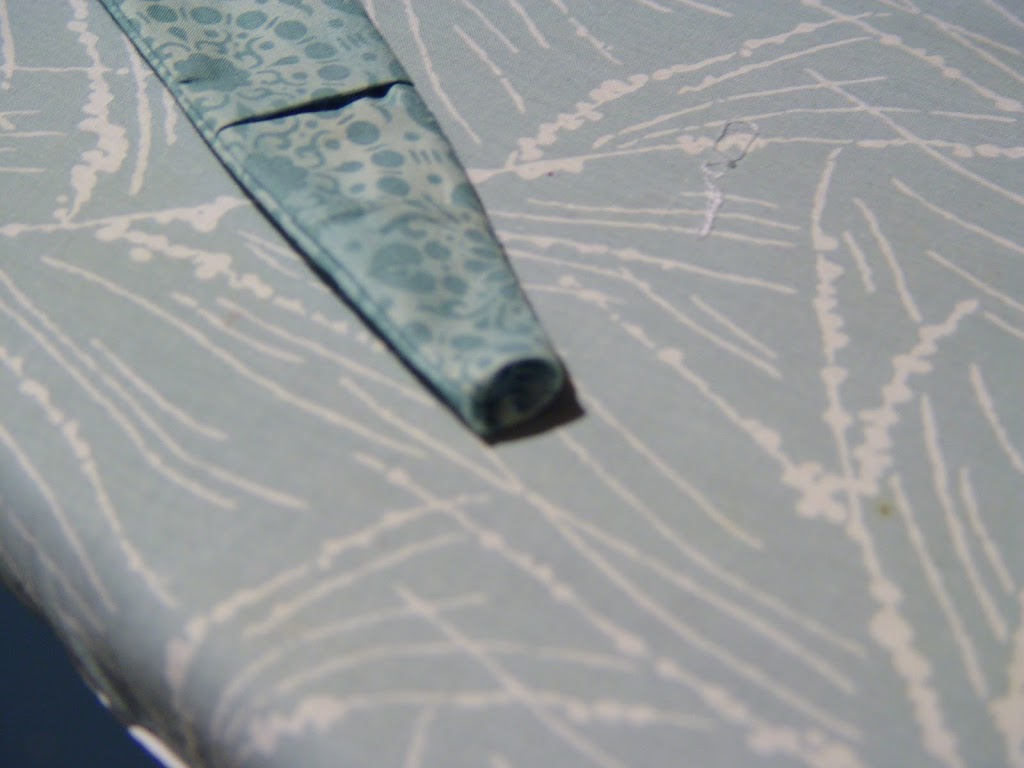
Insert a 6″ piece of elastic inside and sew to close and secure elastic. Pull the elastic around to the other side of the headband, making sure it doesn’t twist and sew into place. NOTE: For a child’s size use a 4.5″ piece of elastic and for a toddler use a 3.5″ piece.
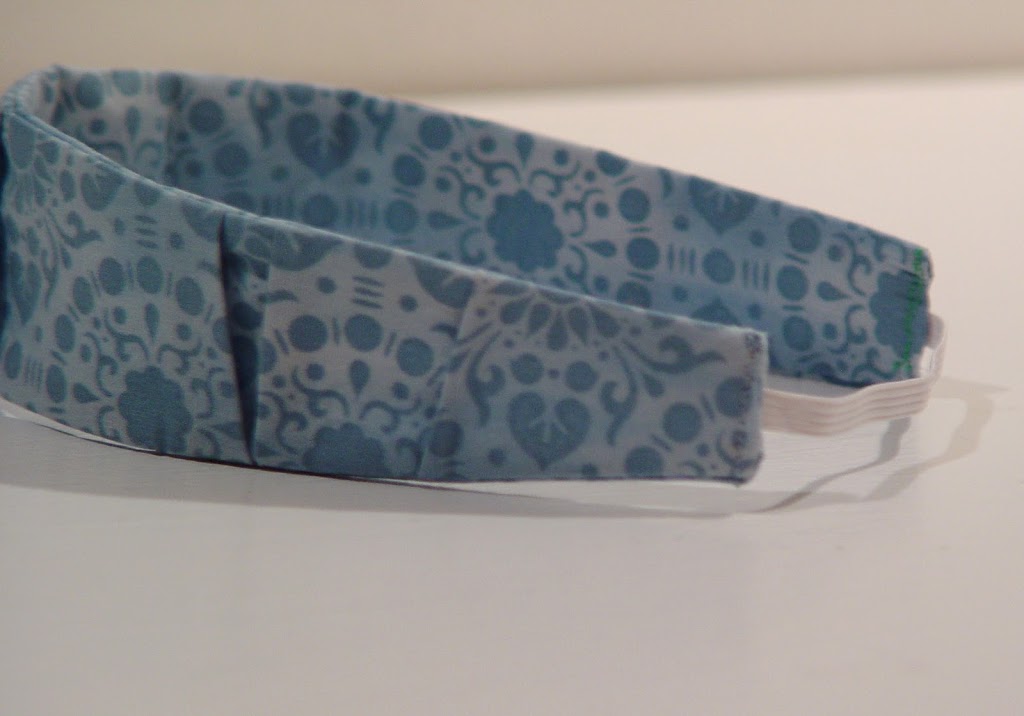
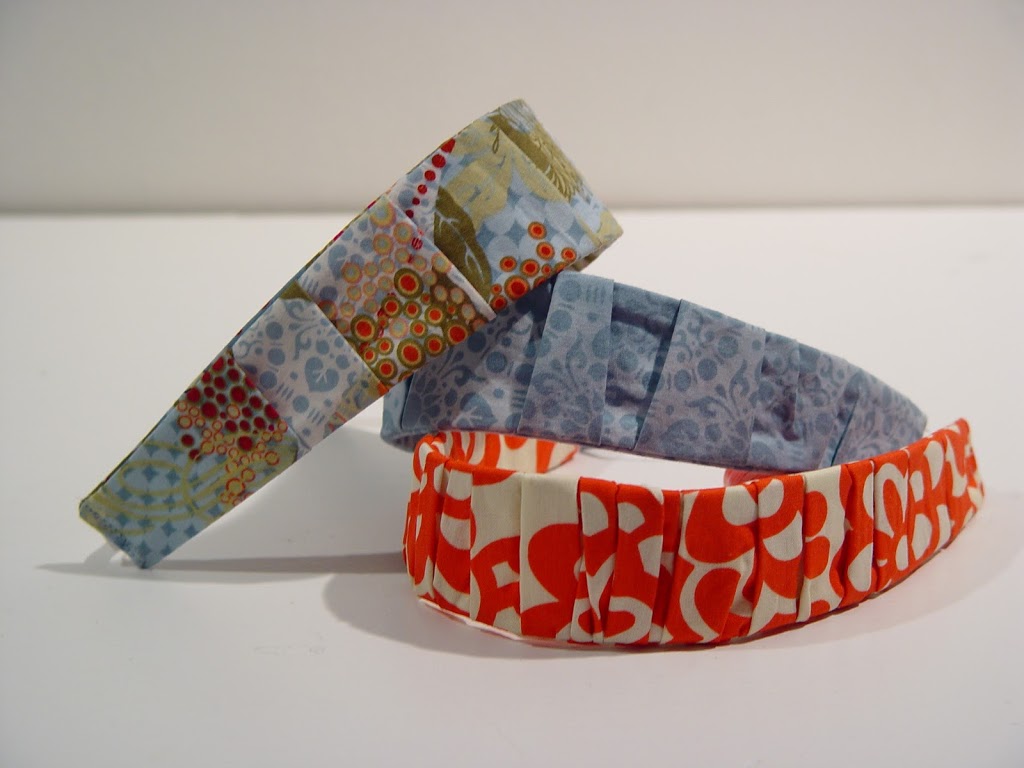
And here’s the result:
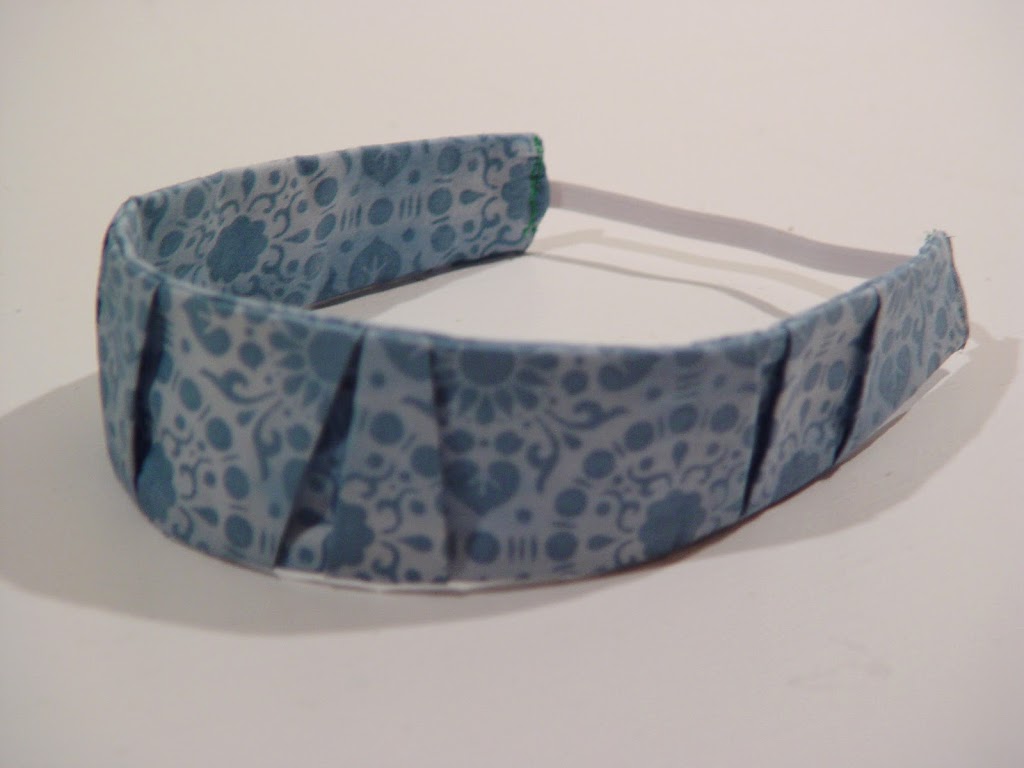
If you start with a 42″ piece of fabric, your ruffles will look more like this:
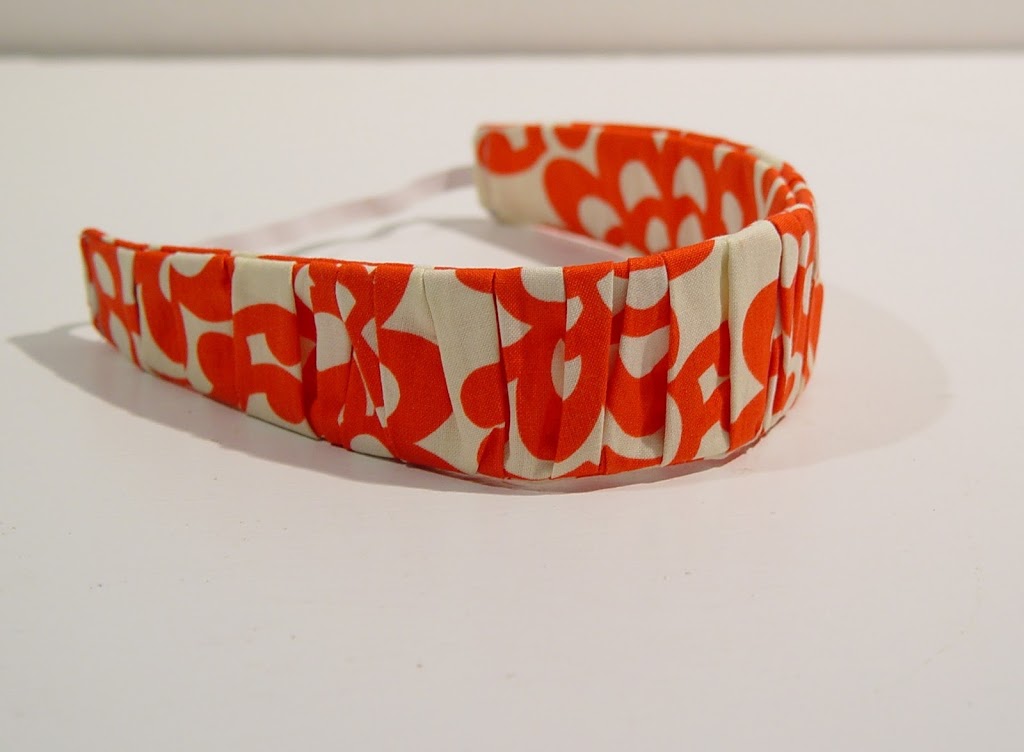
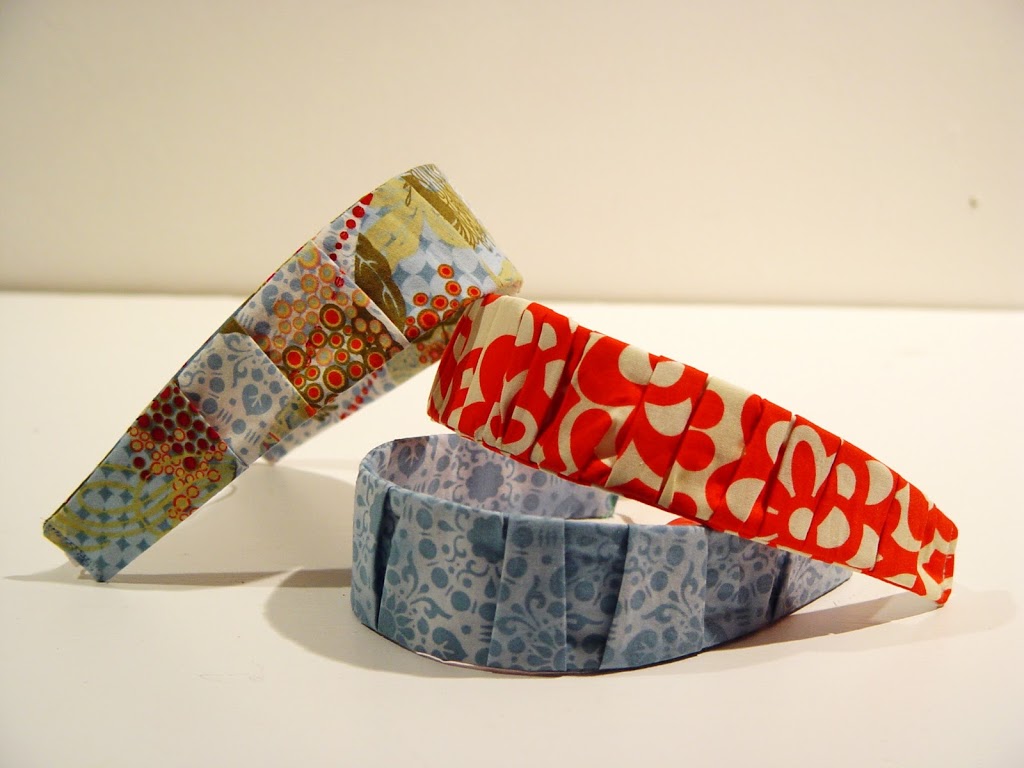
There you have it! They’re really quick and lots of fun! Happy Sewing!


very cute! I have made some similar to this, I never thought of gathering it though! I’ll definitely have to try it!
excellent! I am making a few different kinds of headbands for my friend for christmas – and this will be a perfect addition to the mix. Thank you!!
lindsay
Super cute. I’ve made headbands like this, but like Lynette I never thought to make them ruffled!
Very cute! Great way to use up my fabric scraps.
Just a quick note to let you know that a link to this post will be placed on CraftCrave today [01 Dec 01:00am GMT]. Thanks, Maria
I caught this over at Someday Crafts Linky Party. Great idea…I think we’ll make some for an advent activity. Thanks!
Very cute!
lovely =)
thanks!
Oh these look good! Ive made similar to go over plastic headbands – always a gift hit!
very cute! adding them on my to-do list! 🙂
i love thank you
Thank you so much for posting this! These are the cutest headbands-can’t wait to make some for myself! Posted about it here:
http://makealong.blogspot.com/2011/01/ruffle-headband.html
I Just made it, and it’s beautiful, thank you so much for your tutorial
OK, trying to makme this right now — how on earth do i turn it inside out to the right side now??
To turn it inside out: grab a safety pin (with a head that can fit through the opening). Attach the pin to one side of one end and start pushing the pin through the center. It will take a bit of time, but it will work and you’ll get the pin out the other end, then you can pull the rest of the headband right side out.
I featured this on my blog today!
alove2create.blogspot.com
Thank you for sharing this great tutorial! How would you make this to fit on a plastic headband?