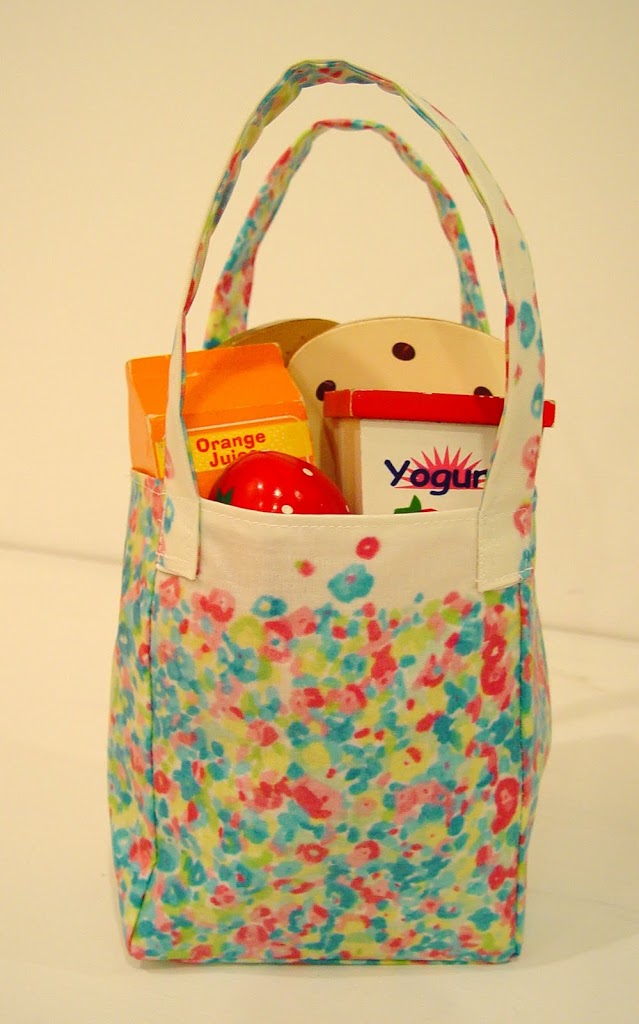
I’m always trying to find ways to not waste the scraps of fabric from my sewing projects. One of the easiest things to do is to make a small purse or bag for a little girl. Here’s a little tutorial for an oilcloth mini shopping bag for your favorite little one. (Note: Since I used oilcloth, I did not design the bag to have a lining. If you did make it with other types of fabric, I would suggest lining it to get a nice, clean look.) I used the scraps from this project. (This bag is sewn completely differently from the large one.) I think my daughter will love going to the farmers market with our matching bags.
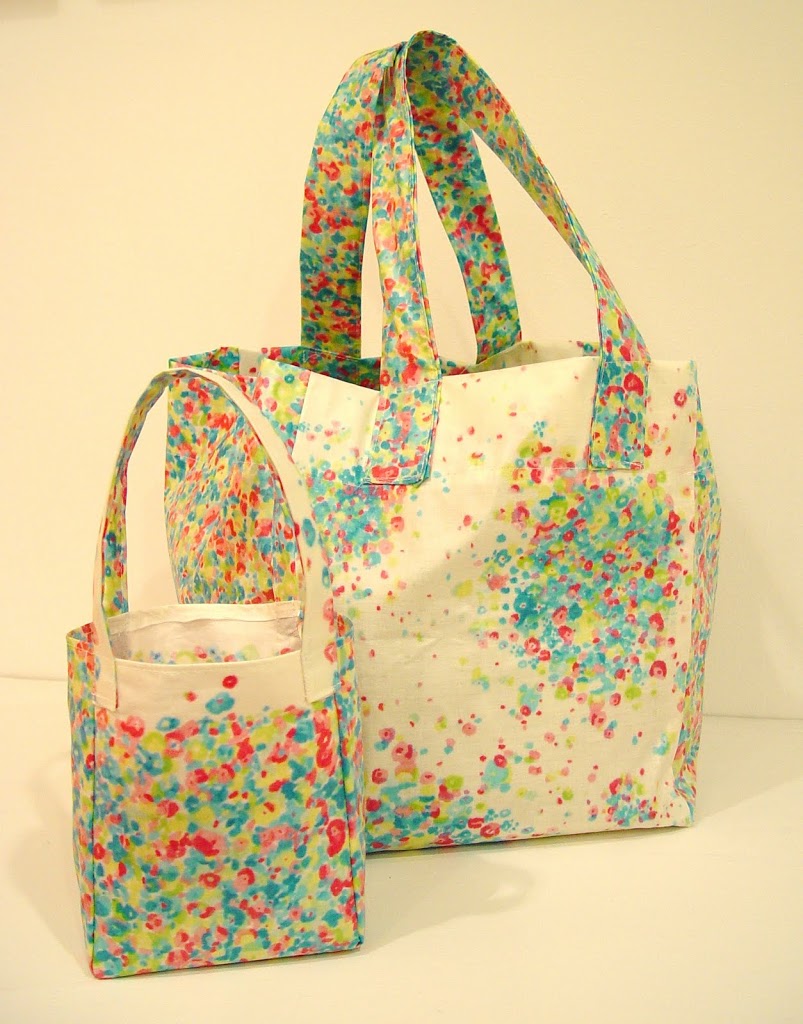
So here’s how you can make one! (This is my first sewing tutorial, so please let me know what you think.)
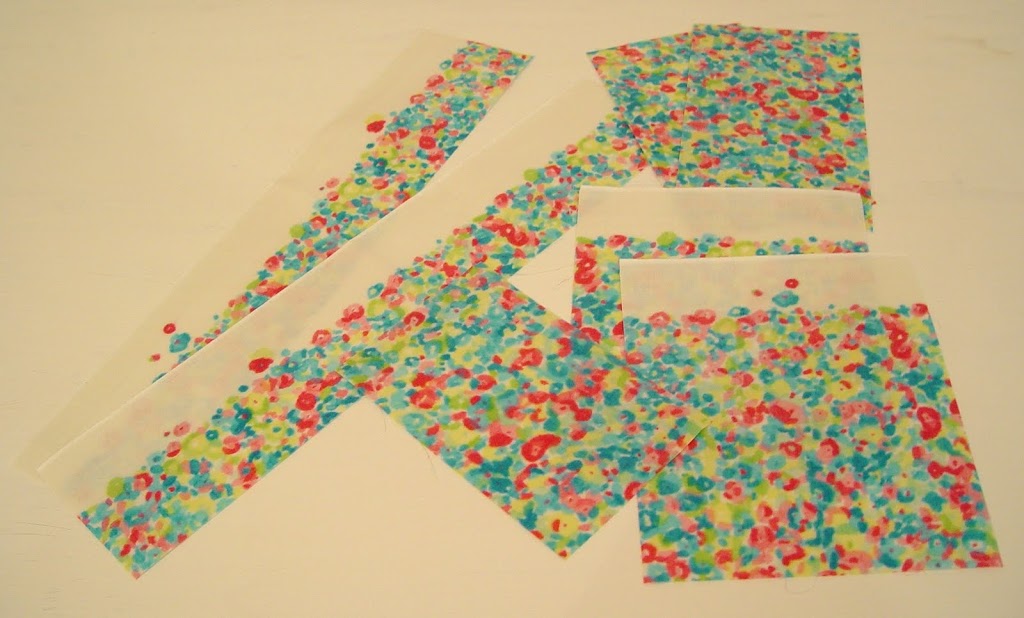
Cut the following pieces from oilcloth.
(2) 8″ x 6.5″ front and back pieces
(2) 8″ x 4.5″ side pieces
(1) 4.25″ x 6.25″ bottom piece
(2) 16″ x 3.5″ handles
You’ll also need a water soluble marking pen, thread and low-tack masking tape (like painter’s tape).
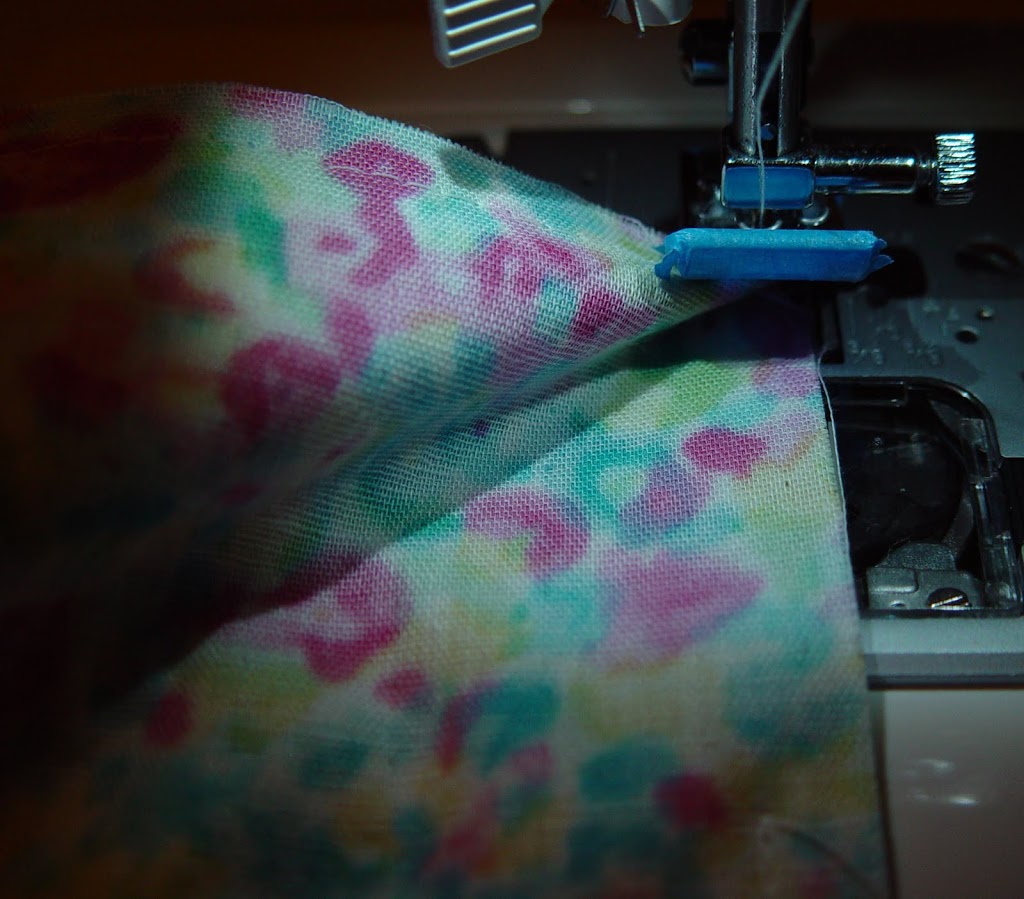
Tip: Put some low tack masking tape on the bottom of your pressure foot when you’re sewing the oilcloth to prevent slipping.
Increase your stitch length to approximately 6 stitches per inch.
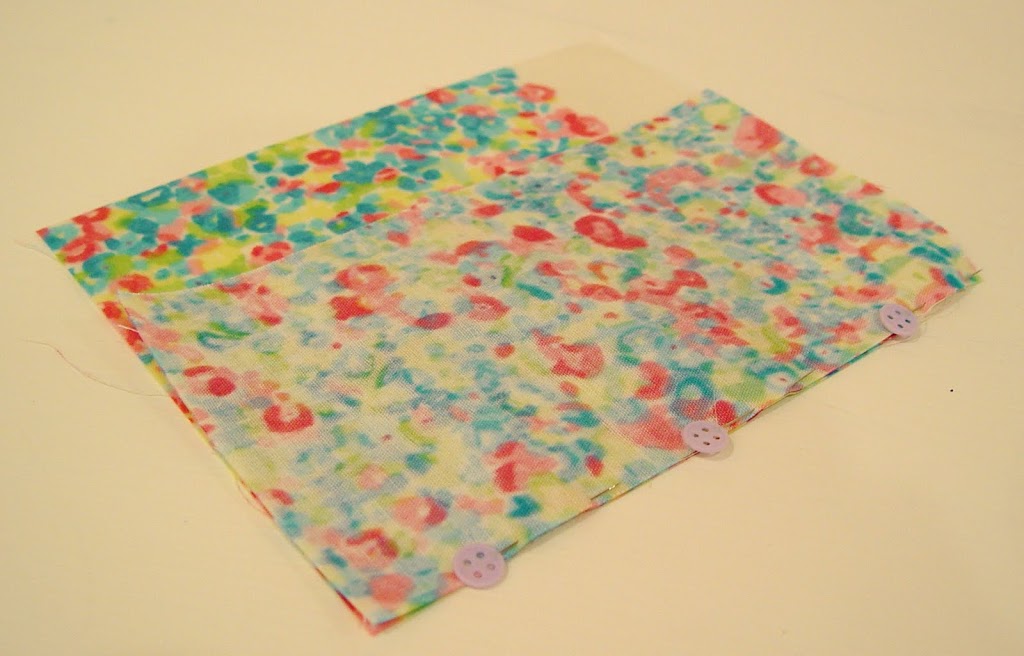
Start by sewing one of the side pieces to a front/back piece (right sides together) with a 3/8″ seam allowance.
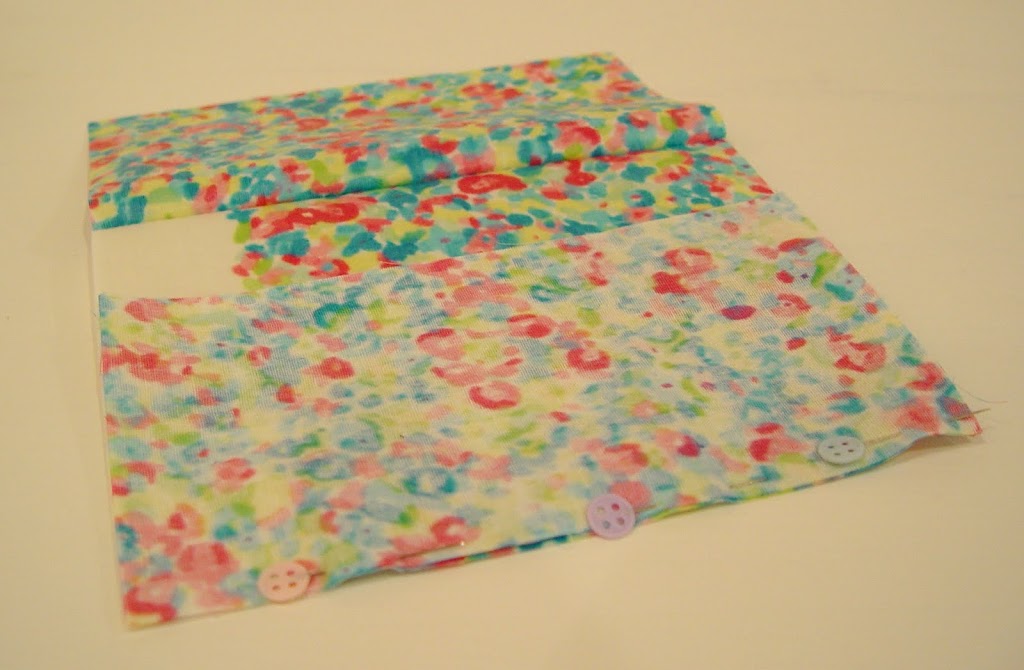
Continue adding the other side piece to front piece.
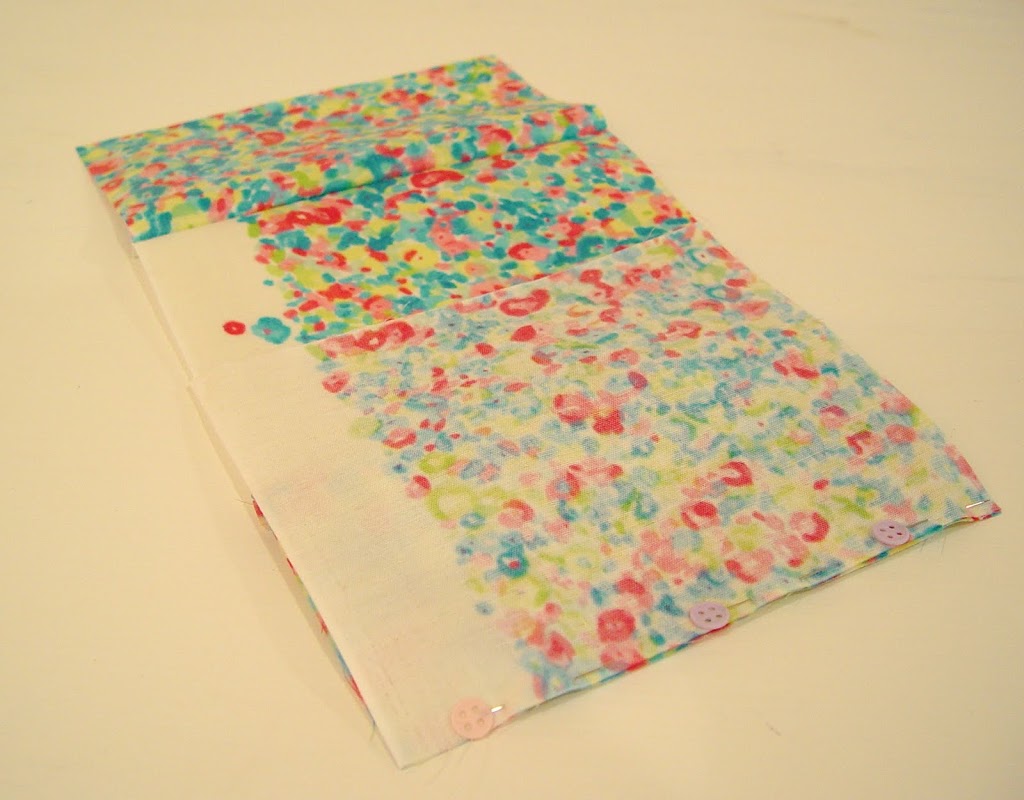
So now we have the front and two sides sewn on.
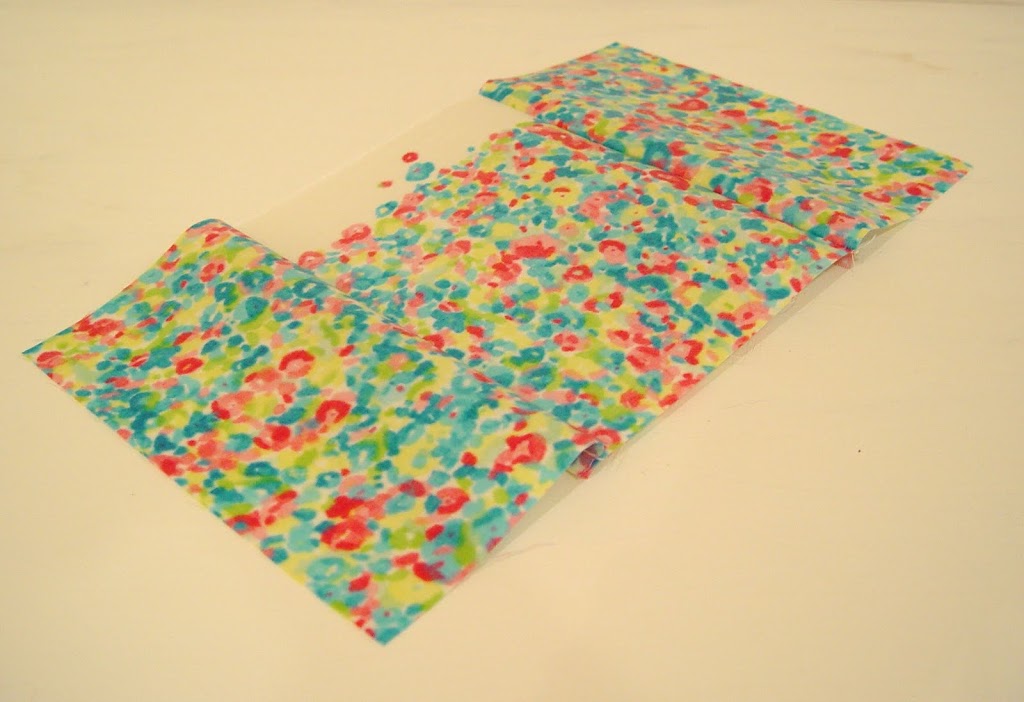
Then add the final back piece and complete the four walls of your bag.
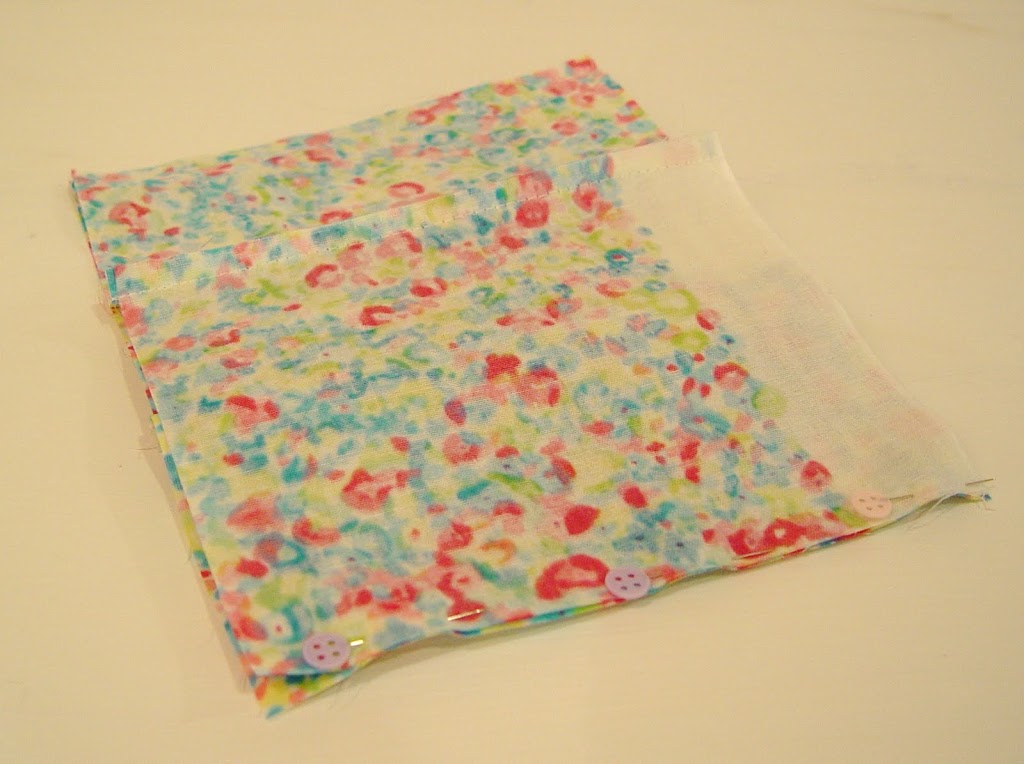
You’ve now got a bag without a bottom.
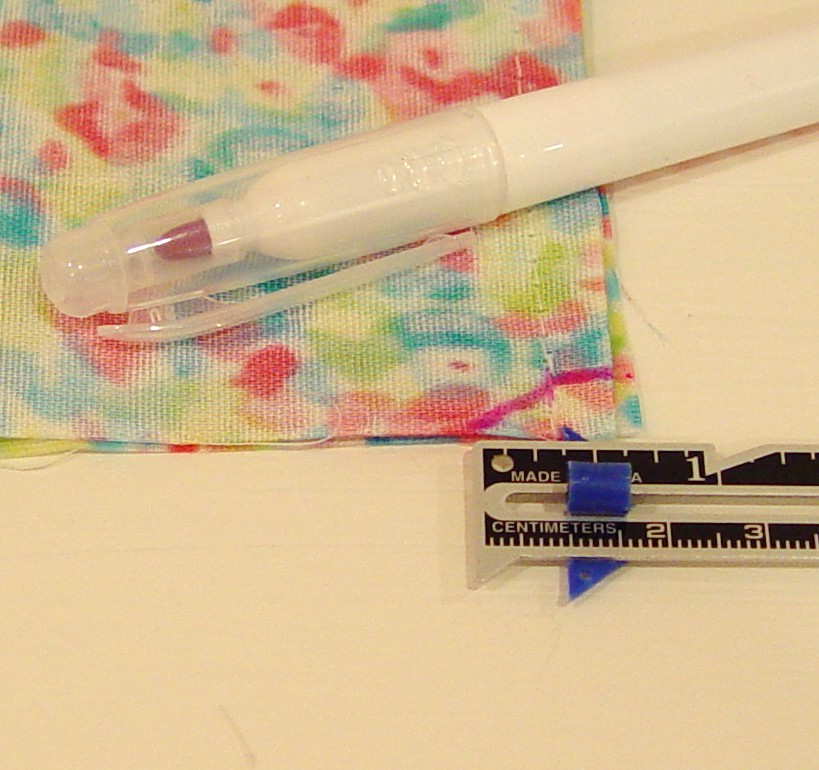
Before we add the bottom piece, we need to trim the corners on the bottom of the bag. Measure 3/8″ in from seam line and mark with a water soluble pen. Then from the bottom, measure 3/8″ up along the seam line and mark this point and make a line to the other point you made and another to the edge of the fabric.
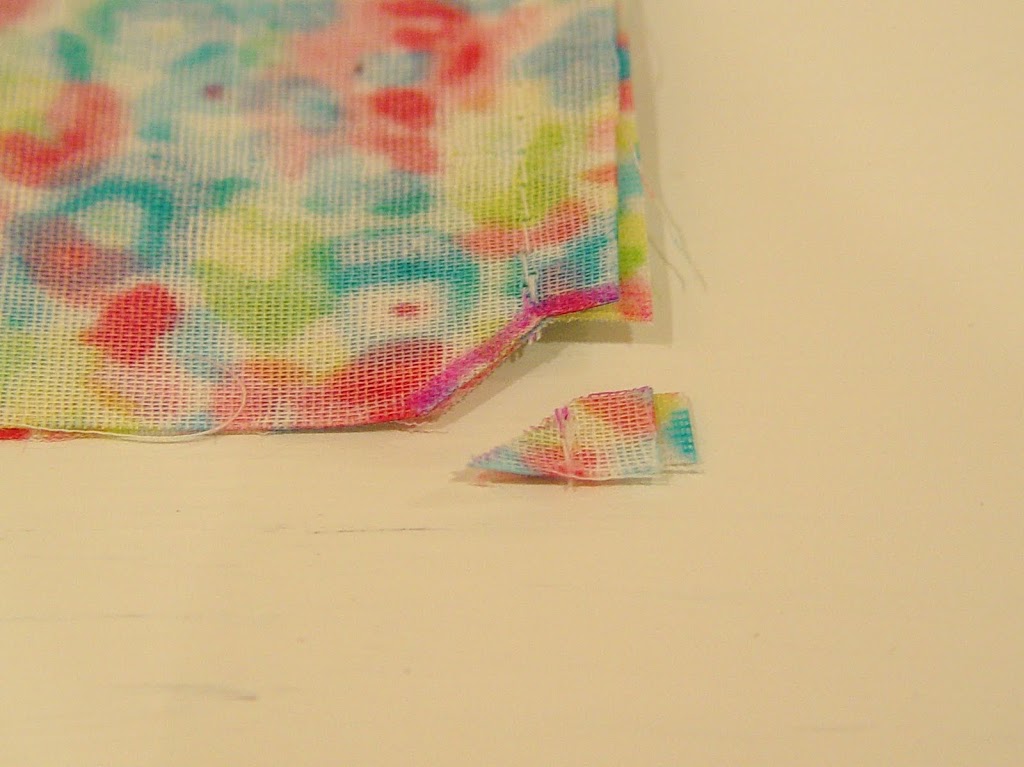
Trim this extra fabric.
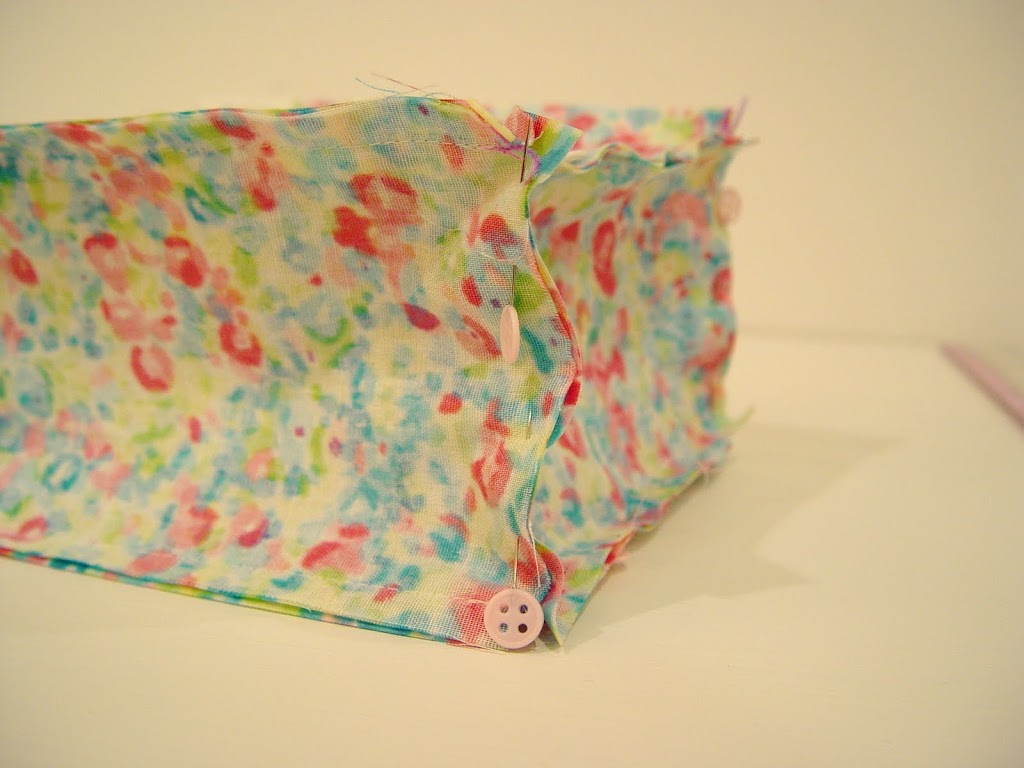
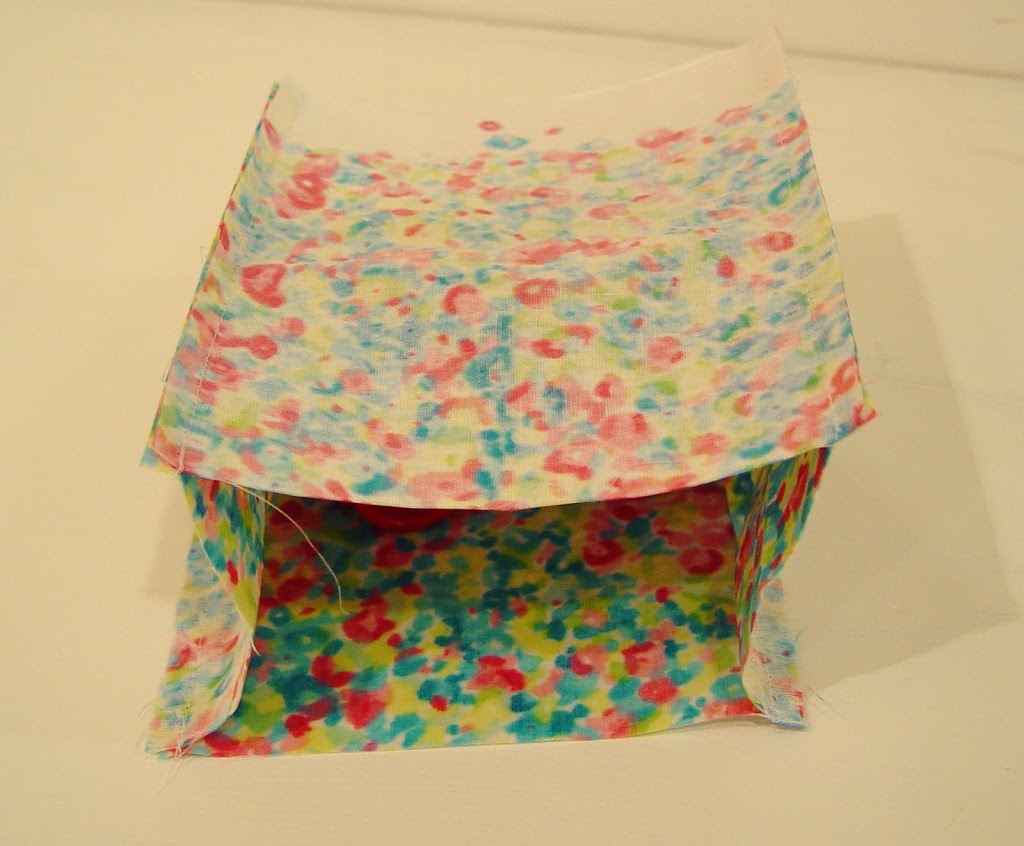
The next step is to add your bottom piece. Making sure that your bag is inside out, pin the bottom on all sides.
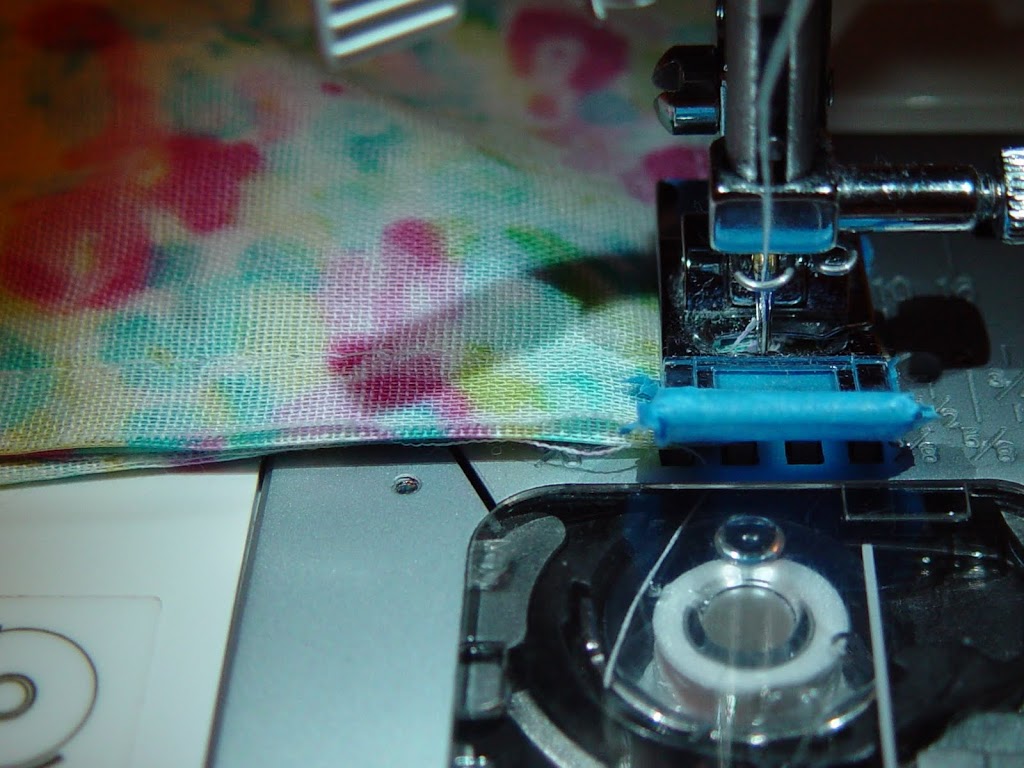
Sew around the bottom with a 3/8″ seam allowance. It’s easiest to start sewing in the middle of a front or back piece rather than at a corner. When you reach a corner, stop at the seam line for the side (3/8″ from the edge). Keep the needle in the down position.
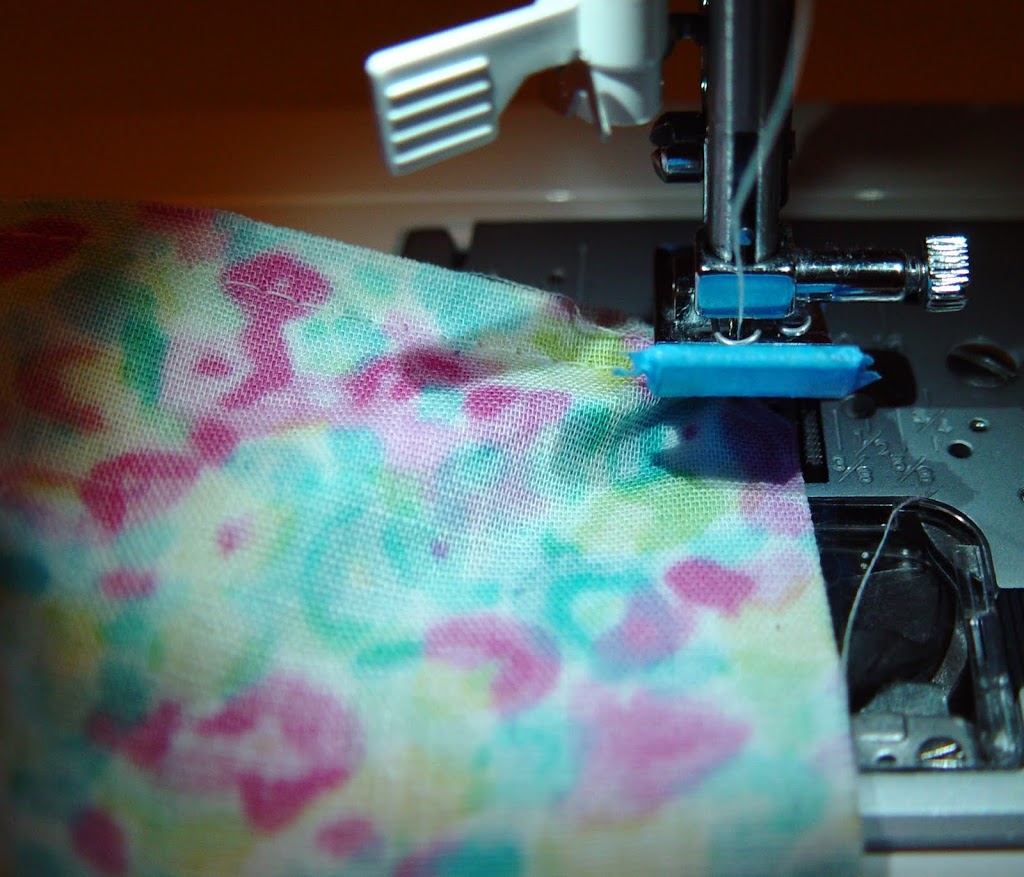
Lift your pressure foot and rotate the fabric.
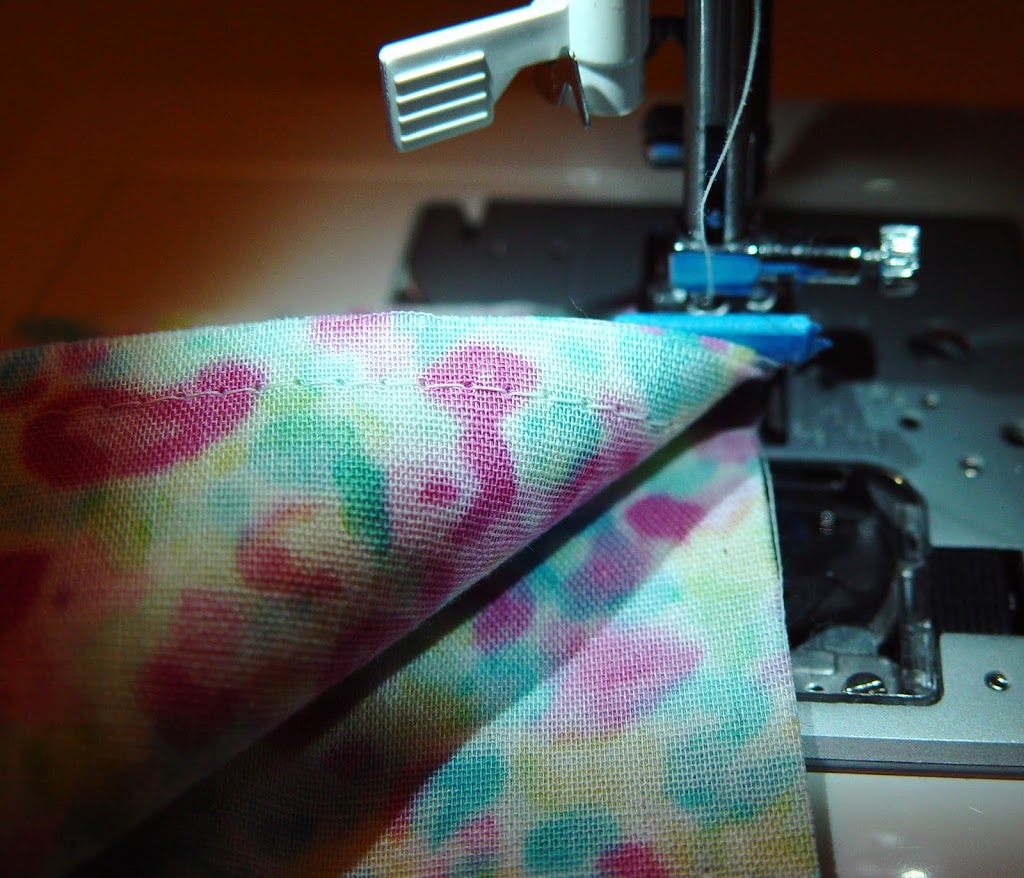
Lift the side of the bag from your sewing path
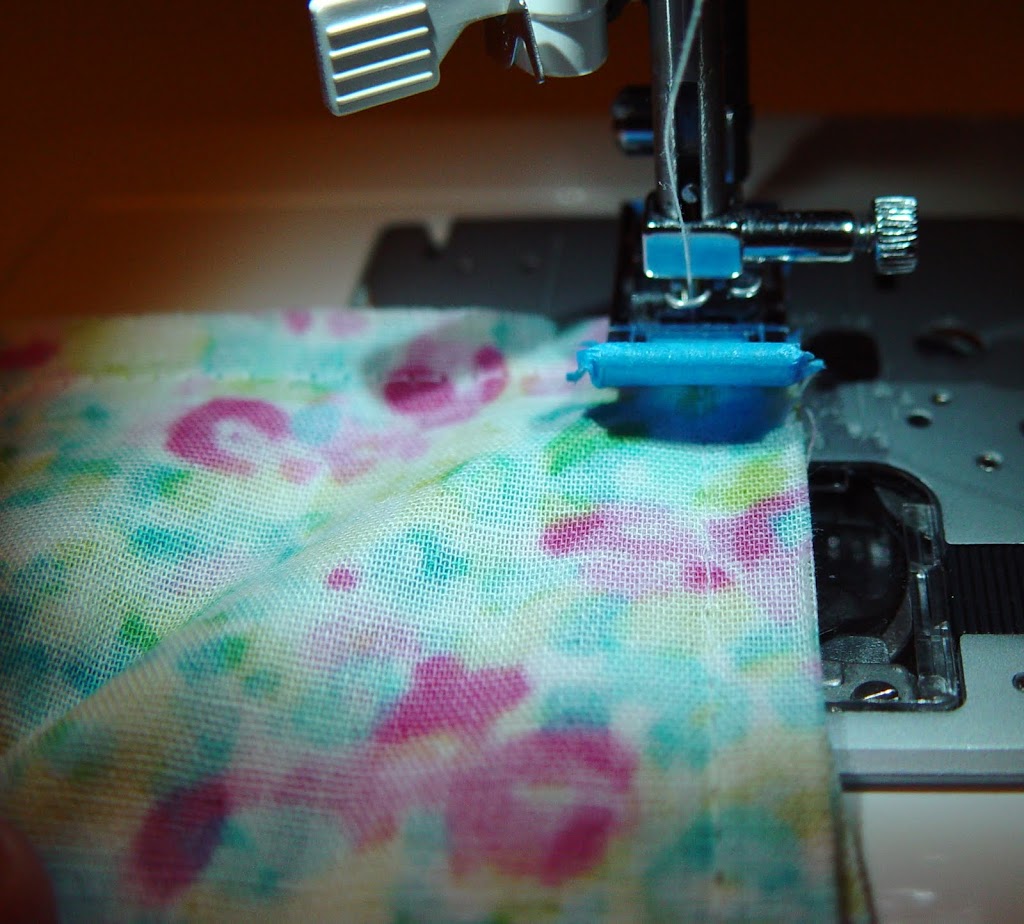
and lay it flat so you now have just your two layers in front of you (that you want to sew together).
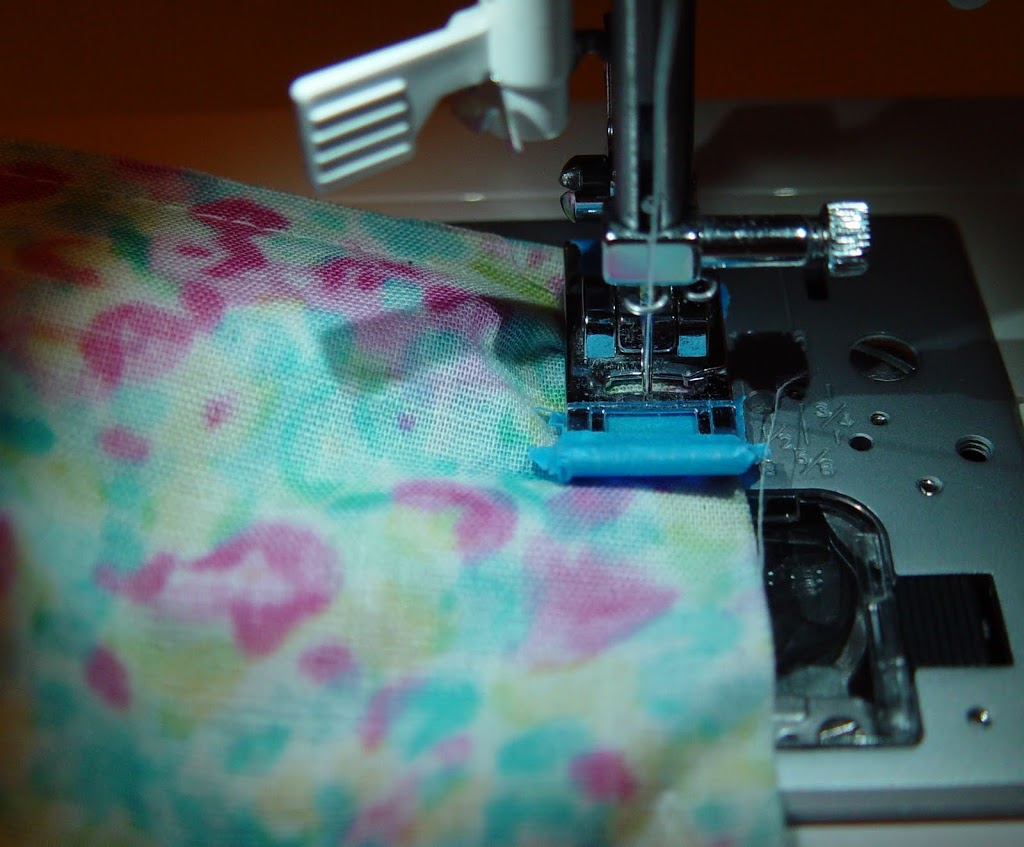
Continue sewing and repeat at the other corners.
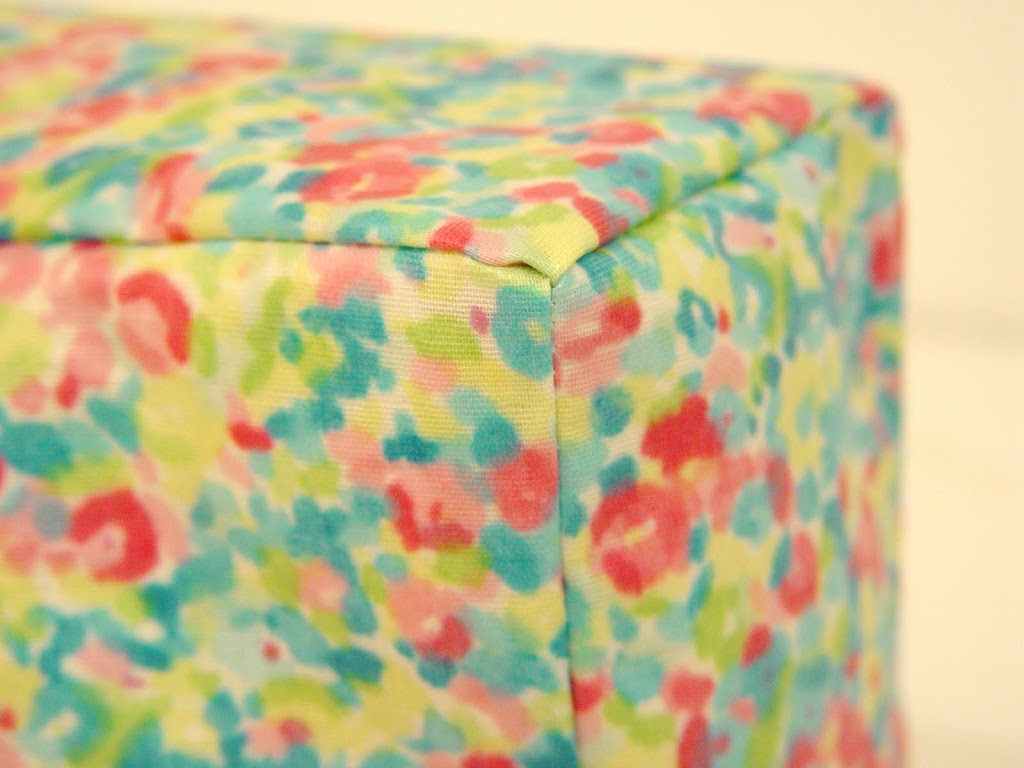
This should give you nice clean corners!
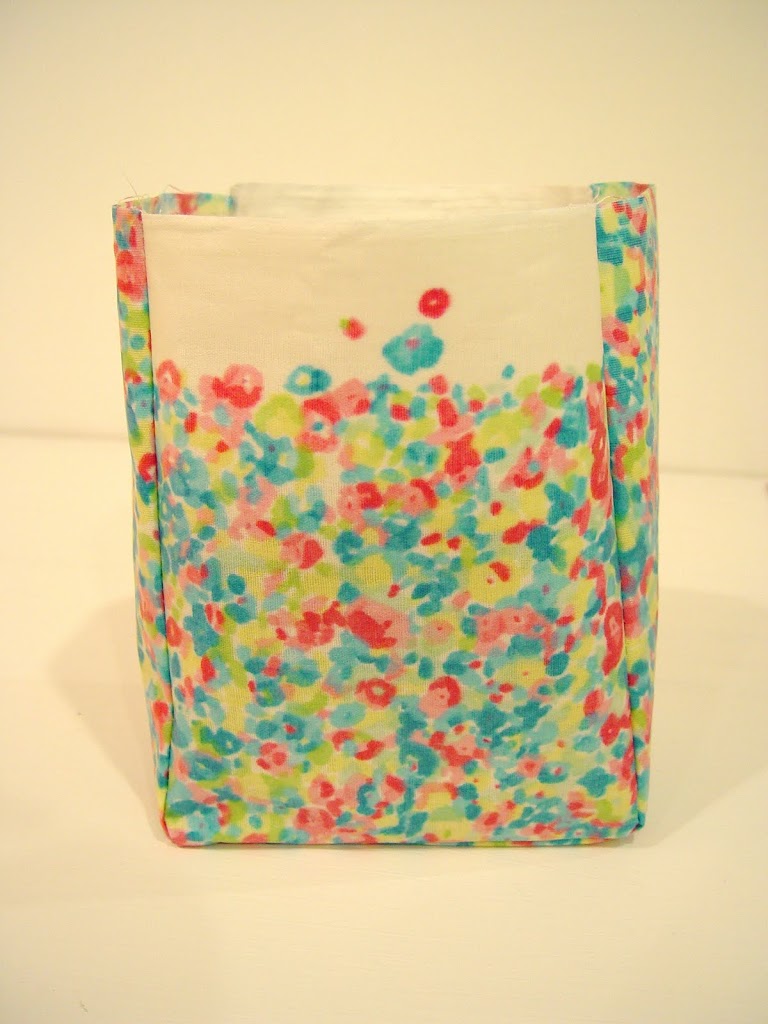
Turn right side out. We’re almost done!
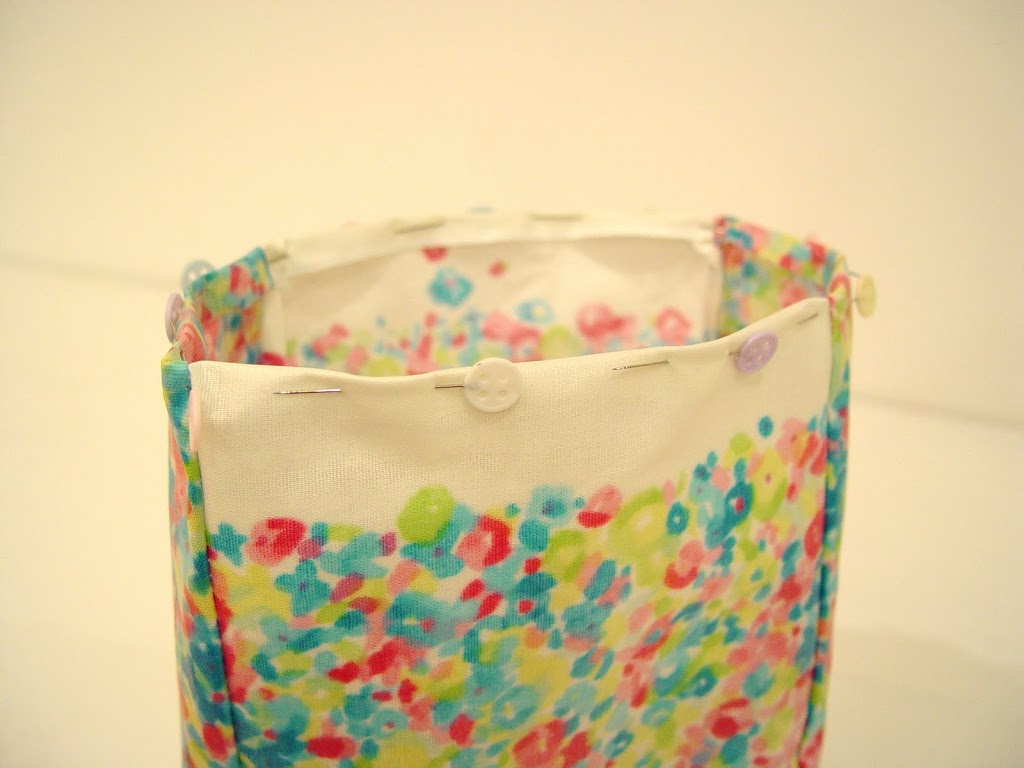
Fold down top edge 3/8″ and pin in place.
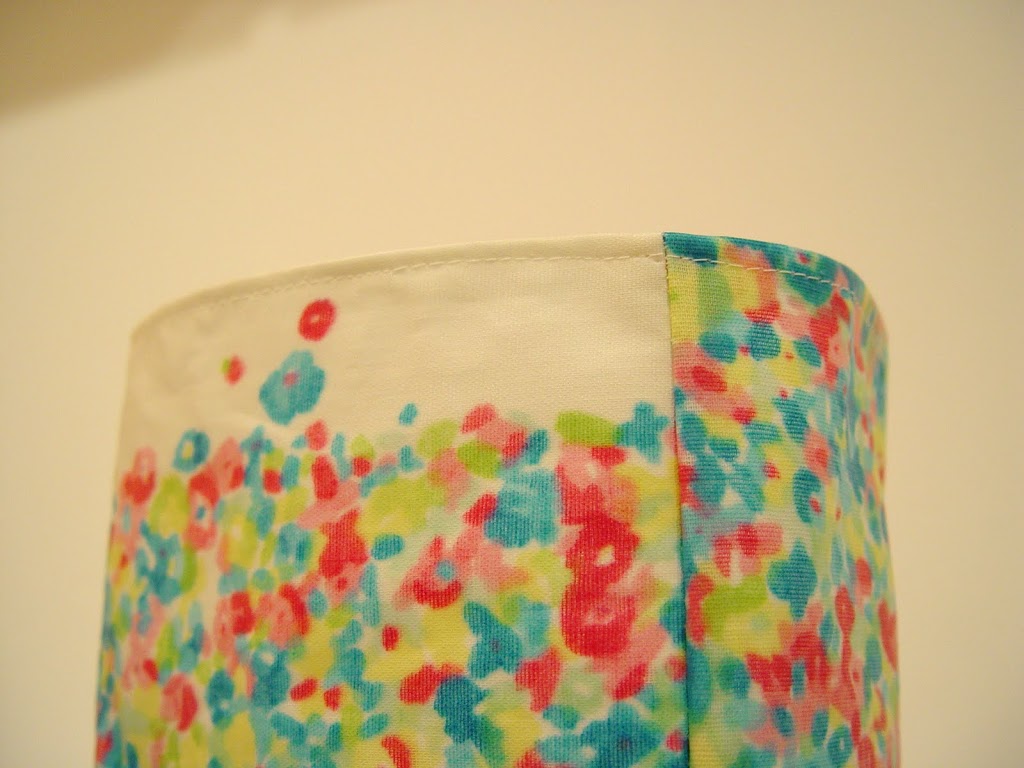
Top stitch around roughly 1/8″ from top edge. Then set aside.

To make the handles. Lay out a handle piece wrong side up on a table.
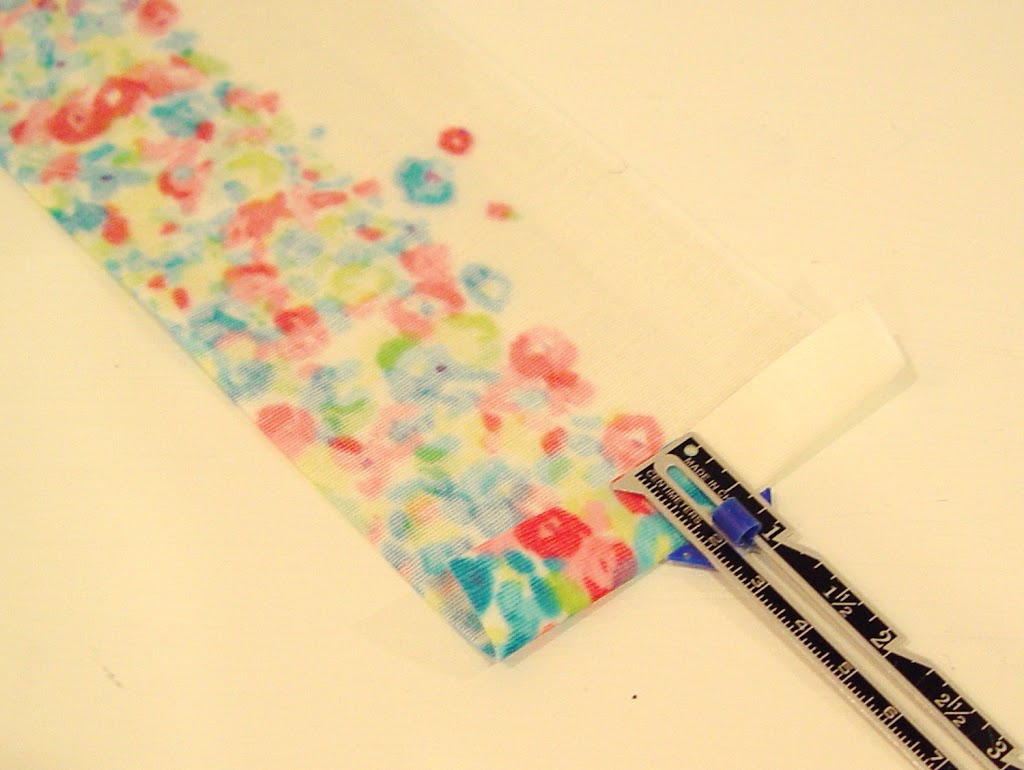
Fold in 5/8″ on each end. (Short ends.)
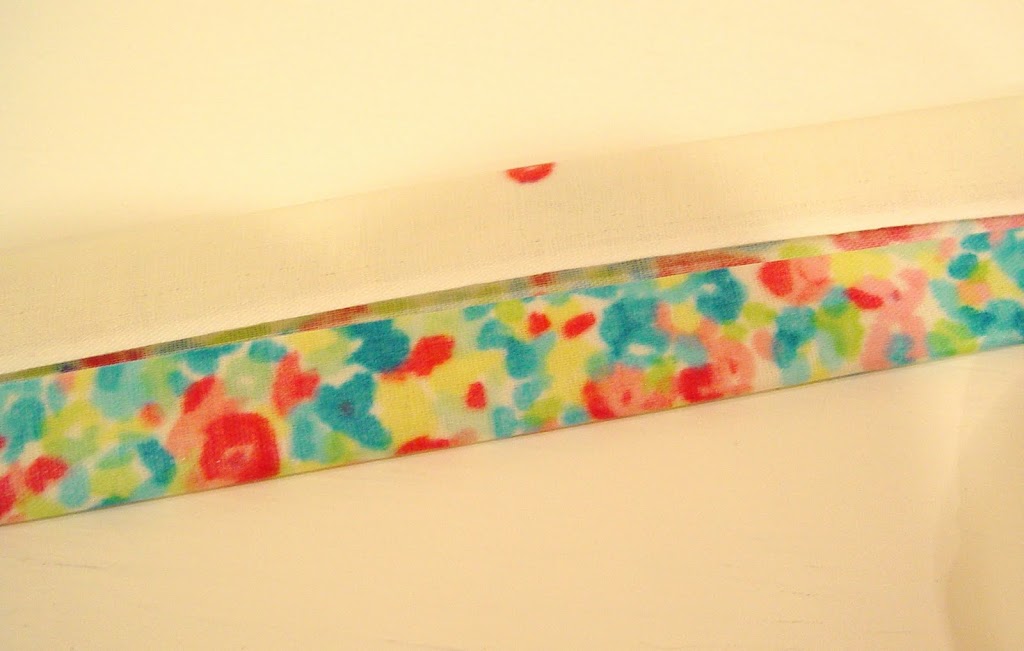
Fold in half (lengthwise) making a nice crease in the center. Open back up and fold the outer edges to the center crease.
Fold in half again along that first center crease. Pin handles together and sew around edges to secure.
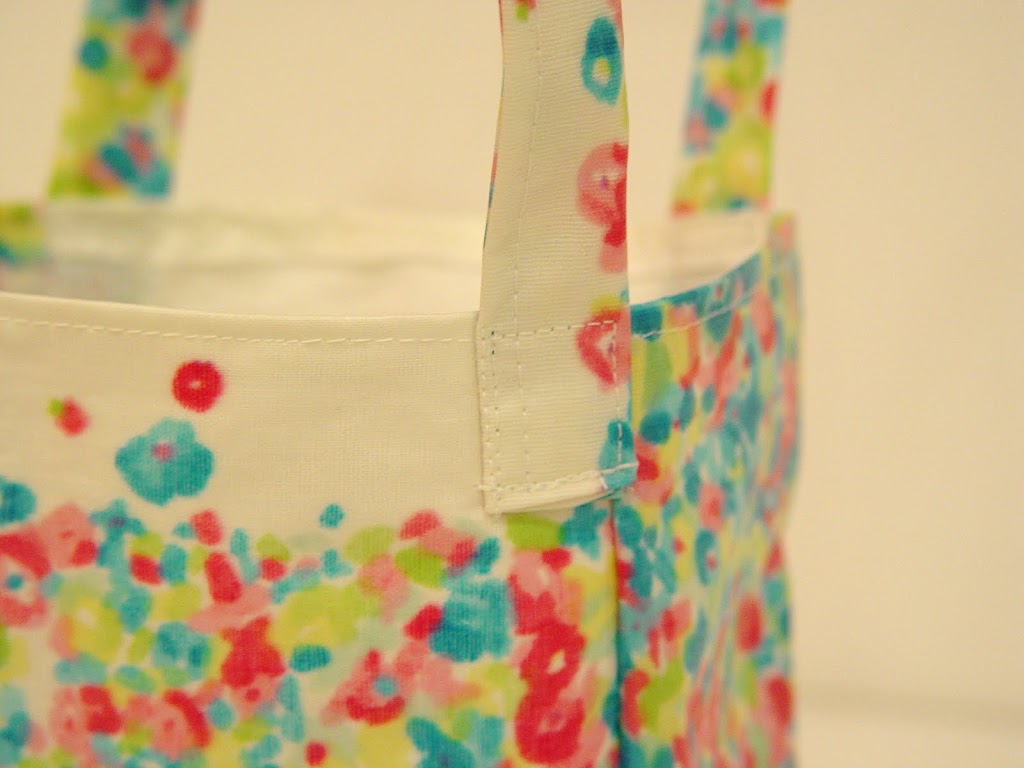
Attach the handles to the bag with a 1″ overlap, lining the edge of the handle to the seam line of the bag.
And you’re done! I hope you enjoy this!


very cute vanessa! you’re on a roll now….
🙂
What a cute little bag!! I blogged about your tutorial at Craft Gossip Sewing:
http://sewing.craftgossip.com/tutorial-oilcloth-mini-shopping-bag/2010/02/11/
–Anne
We have been using only reusable bags for our grocery and other shopping needs for about 3 years now in our humble attempt to go “greener”. The bags that we use are the basic ugly generic ones the grocery stores sell for around $2. It would be nice to have a stylish shopping bag to use. Thanks for sharing this post so much.
Well good to see that oilcloth-mini-shopping-bag,
thanks for this article.
Hi,
very nice and amazing bags,
nice to join this article….
thanks!!!!
Well all these bags are nice and so beautiful. Thanks for sharing these bags.
Well done! I am gratified that you have shared this important news with me. Thanks!
Greek Clothing
I am really pleased to post my comment on this blog .I love your blog by the way, I am gonna have to add you to my list of watched blogs!
At first I thought you were using buttons around the bottom. Now I see that they are pins. Clever.
beautiful bag.. I should try to make it. thanks
I DONT UNDERSTAND THE MEASUREMENTS.
THE HANDLES ARE 216″X3.5″ AND EACH PIECE
IS 28″X6.5″. EITHER I DONT SEE RIGHT OR THIS BAG IS HUGE OR SMALL,ALSO THE PINS DO LOOK
LIKE BUTTONS. VERY CONFUSING.
The dimensions are for the mini bag.
The piece sizes are next to the parenthesis. In parenthesis is the quantity of those pieces needed.
(2) 8″ x 6.5″ front and back pieces
(2) 8″ x 4.5″ side pieces
(1) 4.25″ x 6.25″ bottom piece
(2) 16″ x 3.5″ handles
Hello Vanessa
Thanks for sharing!!!!
Please, can you share the measurements of the bigger bag to match my daughter? Many thanks.
I would like to have the measurements for the larger bag as I have some oil cloth and this would be a good item to make. thanks for your web site. I like it very much
There is a link in the post to another blog post which mentions which book I used to make the larger tote.