I’m reposting this tutorial I did over at WhipUp a couple months ago — just in case you missed it.
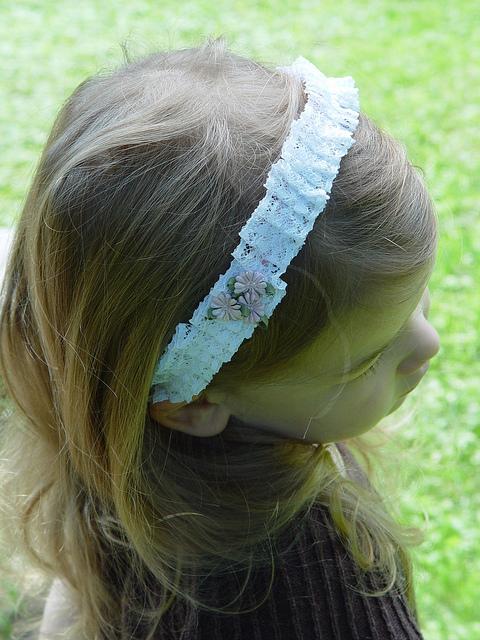
Today I wanted to share with you a very simple project: a pleated lace headband. Super simple, but so elegant! It’s a very easy project, perfect for a beginner or the seasoned pro.

It’s great for little girls or big ones too!

To make a pleated lace headband you’ll need lace, a headband, fray-check, glue (either hot glue or fabric glue). You’ll also need a sewing machine (or needle and thread). Note: You could substitute fabric for the lace cutting it about 1″ wide or to your desired width and then fray-checking the raw edges if you desire.
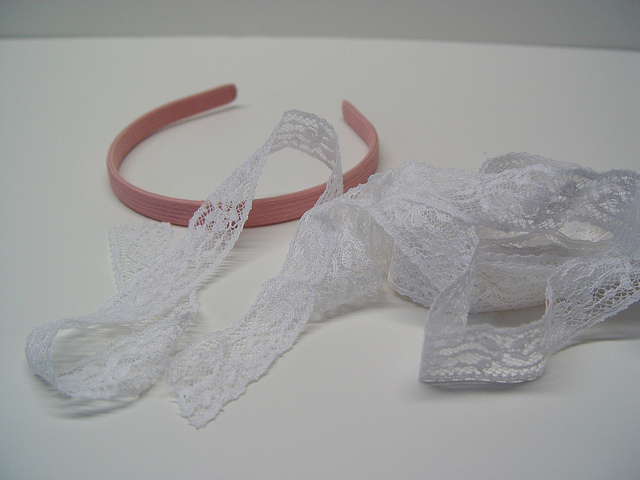
We’ll start by pleating the beginning of the lace (as shown) with your hand.
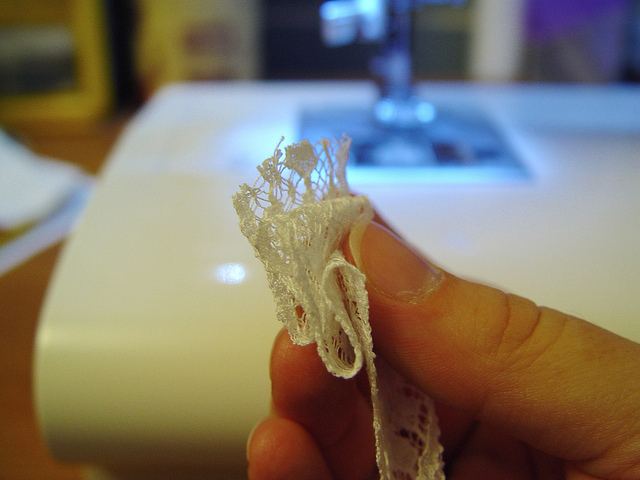
Place the pleated section under your pressure foot and start sewing slowly down the center of the lace (alternatively you can sew down the pleats by hand). Continue pleating the lace as you go by lifting up a section of lace
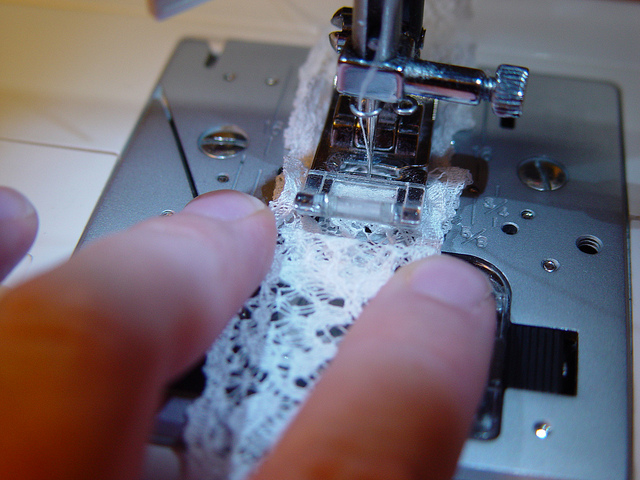
and fold it down so the fold goes under the pressure foot.
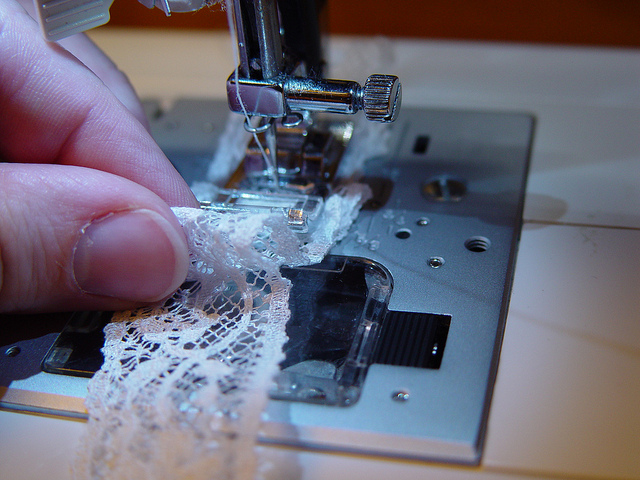
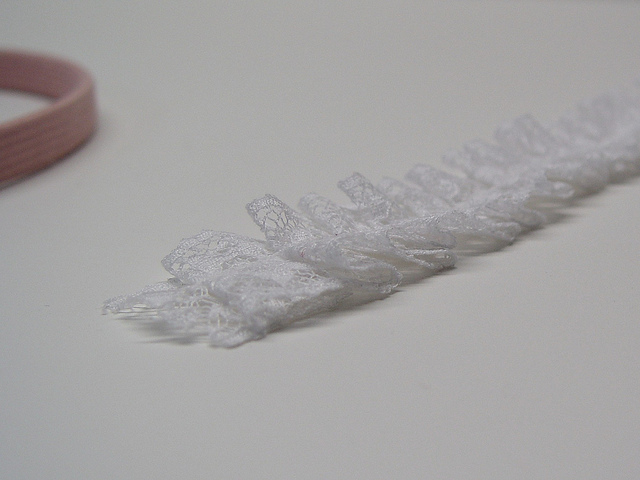
Keep going until you have a length of pleated lace 2 inches longer than your headband. You can use fray check on the ends if you like.
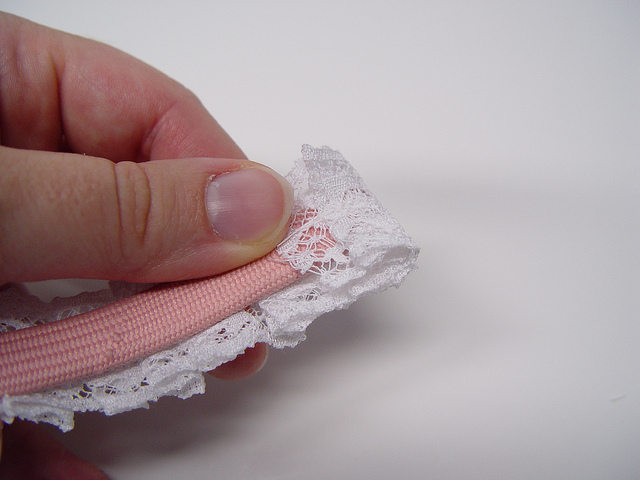
Using hot glue or fabric glue, place a line of glue along the center of the headband making sure you wrap a small bit around the bottom. Continue all the way around.
You can add a bit of buttons or small ribbon flowers if you like.
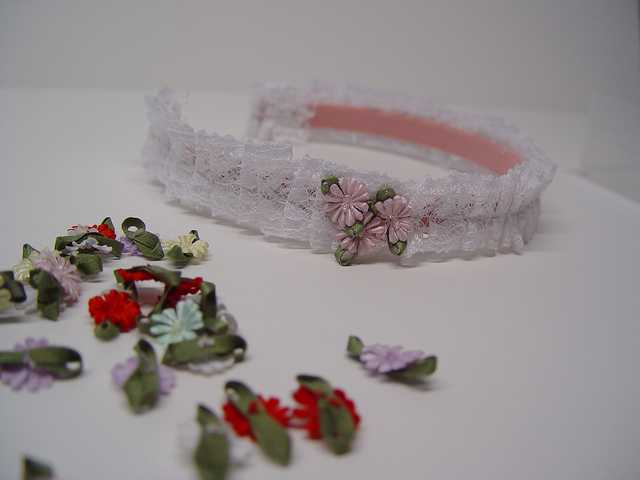
And you’re done!
