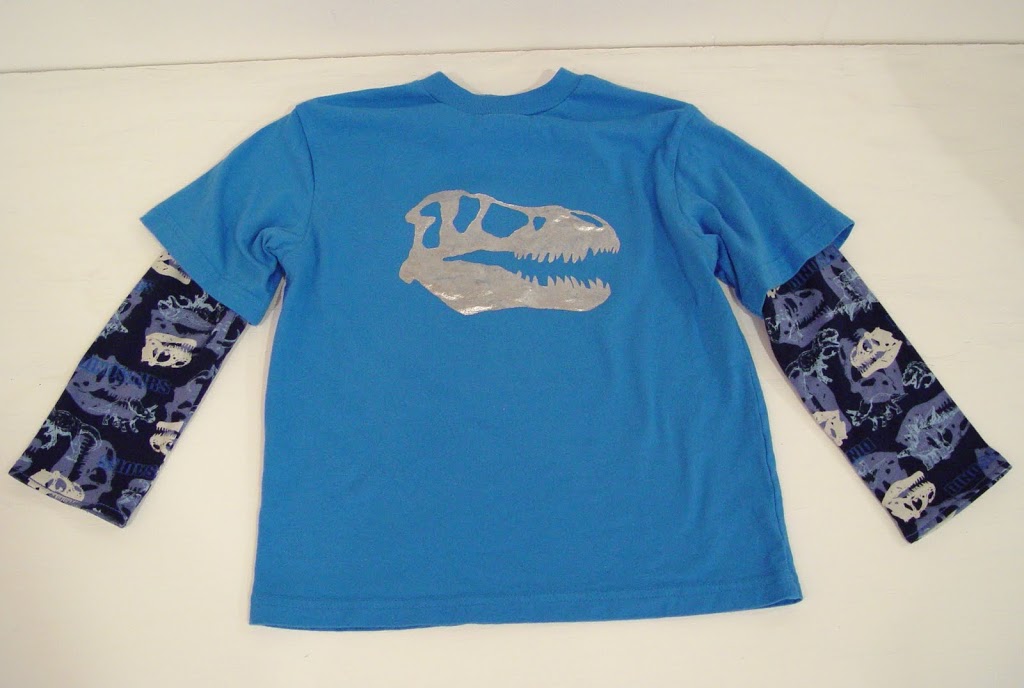
Here’s an easy 45-minute t-shirt makeover that you can do for any size shirt (kids or adults). Since this month is all about the boys, I couldn’t resist a dinosaur themed shirt for my son.
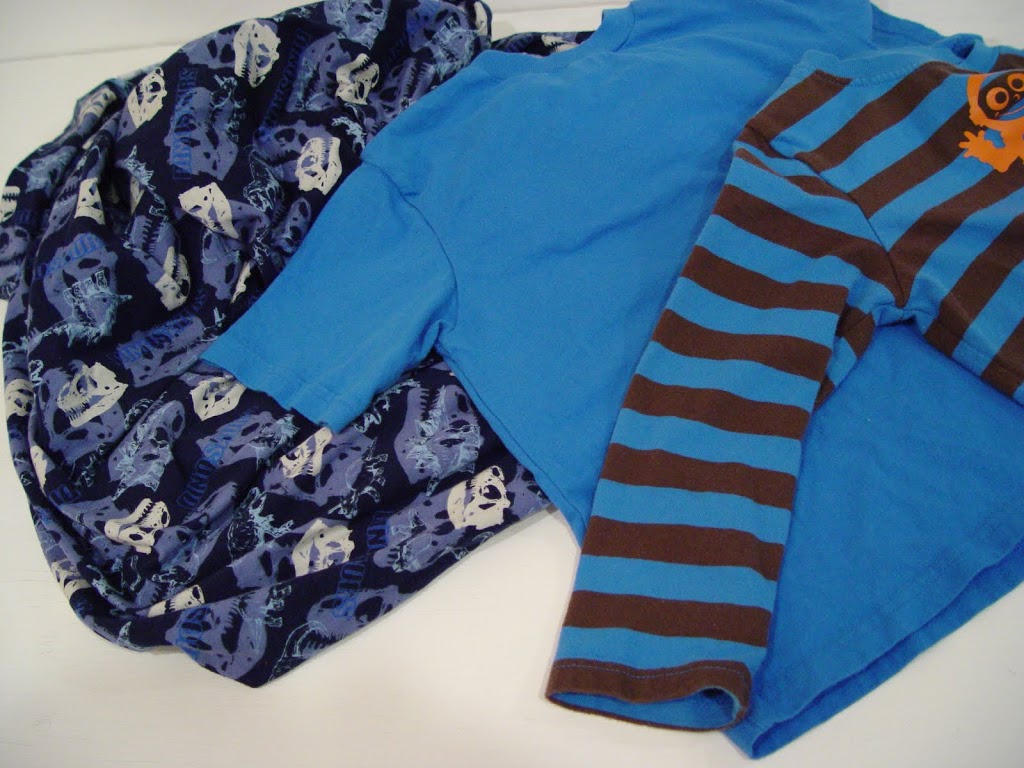
What you’ll need:
A pre-made plain t-shirt (I found mine at Target for $4)
Knit fabric for sleeves (the yardage requirement will vary based on the size shirt you’re making. For a boys’ size 5/6 I used 1/2 yard.)
Freezer paper
Fabric paint (like Tulip soft)
Water-soluble fabric marking pen
Don’t forget thread, an x-acto knife, and a fabric paint brush. You’ll also need another long sleeve shirt in the same size that you’ll be making. You’ll use this shirt as a pattern for your sleeves.
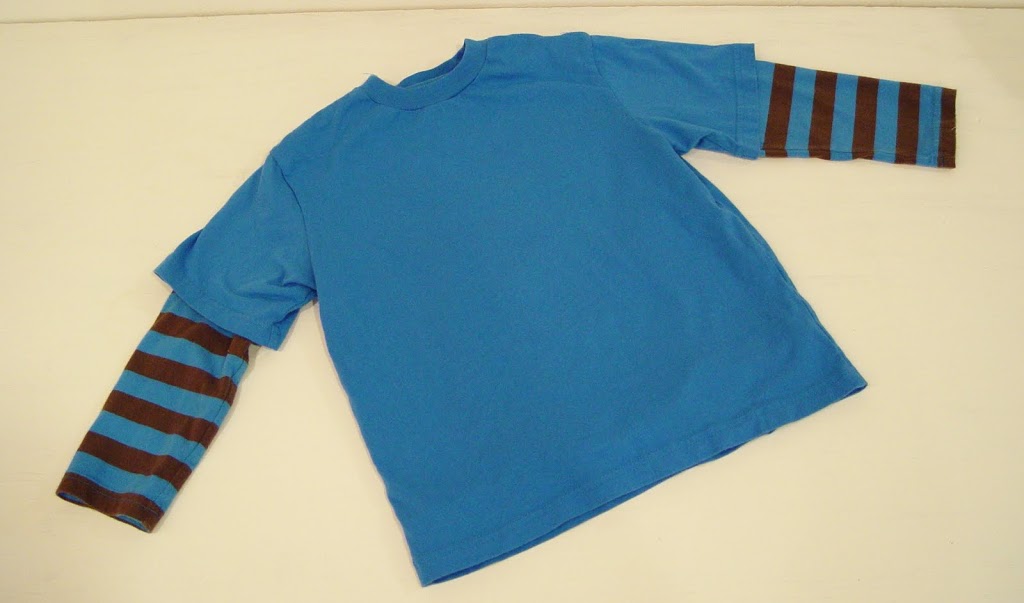
Check to make sure that your pattern shirt (here shown with stripes) fits nicely under the shirt you’re making. (Tuck them inside each other to check the size of the sleeves.)
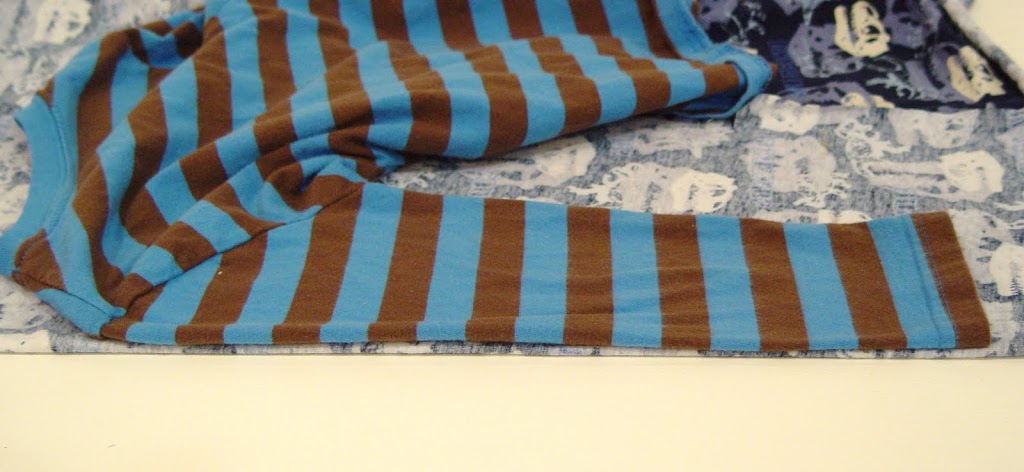
Fold the knit fabric in half and lay your pattern shirt on it matching the outer sleeve with the fold of the knit fabric.
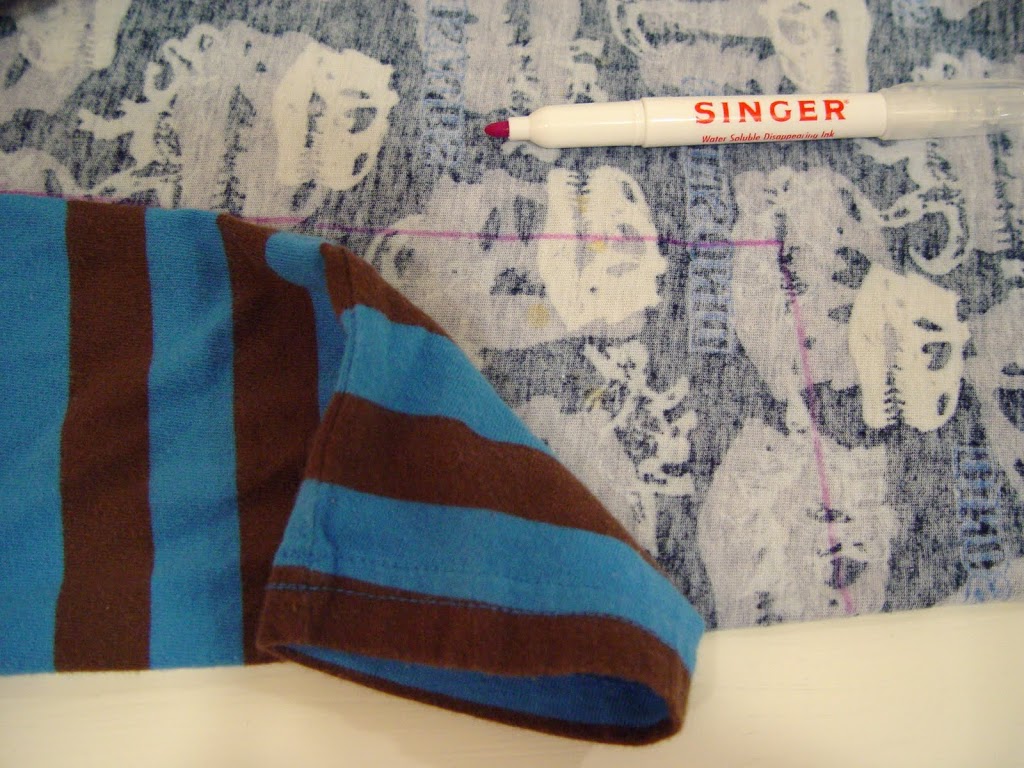
Using a water-soluble marking pen, trace the outline of the sleeve.
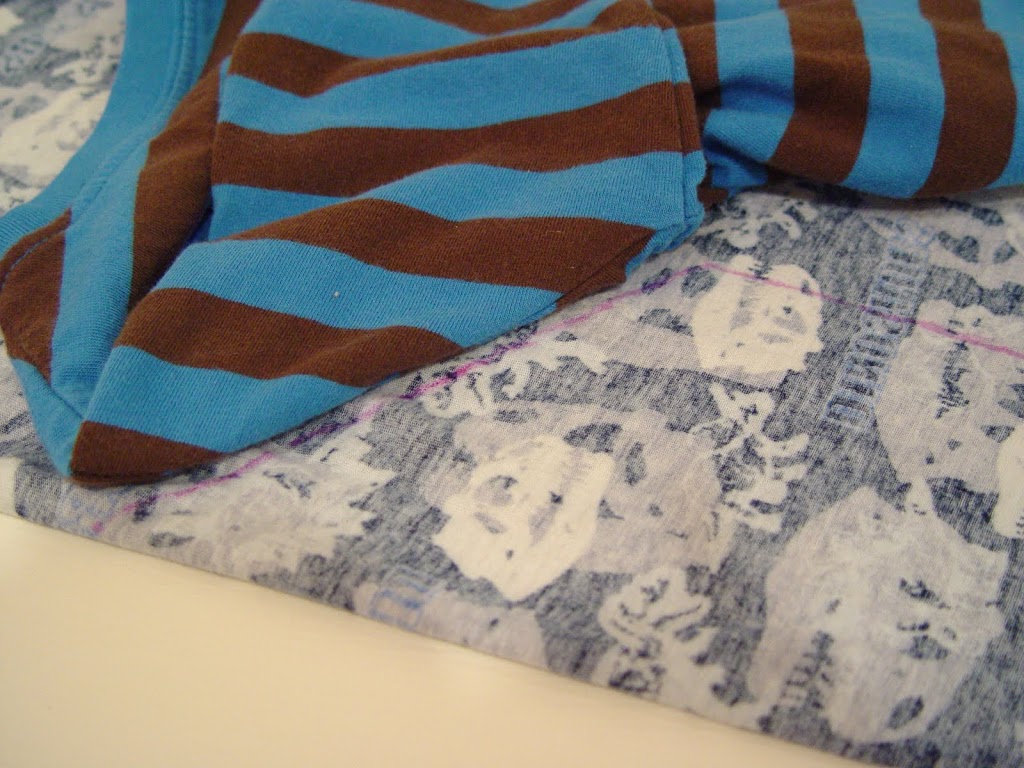
When you reach the shoulder, fold up the pattern shirt along the seam line of the shirt and mark this line. You’ve now got your sewing line marked.
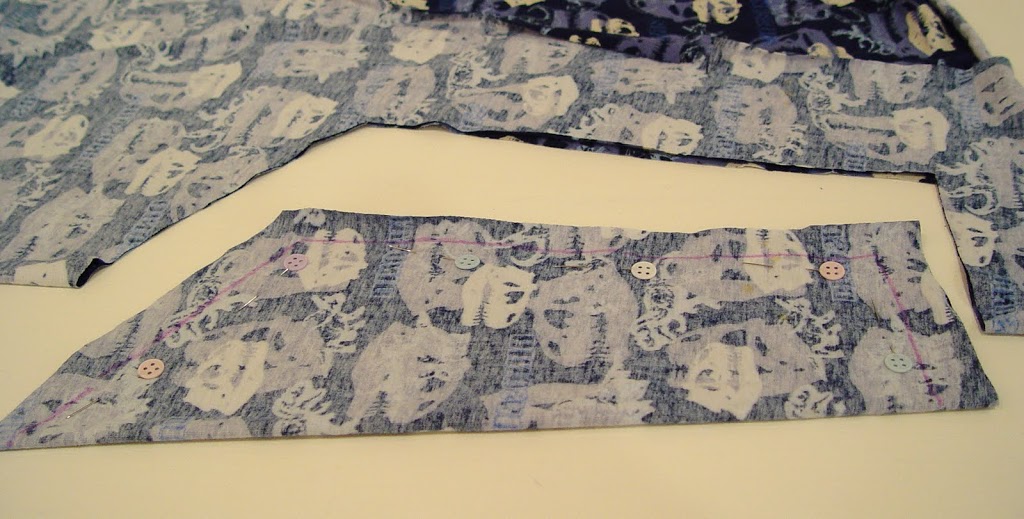
Cut out the sleeve with 1″ extra around your sewing line.
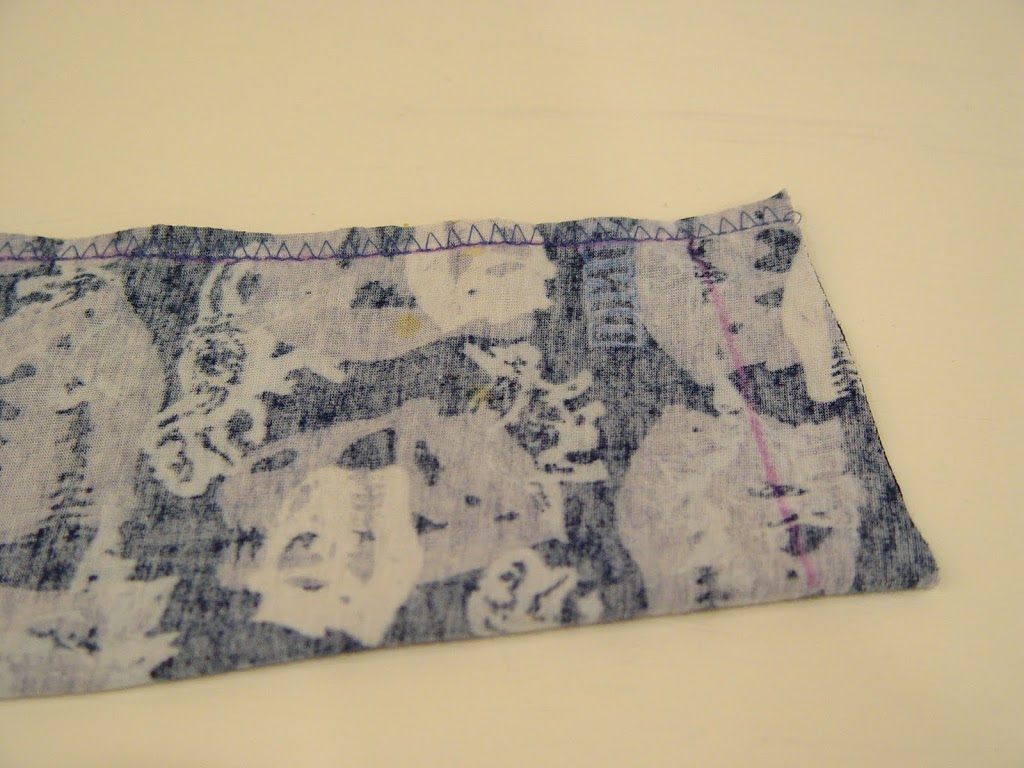
With right sides together, sew along the length of the sleeve with an appropriate stitch that will allow for stretching. (I used an overedge stitch.) Make sure to leave the top and bottom open. Trim excess fabric.
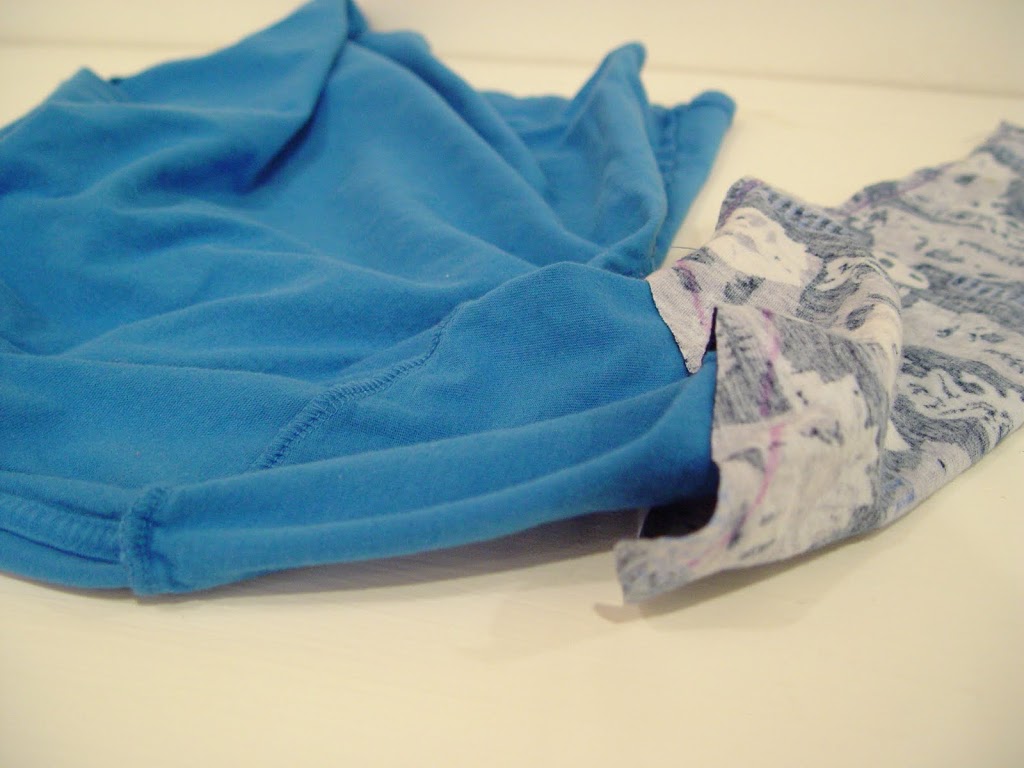
Turn your t-shirt inside out. Insert your t-shirt sleeve into the long sleeve you made.
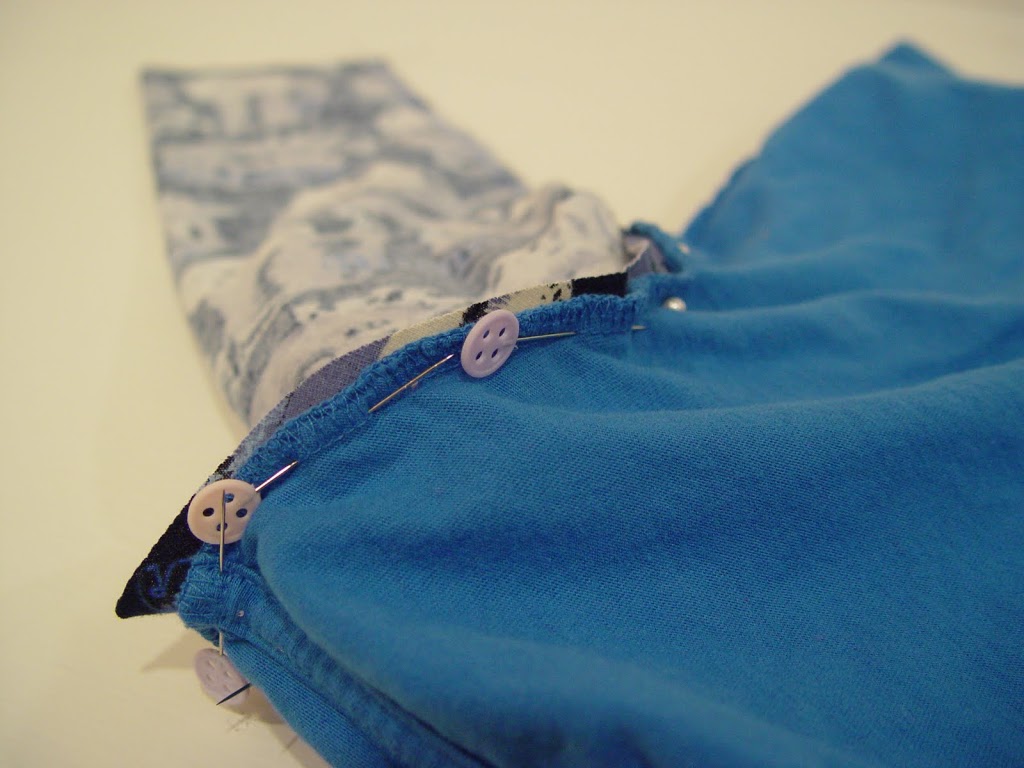
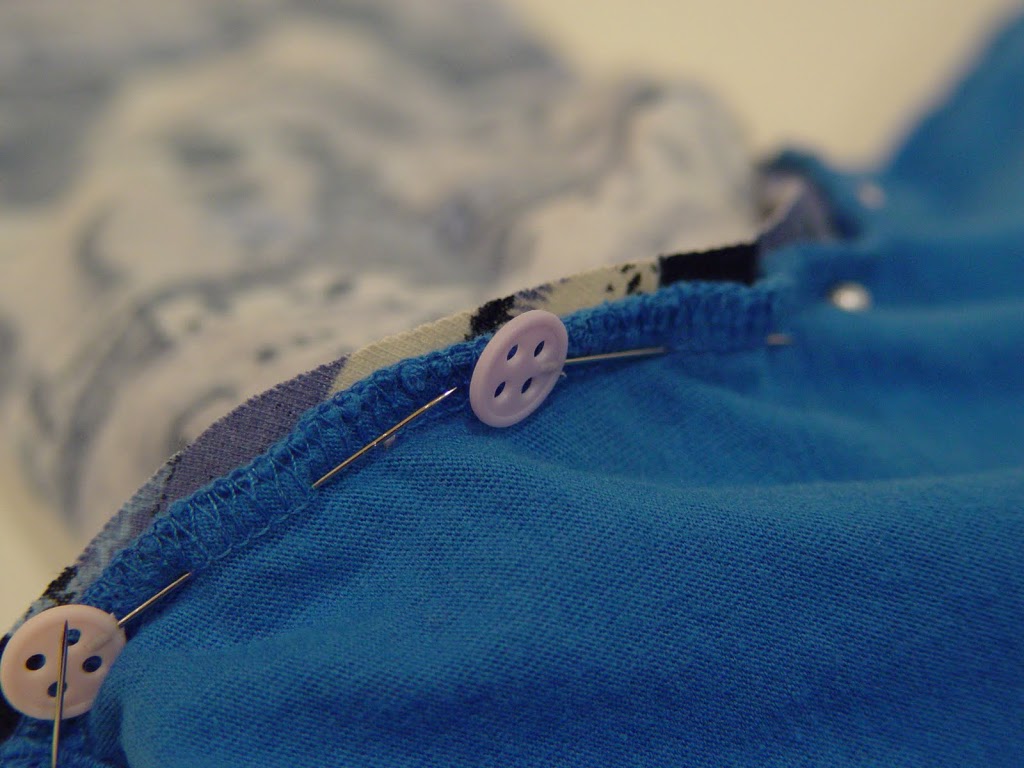
Pin sleeves together along existing seam from t-shirt.
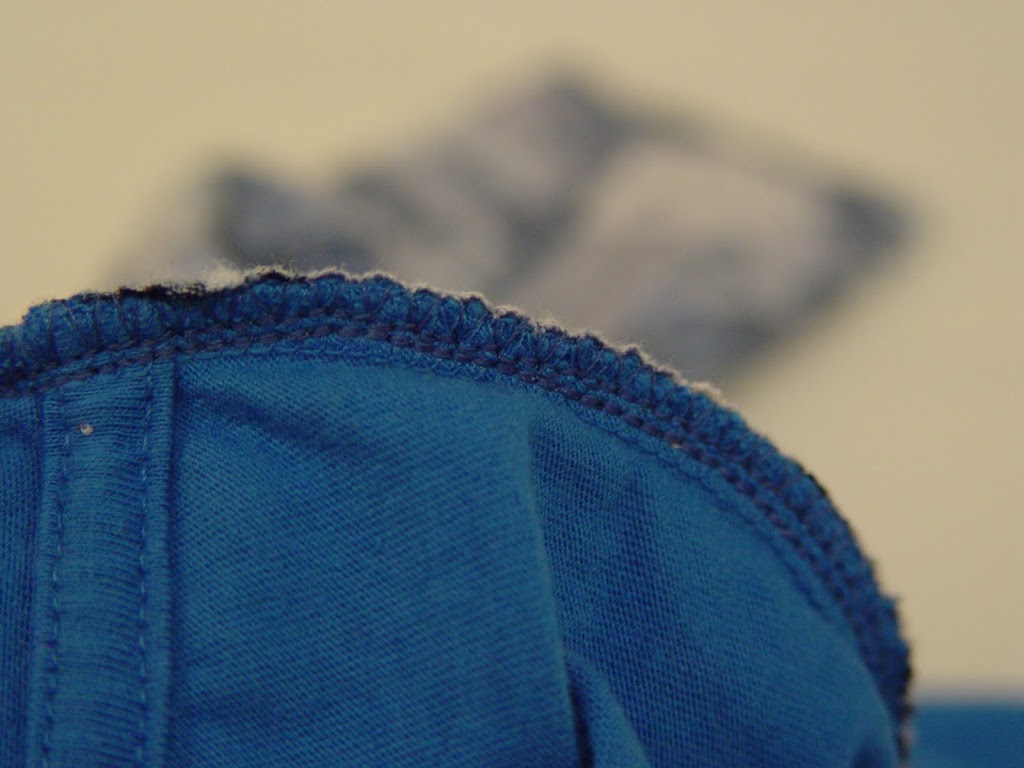
Sew along the sleeve on the existing seam. (I used a straight stretch stitch and then an overedge stitch.) Make sure you don’t sew in from the existing seam line.
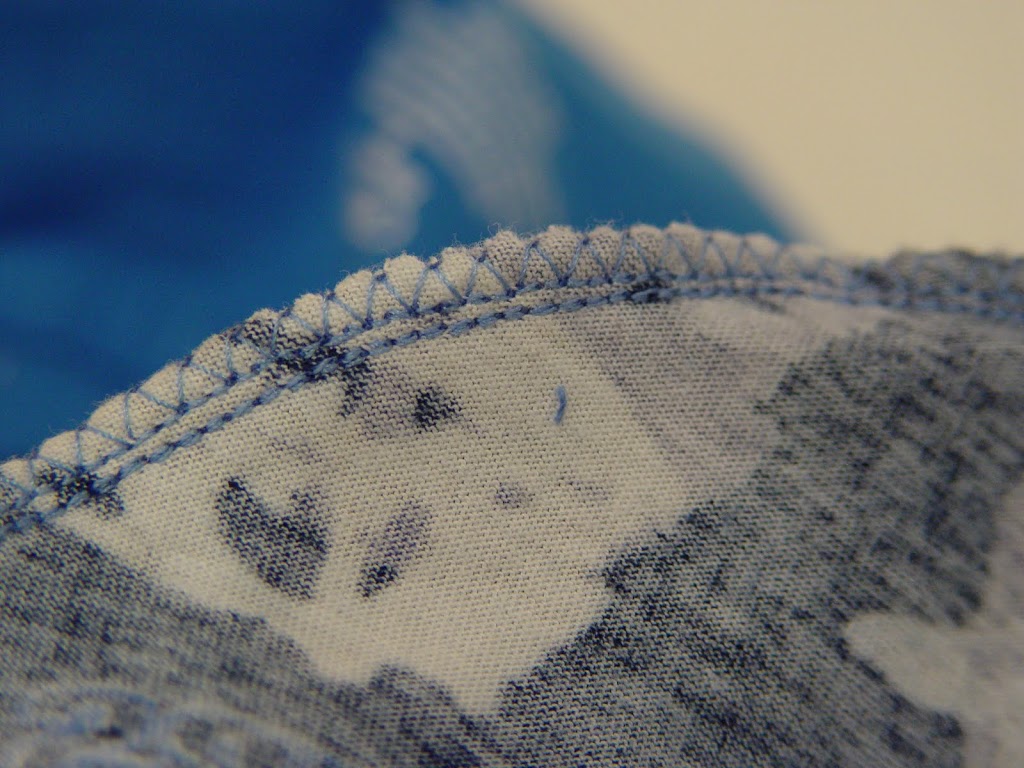
Here’s a view from the other side.
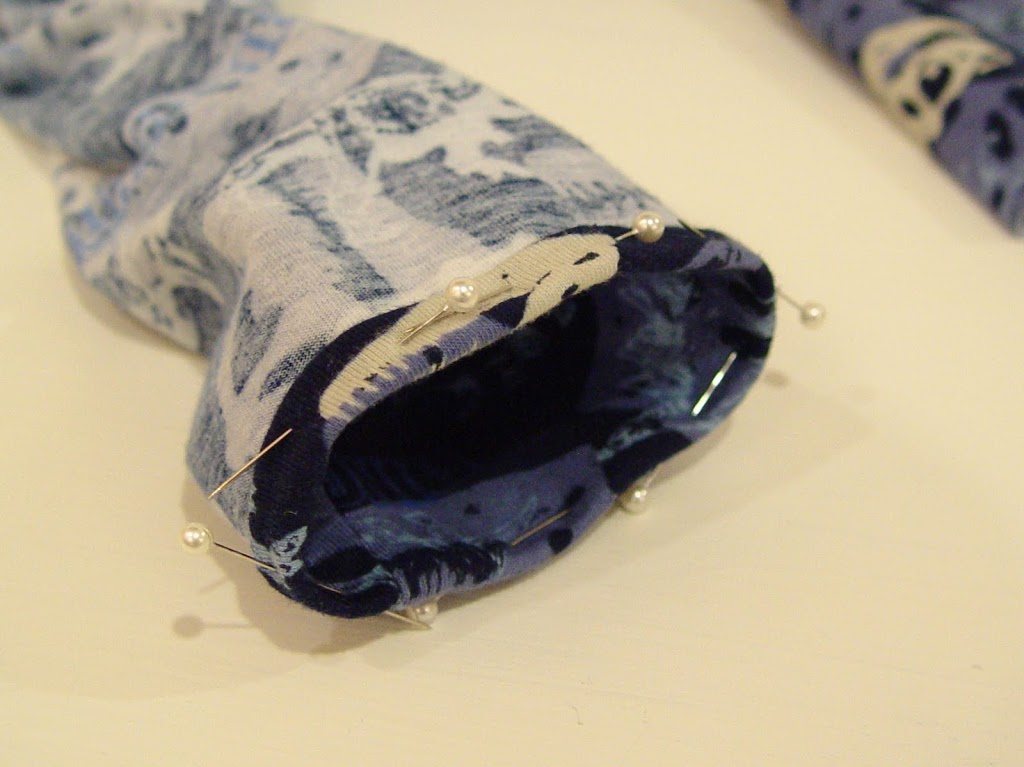
Turn sleeve cuffs up 1/4″. Fold up again another 1/4″. Pin in place. Sew around cuff (using a straight stretch stitch) 1/8″ up from the edge. Repeat the above steps for the other sleeve.
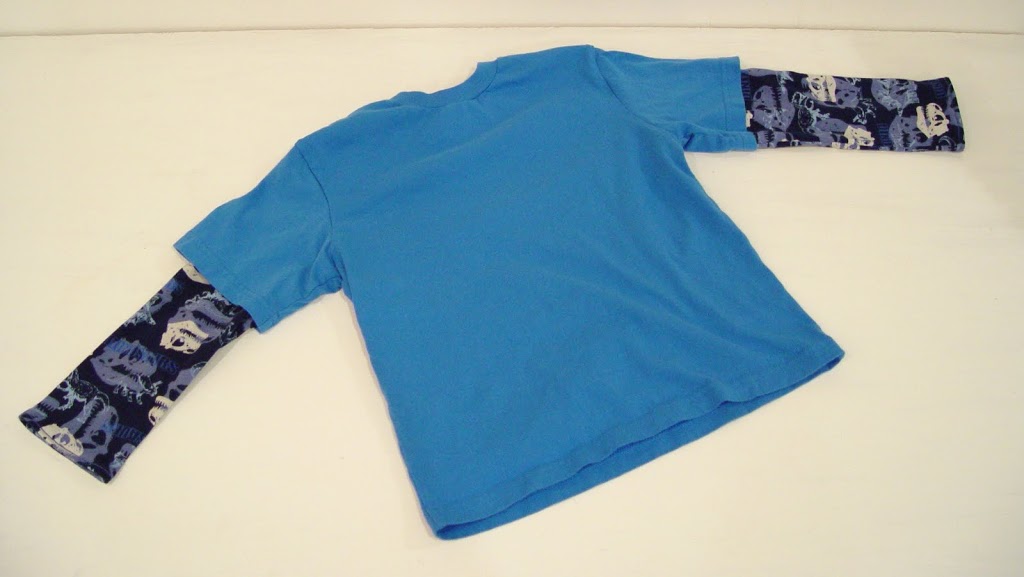
Turn the shirt right side out. You’re half way done.
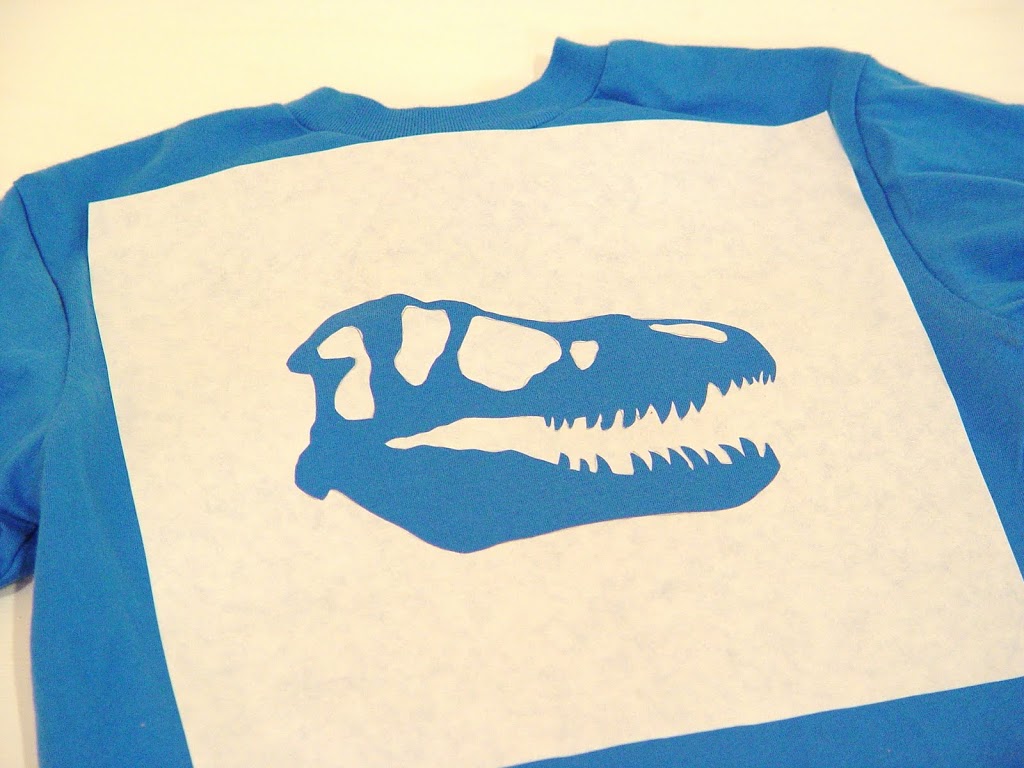
Draw a design on your freezer paper which compliments the sleeve fabric. I chose a T-Rex skull. To get a copy of my T-Rex skull and a triceratops skull go here. Iron the freezer paper onto your shirt.
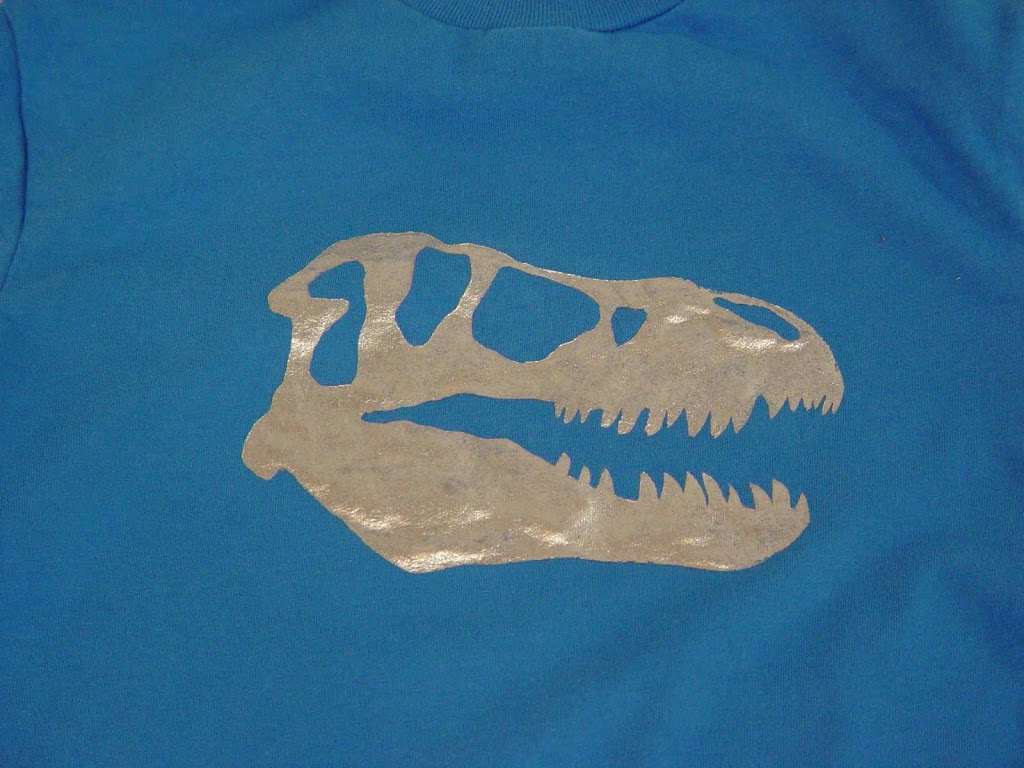
Using soft fabric paint, paint your design on. Remove the freezer paper when you’re done. (I like to let mine dry a little so I don’t get smudges.)
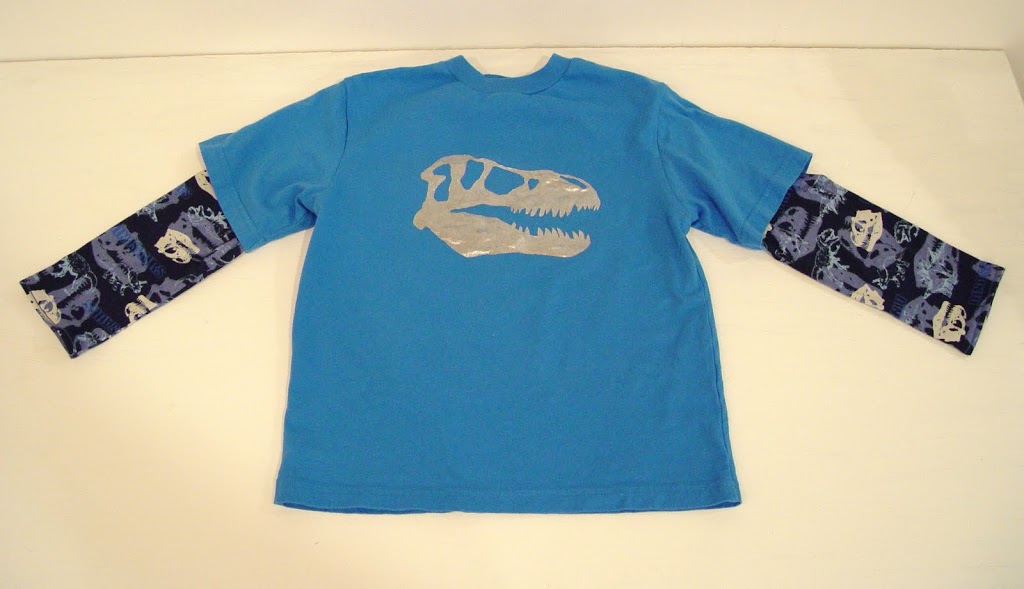
And you’re done!


This is really cute, however, my GIRL loves Dinos, so I think I would do this in pink 🙂 Where did you find the pattern for the TREX skull??
Thanks!
amy
amykandes73 at yahoo dot com
I love this! Great way to spice up an old shirt.
I would love for you to link this (and any other boy related craft) to my What are little boys made of? Weekly Round-up. It happens every Thursday at seven thirty three – – – a creative blog
Just a quick note to let you know that a link to this post will be placed on CraftCrave.com in the Handcraft category today [04 Mar 01:00pm GMT]. Thanks, Maria
I would do this in pink 🙂 Where did you find the pattern for the TREX skull??
Funny Teeshirts
@ Alisa: I designed the t-rex skull. You can download it (along with a triceratops skull) here:
http://www.mediafire.com/?wmymzmjx0jg
Terms of use: for personal use only.
this is awesome!!!