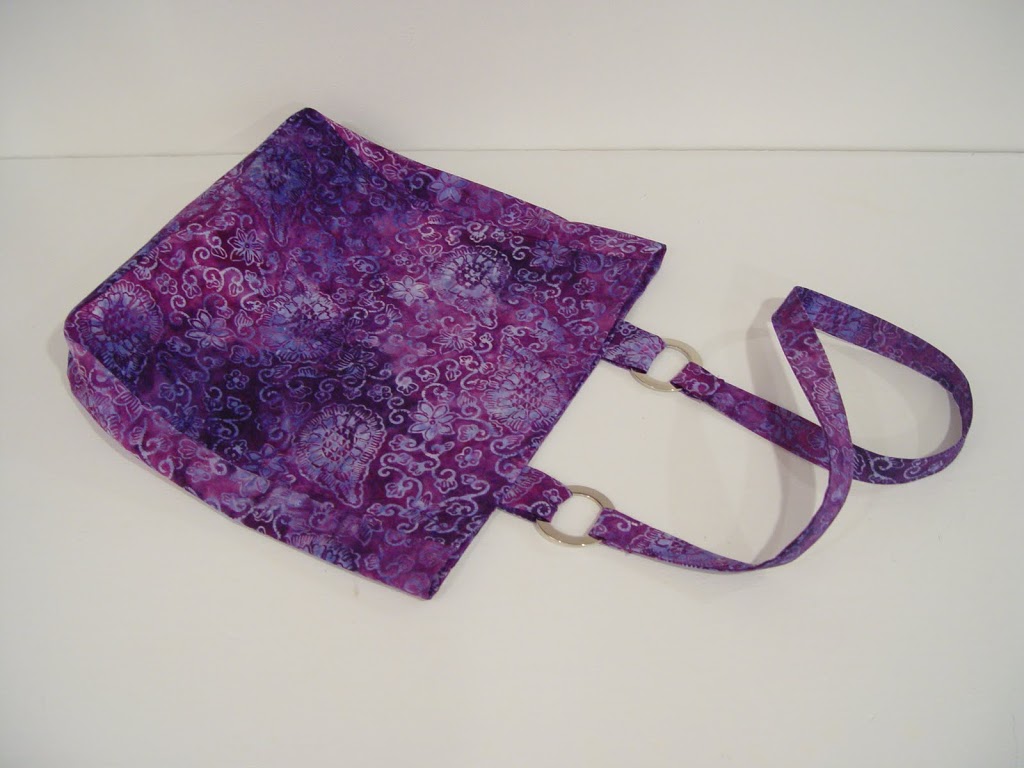
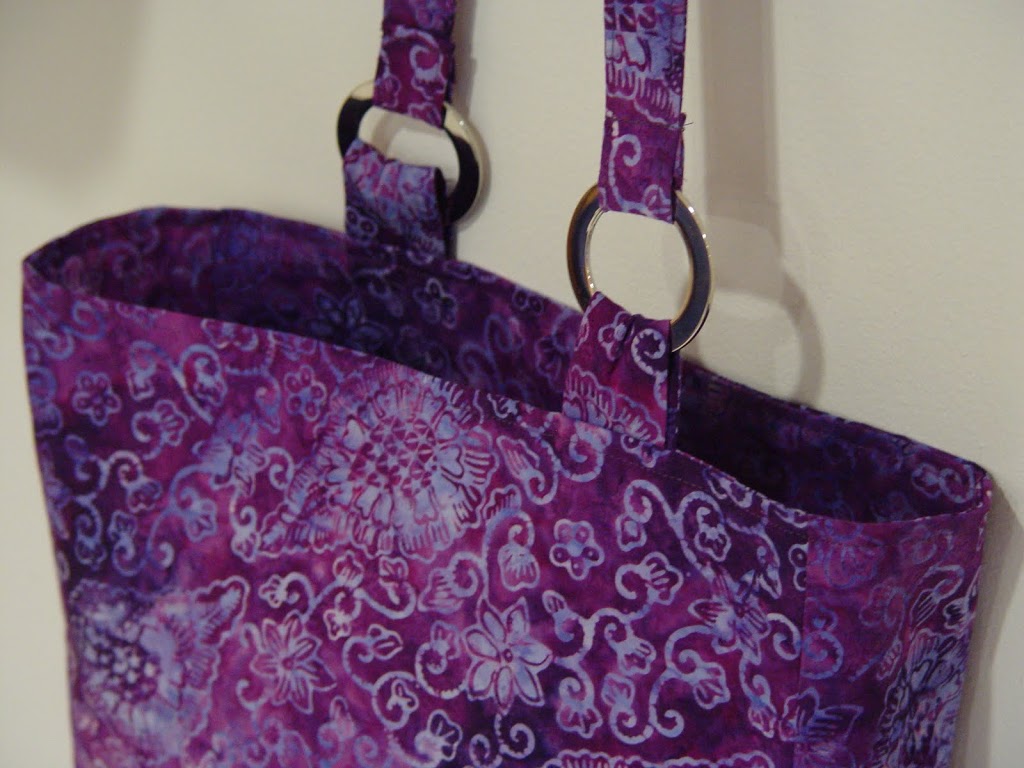
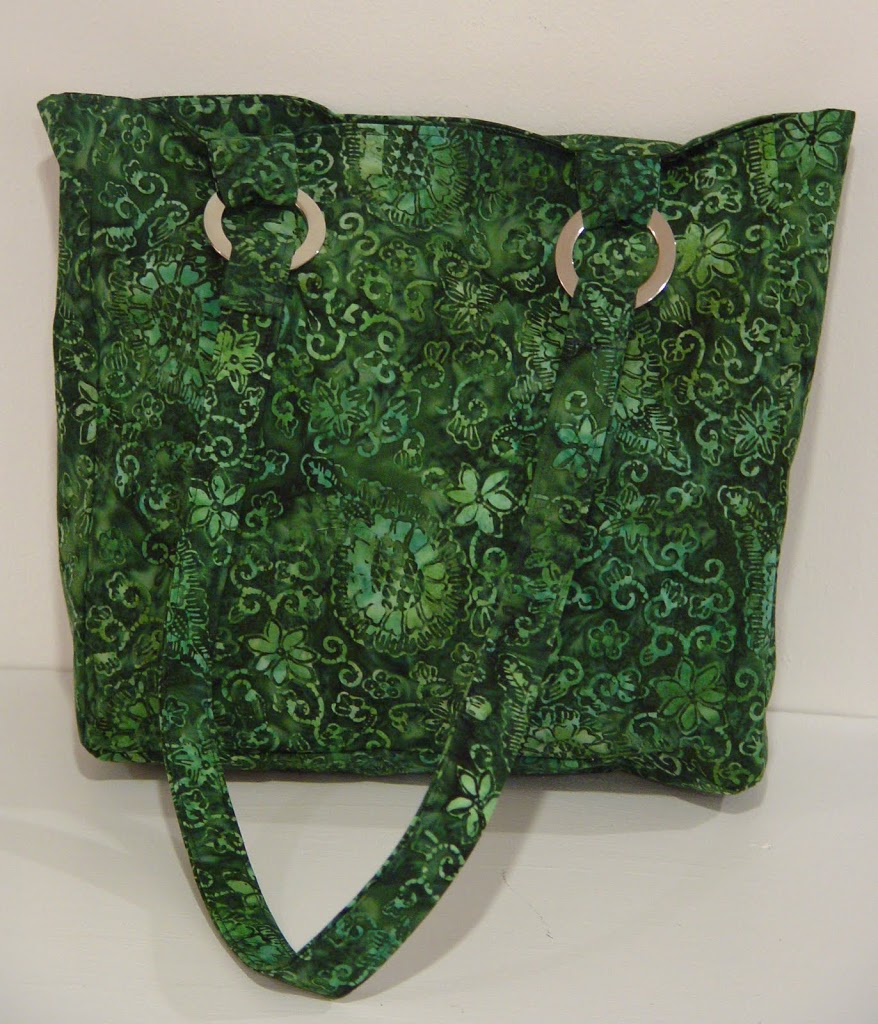
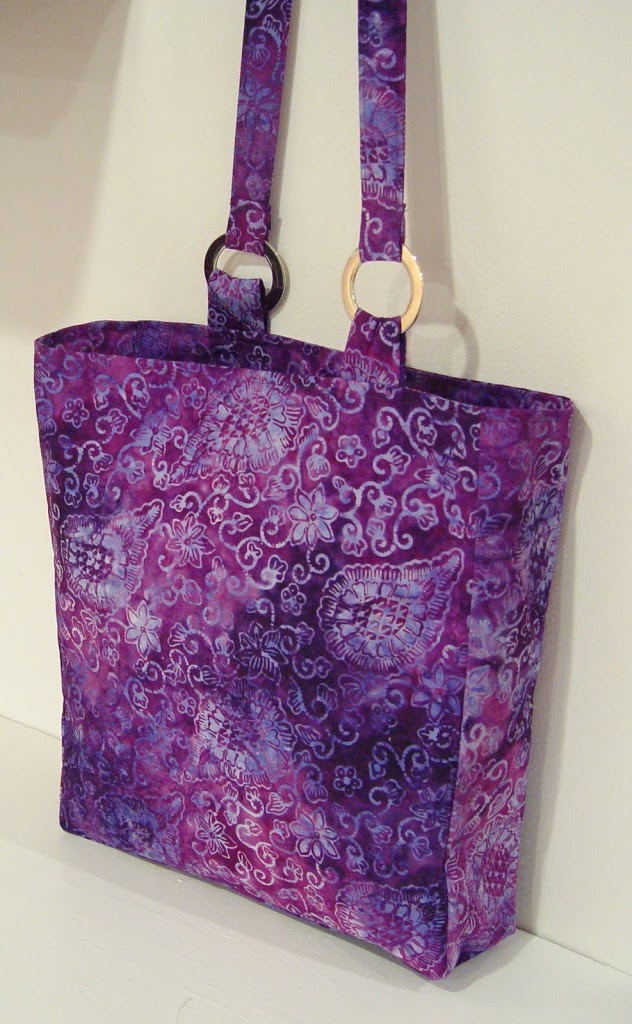
Meet the S2.

The idea for the S2 bag has been mulling around in my head for a while. It’s a very simple bag with one strap that crosses the bag (front to back). It’s functional and easy to make and can be sewn up quickly. So here it is.
Jump to the end of this post for the giveaway! The Giveaway is now closed.
What you’ll need:
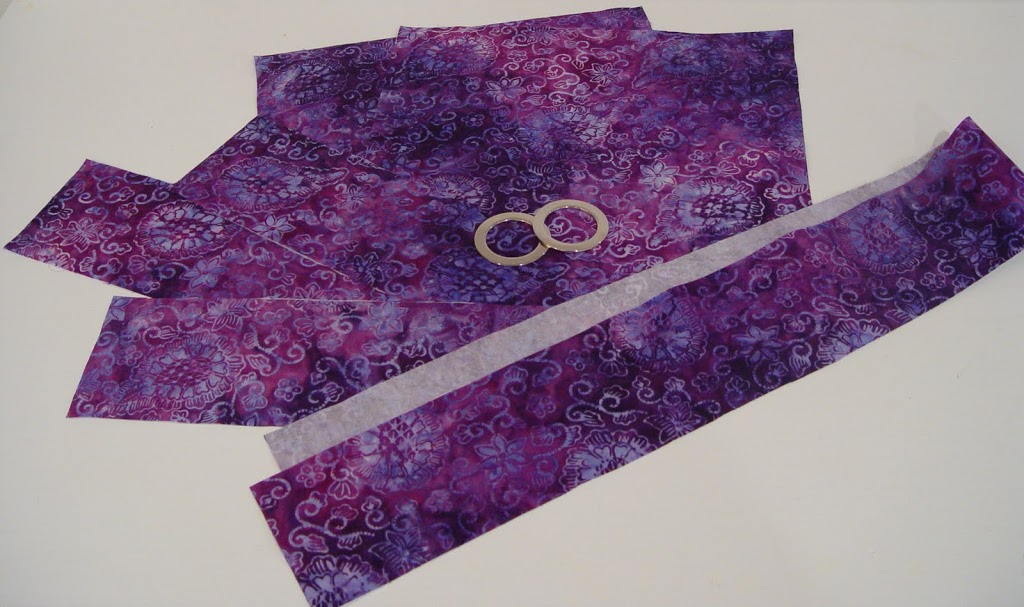
Front and back panels: 13″ x 14″, cut 2 of main fabric (interfaced) and cut 2 of lining
Bottom: 13″ x 4″, cut 1 of main fabric (interfaced) and cut 1 of lining
Sides: 14″ x 4″, cut 2 of main fabric (interfaced) and cut 2 of lining
Tabs: 2.5″ x 4″, cut 4 of main fabric
Strap: 4″ x 36″, cut 1 of main fabric (interfaced)
2 “O” rings or “D” rings with a center opening of at least 1″.
Thread
Magnetic snap and scrap of interfacing (for optional snap closure)
All seam allowances are 1/2″.
Start by marking the wrong side of the bottom piece with dots 1/2″ in from the corners in each direction. Do this for all four corners.
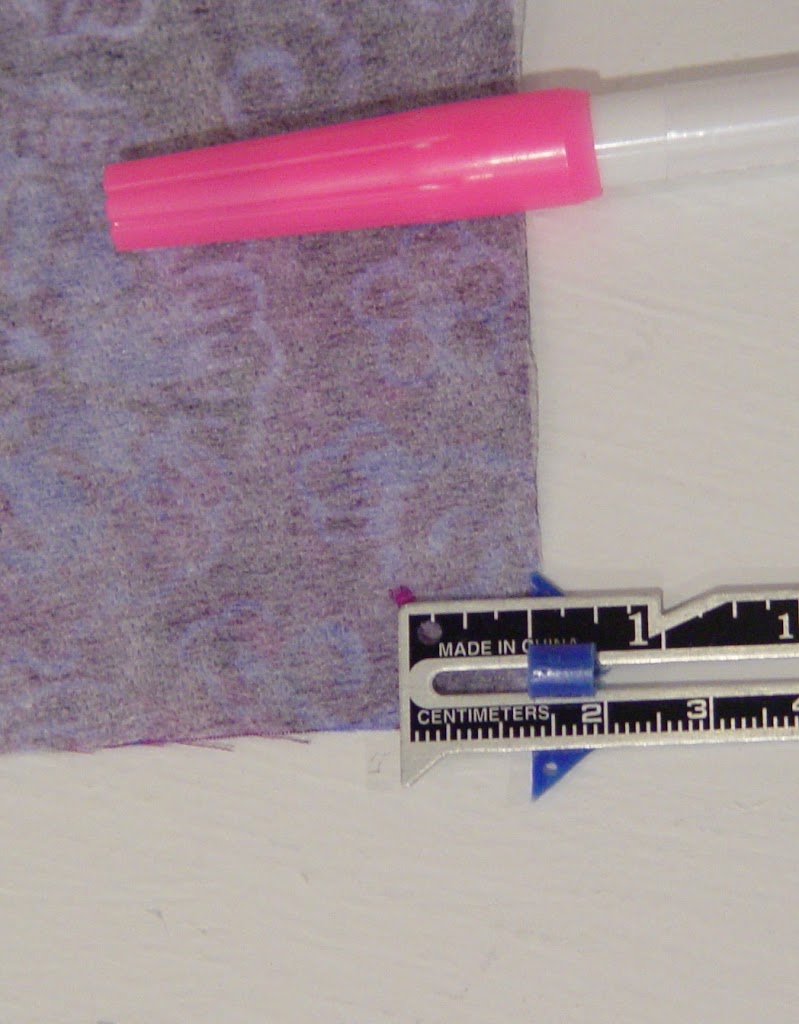
Pin the bottom to one of the front pieces (right sides together). Sew between the points you marked on the bottom.
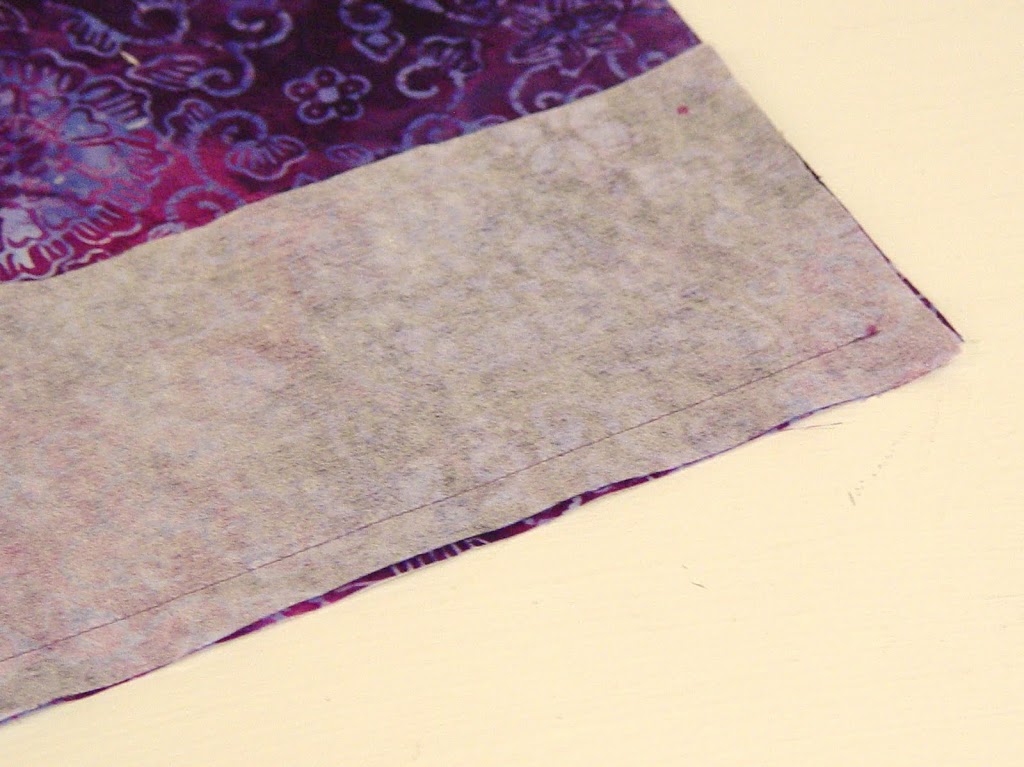
Repeat on the other side of the bottom.
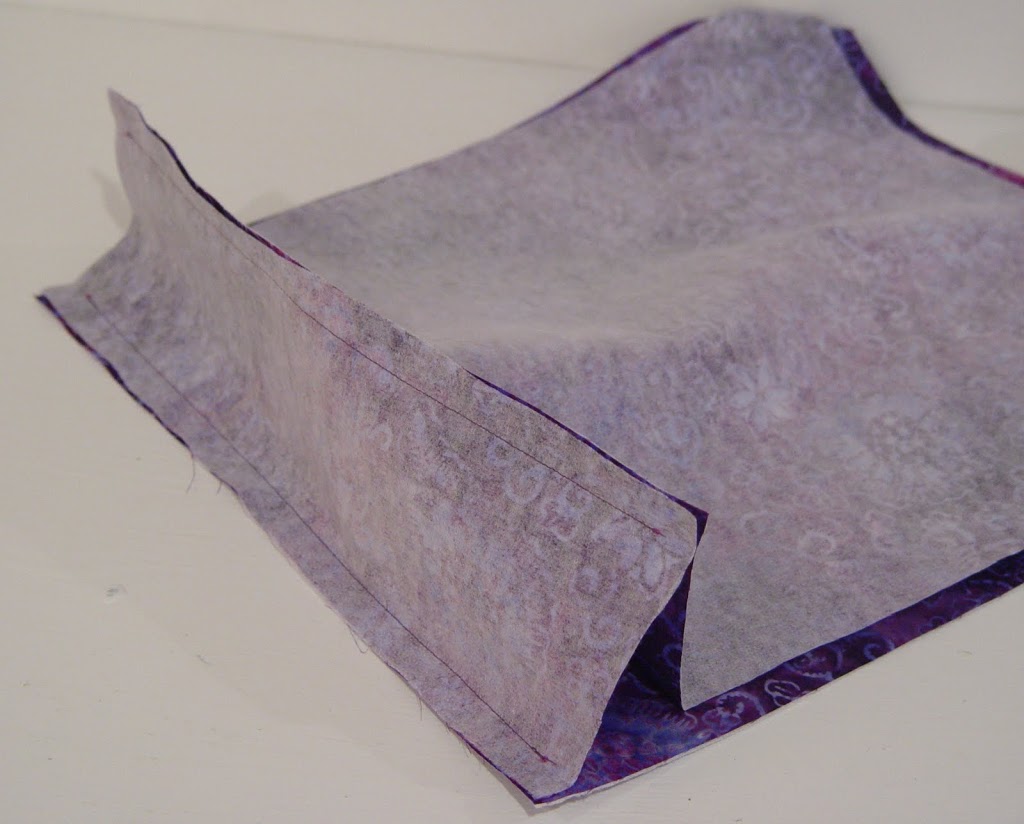
Mark the wrong side of the two side pieces with dots 1/2″ in from the corners on the bottom.
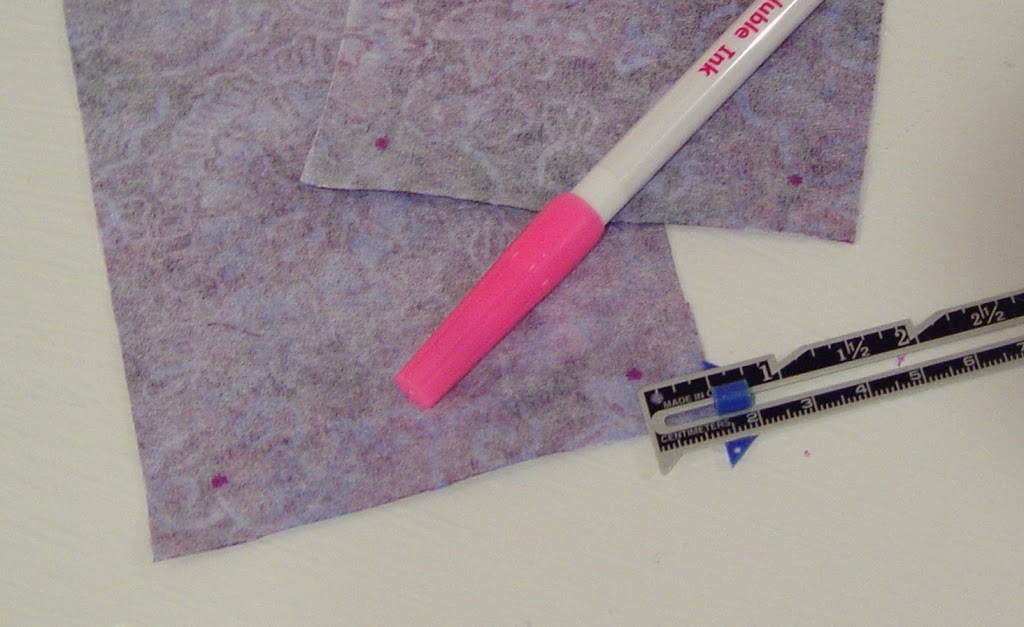
Attach the side piece to the short edge of the bottom (right sides together) and sew between the dots.
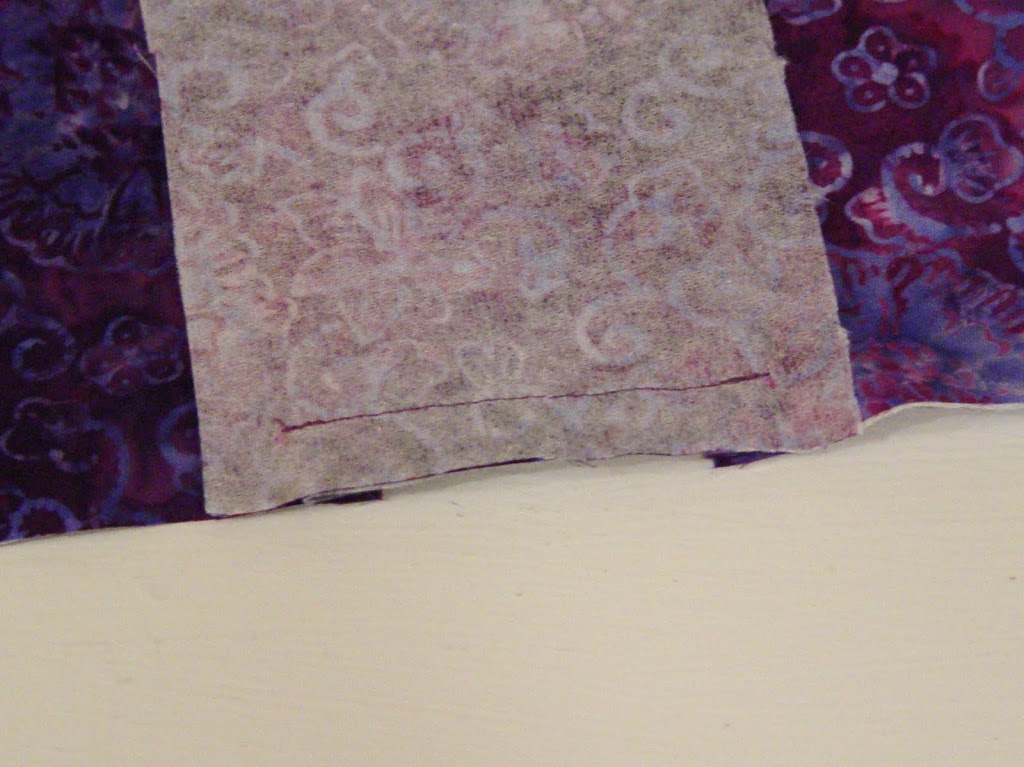
Trim the corners of the bottom at a 45 degree angle.
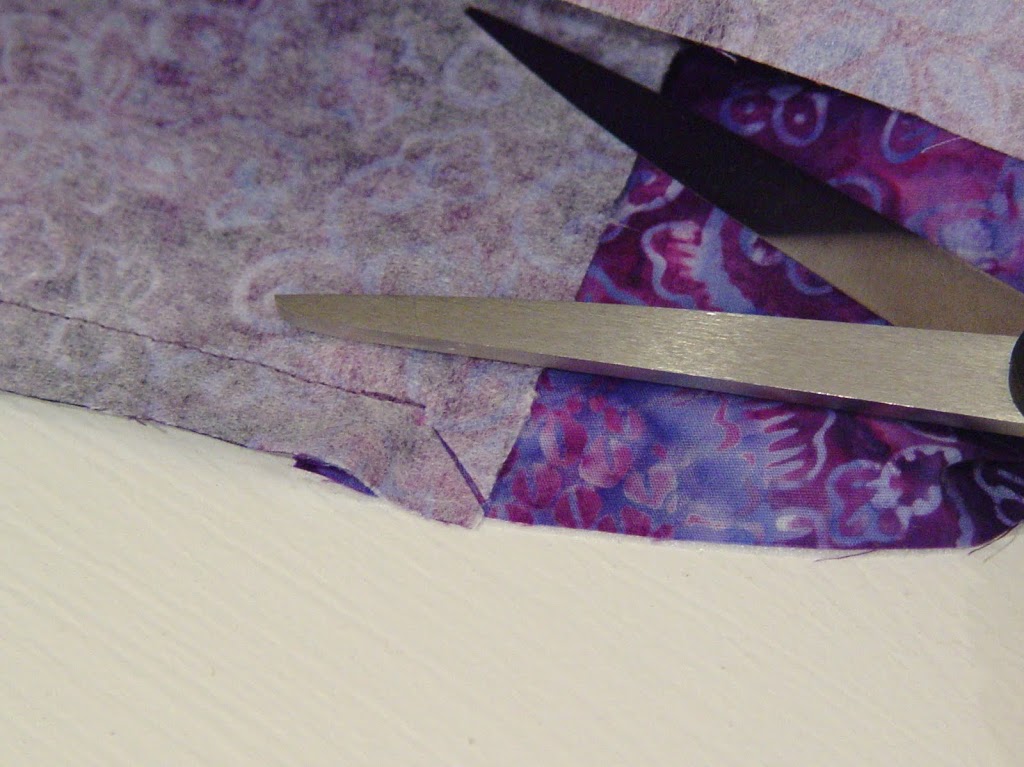
Turn the side and pin to the front edge of the bag (right sides together) like this:
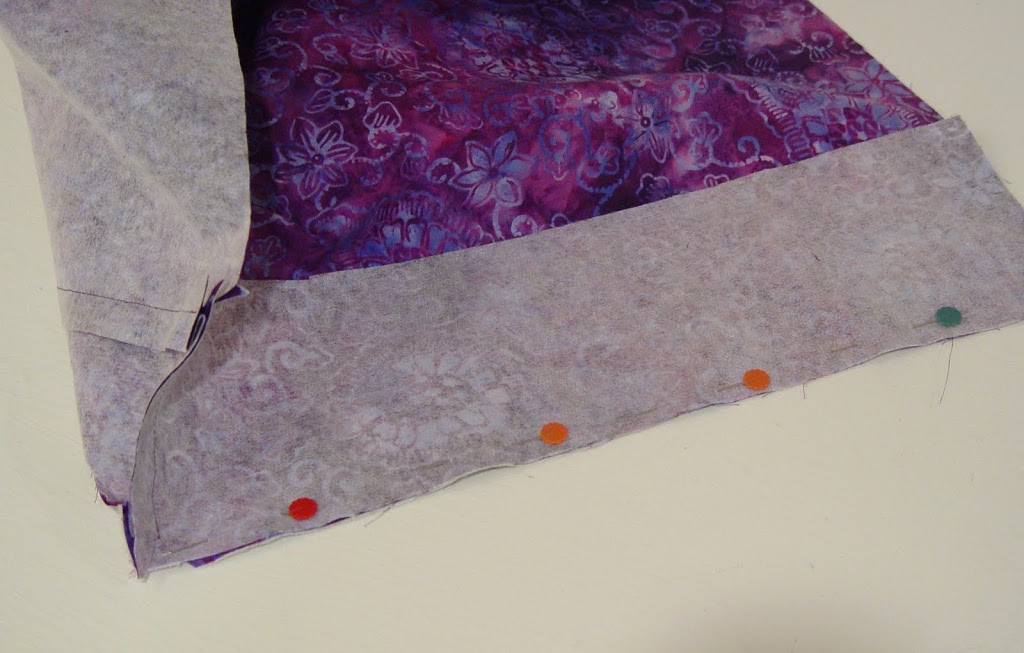
Sew along the edge (starting at the dot on the bottom) all the way up the side. Repeat for the other three sides.
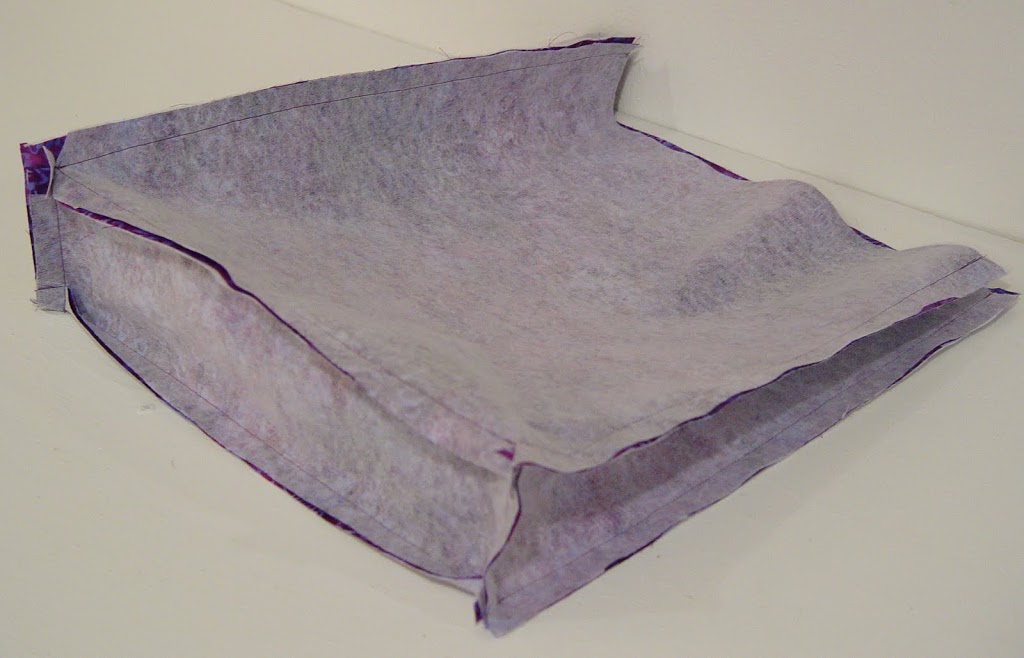
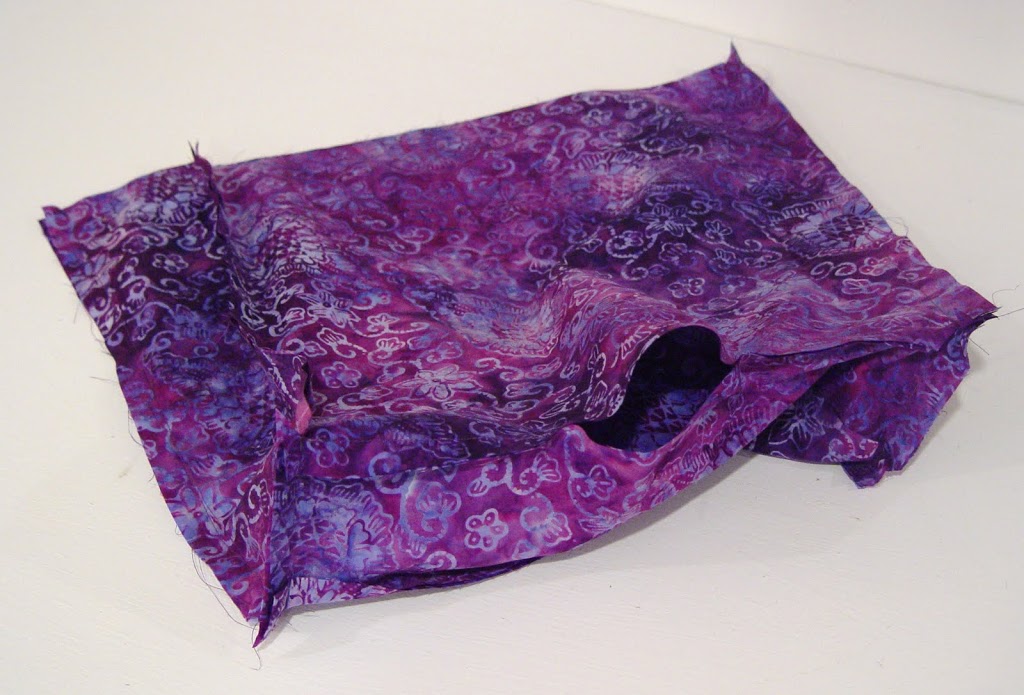
Place this aside and repeat for the lining leaving a 4″ opening in the bottom for turning.
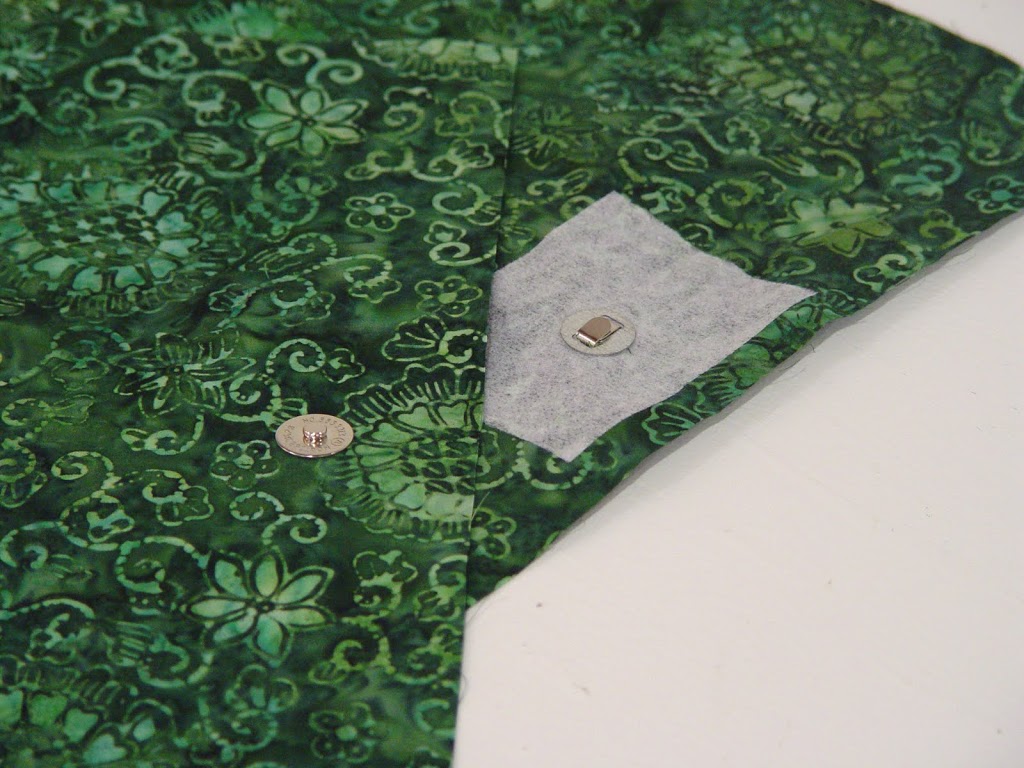
If you want to add a magnetic closure, iron a small square of interfacing to the top, center of the lining (on the wrong side) and attach the magnetic closure per manufacturers instructions approximately 1.5″ from the top (in the center).
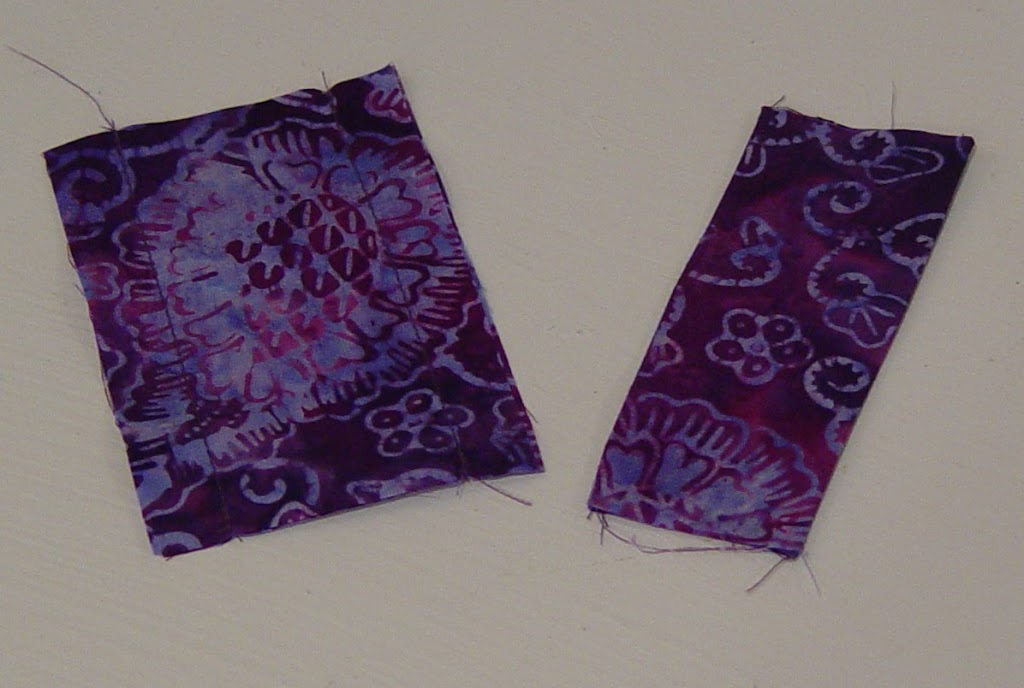
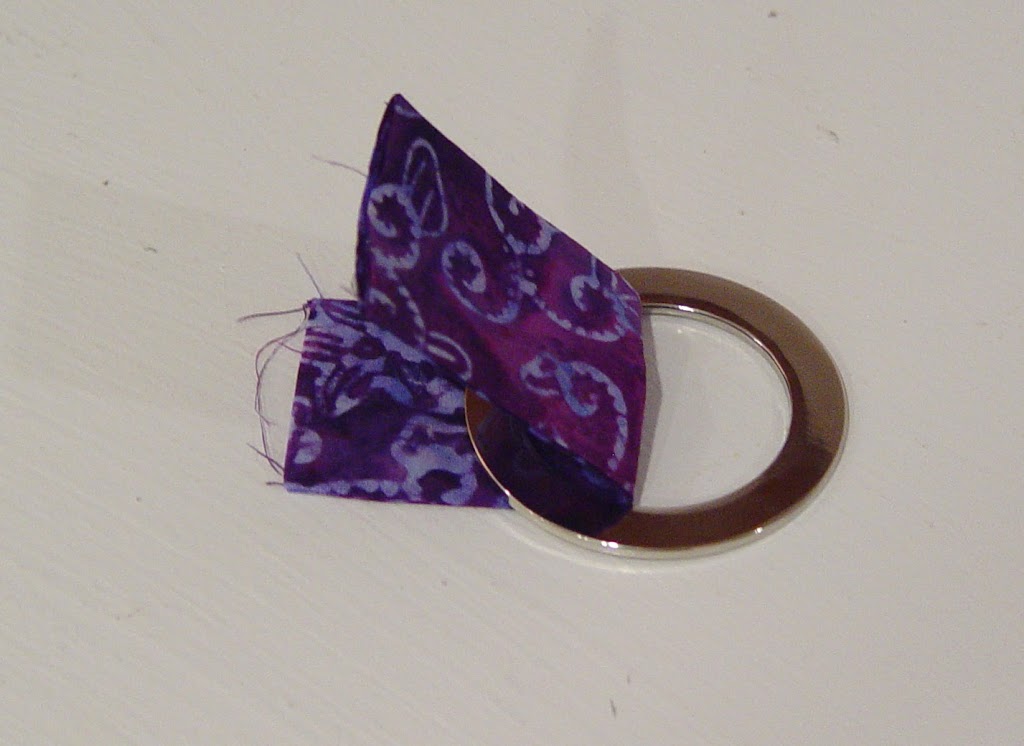
Now we’ll add the “O” rings. Take your tabs and place them right sides together. Sew on each long side to create a tube. (Shown on the left of the photo.) Turn right side out. Iron flat. (Shown on the right of the photo.)
Fold tabs in half and place an “O” ring on each tab.
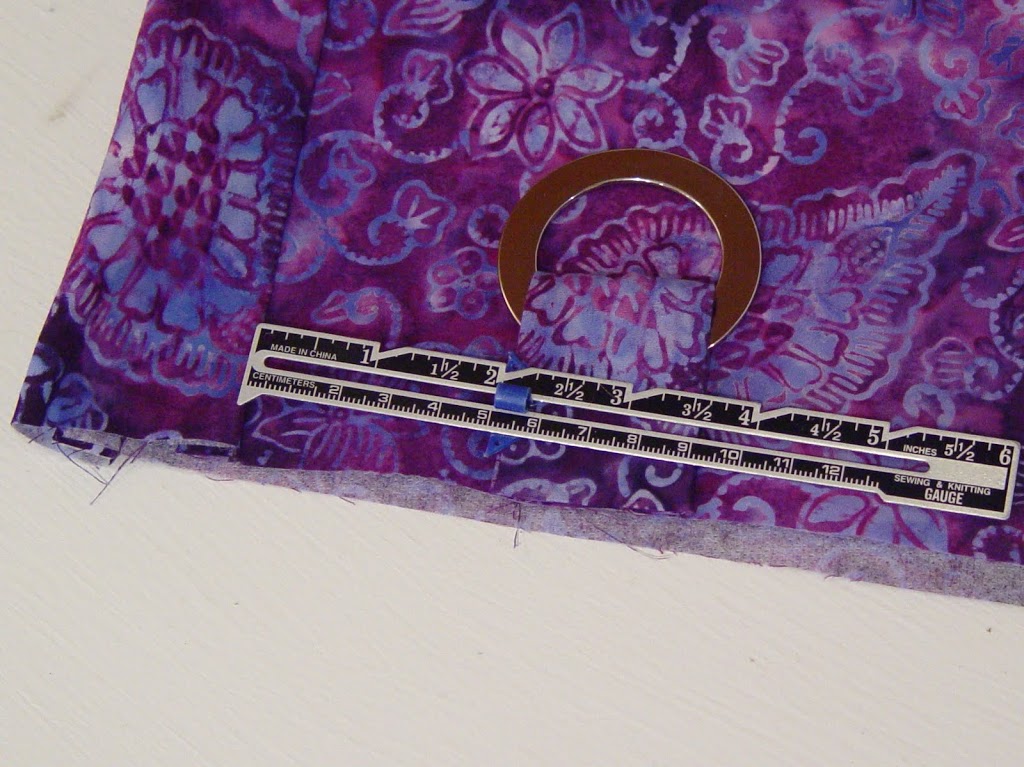
Pin in place 2″ in from side seam on the front of the bag (facing down toward the bottom of the bag).
Pin the other tab on the opposite face, 2″ in from the opposite side seam.
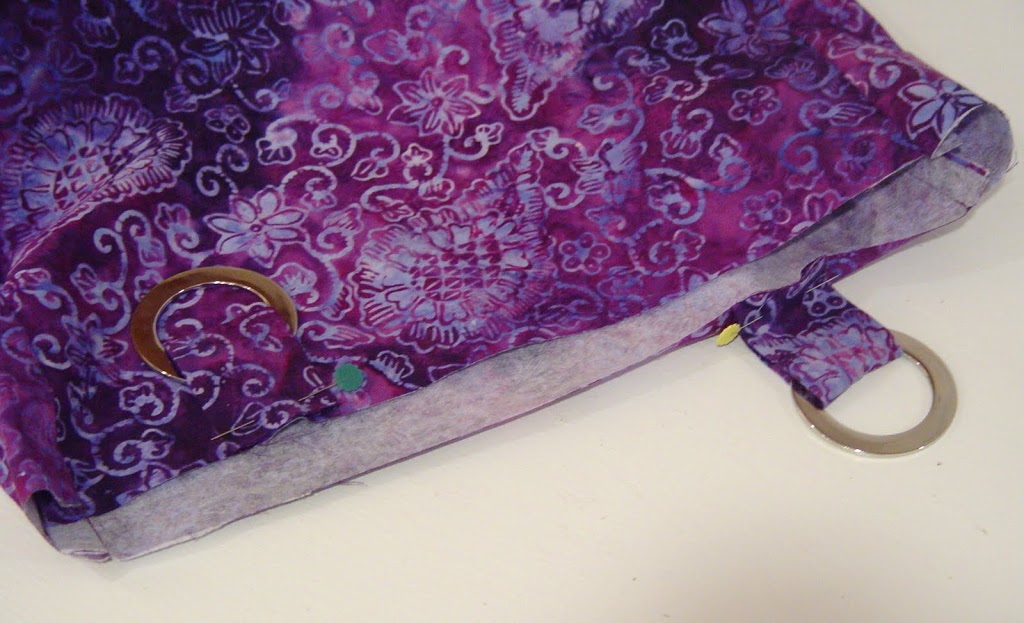
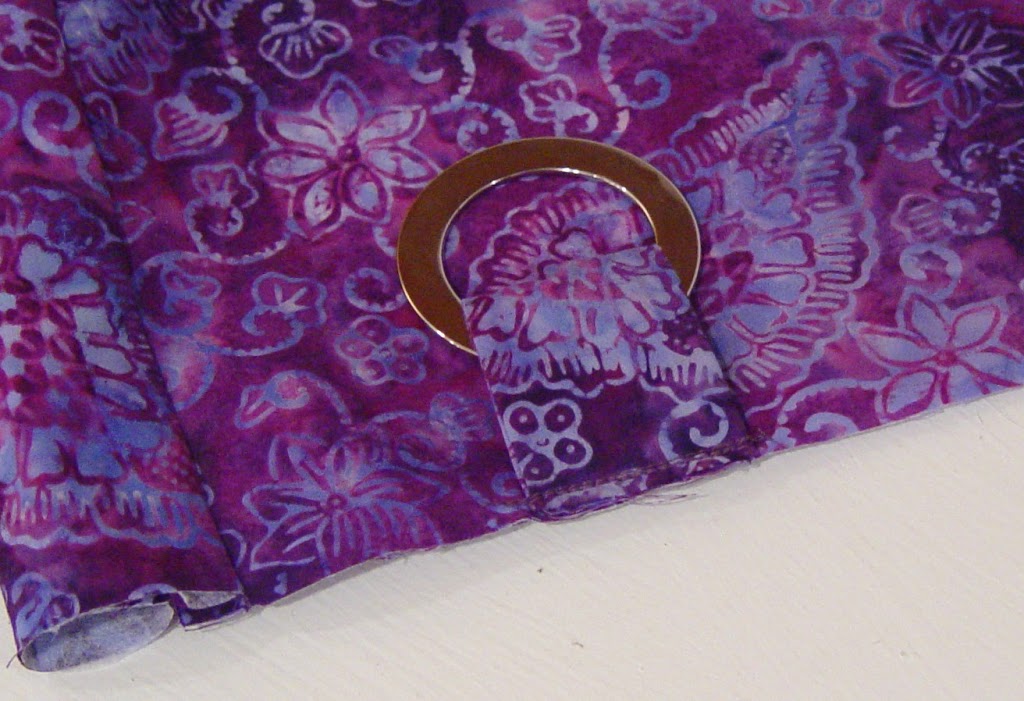
Baste tabs onto the front and back of the bag.
With right sides together, pin the lining inside the outer bag like this.
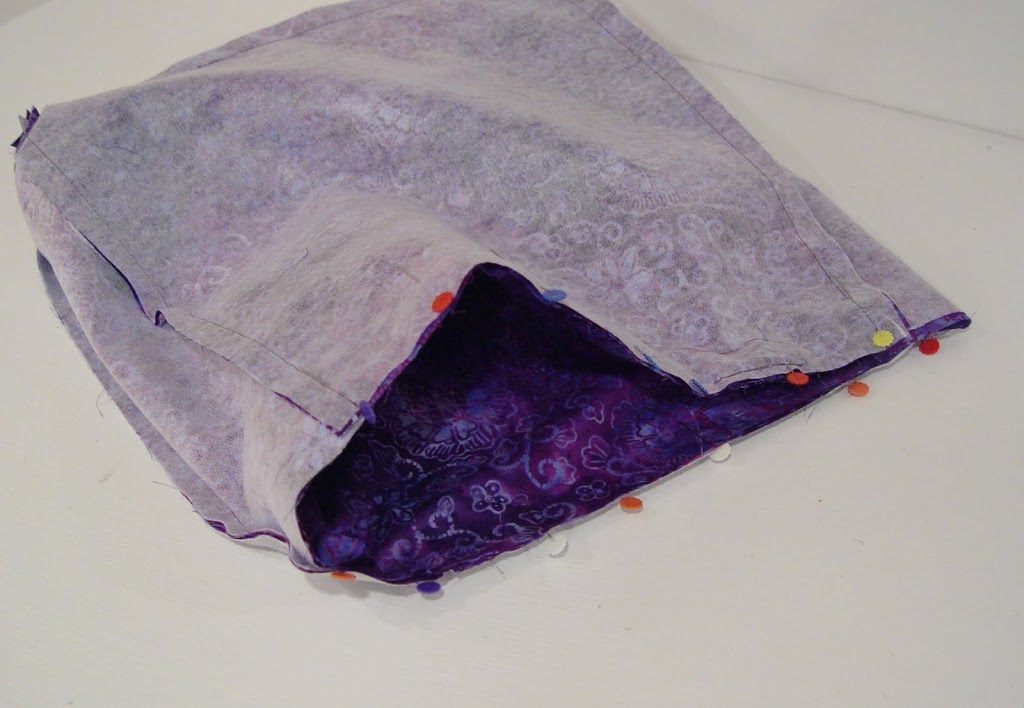
Sew around the top of the bag. Turn it inside out.
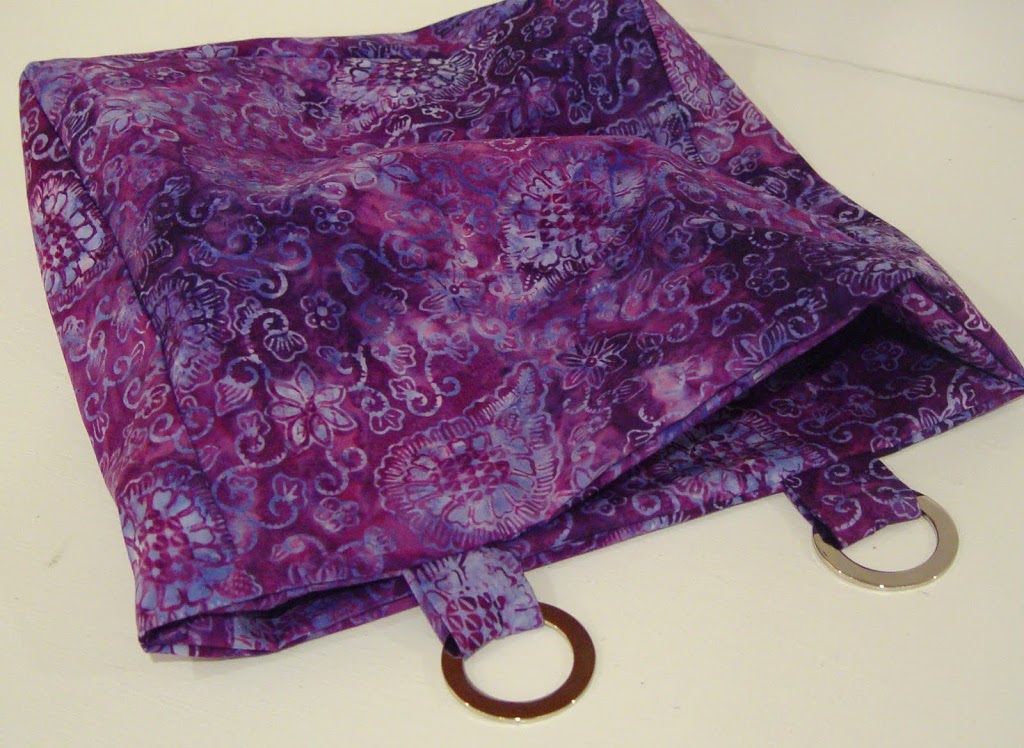
Iron the top edge flat and baste around the top edge of the bag close to the edge.
The handle:
Fold the handle in half, lengthwise, wrong sides together.
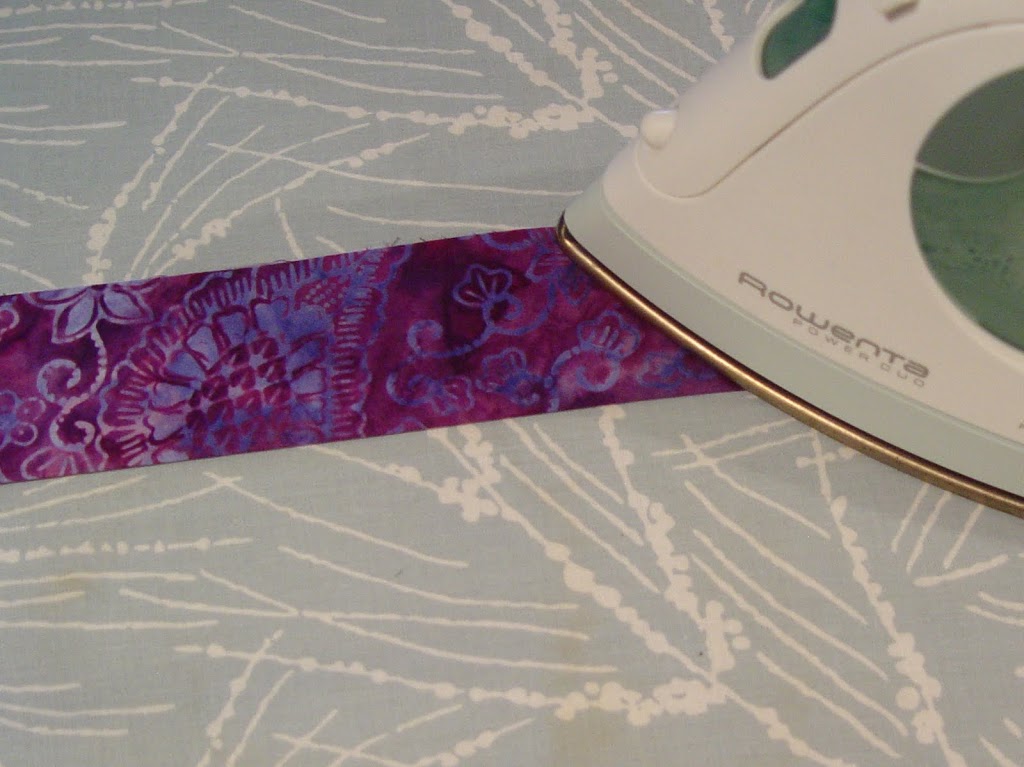
Open it up and fold both outer edges to the center fold line and iron again.
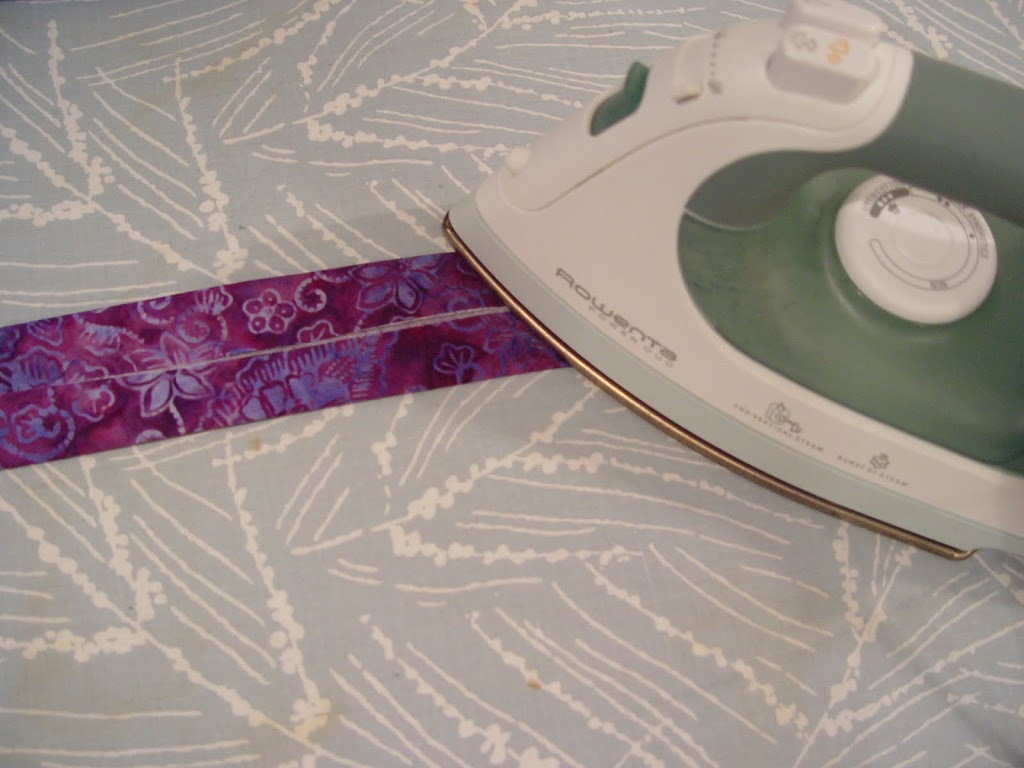
Fold in half again at original fold line and iron.
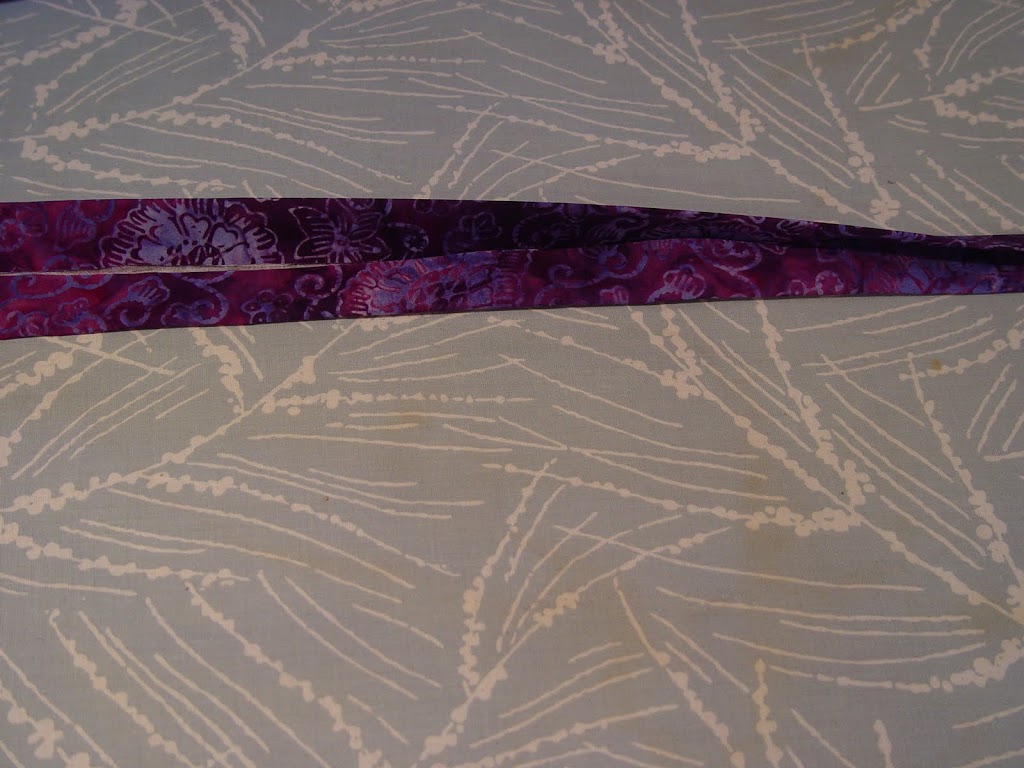
Sew down the side of the handle with a 1/8″ seam. Repeat sew line on the other side for symmetry.
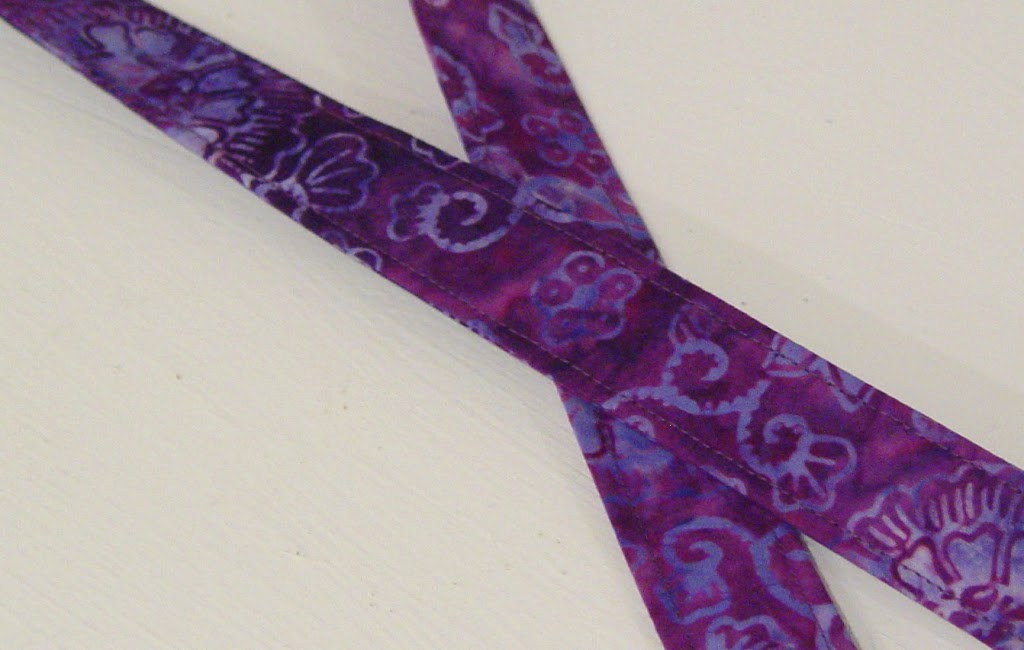
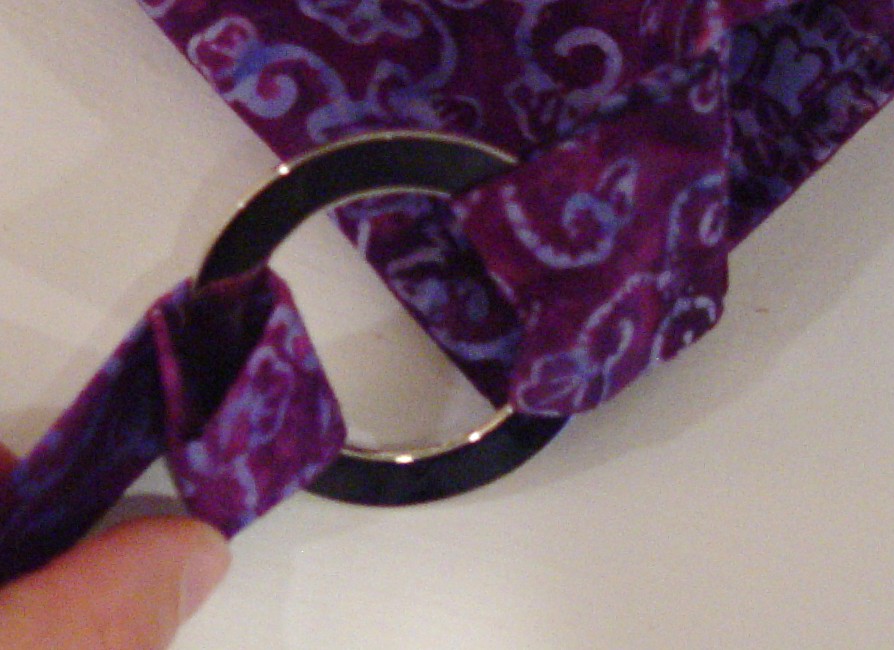
To attach the handle simply fold handle a couple of inches from the bottom and put it around the “O” ring. Fold the raw edge under again a little bit. Sew in place. Repeat for the other side making sure the strap isn’t twisted.
Stitch up your turning hole on the inside of the bag (by hand) and you’re done!
Finished bag measures: 13″ h x 12″ w x 3″ d
Now for the Giveaway!! I’m giving a lucky reader this purple S2 bag! Each person can enter up to two times (here’s the rules):
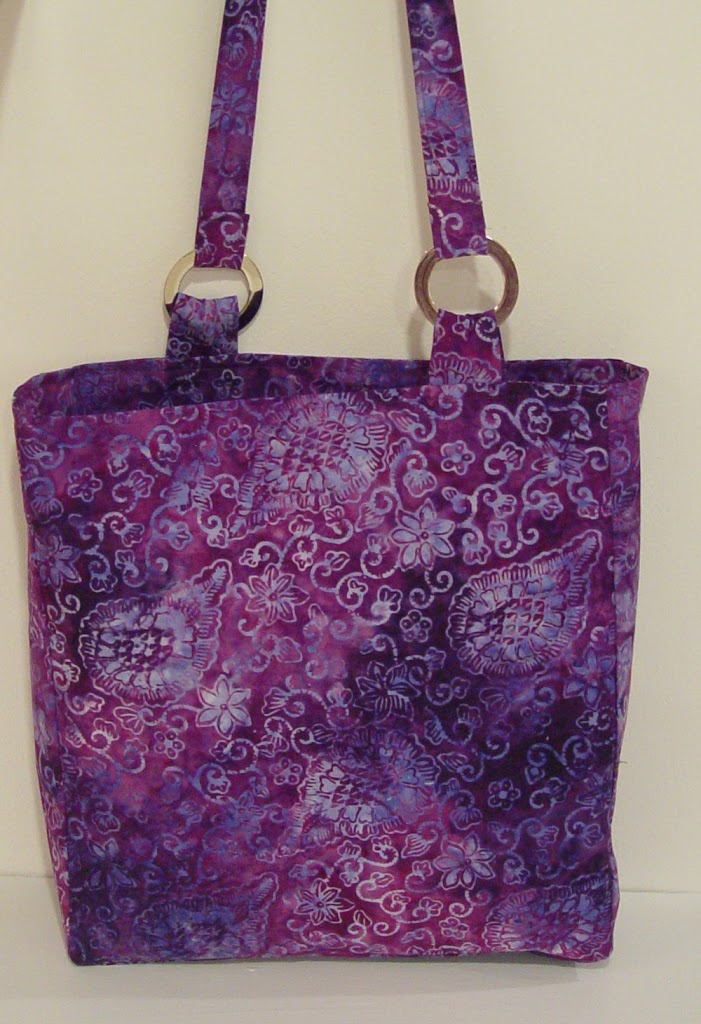
To enter simply leave a comment on this blog. To have a second chance, follow my blog and tell me you do in a second comment (whether through blogger or an RSS feed). Make sure you leave your email address! The giveaway ends Friday, August 27th at 10:00 pm CST.


I love the silver rings!! So pretty!
californiasunshine84@gmail.com
I’m a follower of your blog already 🙂
californiasunshine84@gmail.com
I like the one-strap design. Cute!
And I’m a follower, too! Contact me through my blog http://sewmanydreams.blogspot.com
cool idea! I’m definitely in!
Jess (madaboutpinkshop@gmail.com)
nad I’m a follower of course 🙂
What a great bag! love the fabric. Thanks for the tutorial!
just became a follower!
stampinlibrarygirl(at)yahoo.com
wonderful toot! the single handle is a great idea! debeart@gmail.com
Vanessa, I just found your blog from Craft Gossip and I am really impressed! I will be a loyal follower, as your designs are great.
Love the batik new bag tutorial also.
nettiecrain@live.com
What a neat bag… I would so love to win it. Thank you for the giveaway.
azbelle3@yahoo.com
I am also now a follower of your great blog.
azbelle3@yahoo.com
nice idea, I’m printing it to remind myself to make one. thanks for sharing
Wonderful Tutorial thanks…and a giveaway.
Billie
I’m following your blog.
Billie
bigmick@austin.rr.com
Oh! Oh! That purple bag is to die for! My favorite color. I love the one strap design too. Thanks for the great giveaway!
foreignquang at gmail dot com
Oh my goodness, I love the material you used. Sign me up for your give away.
Renee@reneebeads.com
I love the bags!
aazhenii@yahoo.com
I am a follower!:)
aazhenii@yahoo.com
I love your bag! Very pretty! What a neat strap too!
Following!
Laura(dot)Newsol(at)gmail(dot)com
Love the bag,definitely will try to make this!
shanleen2@yahoo.com
My dear, your color choices are the cats meow. Lov it!!. Really cute pattern to. Maybe I’ll add some dangley beadey things too. Hope I win, but good luck to all of you!
V. Love the bag. It is so cute and I am not a bag person.
Love the bag, and I would love to follow your blog!!
Love the bag, love the purple fabric!! I think that I can make one of these, thanks for sharing you are awesome!!
I am a follower and look forward to your posts!!
I love the single cross-over strap on this wonderful bag.
I subscribed to your RSS feed and look forward to your posts.
I love the tutorial – thanks for the chance to win such a great bag. I Love the color and the strap.
Colleen
butler83ataoldotcom
I am a new follower
Colleen
butler83ataoldotcom
this is such a cute bag! as a novice sewer, i see stuff like this and i just can’t wait to be able to do the same! thanks for the inspiration and motivation to keep going.
Love the purple bag!
I’m a follower.
Thank you so much for the tutorial. Its very well explained.
Kisses
Valéria
Love it!!
enter me please!
Loui♥
louiewindom@gmail.com
I LOVE, LOVE, LOVE purple or Lila as my daughter calls it (purple in german). I just have to enter!
nadja.czarnota@gmail.com
Thanks for the great tutorial! I made the bag, and linked back to your post on my blog:
http://craftyladylindsay.blogspot.com/2010/12/sunbeam-bag.html
I love it! Thanks!
Lindsay
I finally made myself a featured button – if you want to grab one from my sidebar:)
Again, you can find the post where I referenced your blog here:
http://craftyladylindsay.blogspot.com/2010/12/sunbeam-bag.html
Thanks!
Lindsay @ Diary of a Crafty Lady
I love this idea and especially the circle rings on the strap.