
Bubble Skirt + T-shirt = Bubble T dress
Hi everyone! Sorry I’ve been a little MIA, but my computer was taken over by hostageware! Ugh! Don’t know where I got it – I’m always so careful . . . well, apparently not enough. Goodbye Windows. . . Hello Linux!
Anyhow . . . on with the tutorial!
I made the first version of this little dress a while ago as part of a black and white challenge. I thought I’d share with you how I made it!

You’ll need:
a t-shirt or tank top
3 or 4 different quilting-wt fabrics (I used fat quarters for this skirt – if you’re child is older, you may need some yardage.) – we’ll get to how much you need in a second.
different colored jersey knit fabric for a sash (optional)
Some scraps of nylon netting
fabric for skirt lining (a piece of old bed sheet work great)
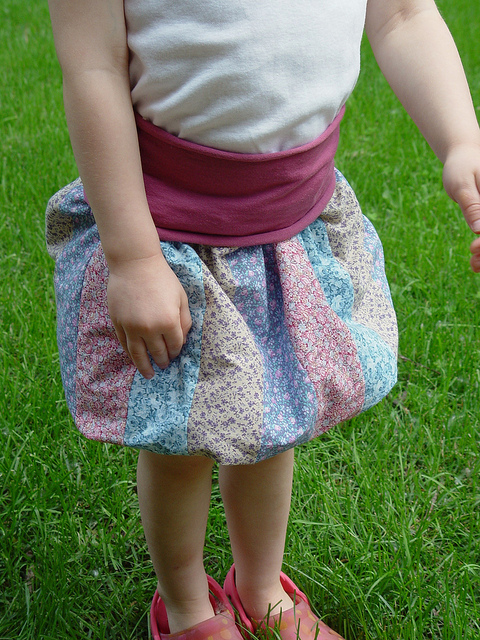
OK, so first you’ll need to lay out your t-shirt or tank top flat on the table and measure the width at the bottom. Multiply this number by 3. (For me, the size 3 t-shirt I had was roughly 11″ at the base, so multiplying by 3, I get 33″.) This is roughly the number of inches you want for your skirt diameter. Now hold that thought, we’ll come back to this.
For the length of the skirt part, measure your child from the waist to just above the knee. (For my daughter that’s about 9″.) Add 2″. (So 11″ for me.) This is the length of your outer skirt.
I chose four different fabrics for my outer skirt. I cut my sections in 3″ wide x 11″ long (11″ from the measurement above). To determine how many of these sections I needed, I subtracted my seam allowance (3/8″ for each side, so the final width of the sections will be 2.25″), so since I have four different fabrics (and I want the pattern to be consistent all the way around, i.e. A-B-C-D-A-B-C-D), I multiplied 2.25″ x 4 = 9″, so I have repeating sections of 9″.
OK, remember back above when we figured out our target diameter for the skirt (3 x the width of the base of your t-shirt — for me that’s 33″), well we want to find out how many 9″ sections we need to get to roughly 33″. So if we have four 9″ sections that’s 36″ – close enough. Now we’ll have a nice amount of fabric for our skirt to be gathered, and we have our pattern repeating without overlaps.
Hmm…. hope that makes sense. It’s actually pretty simple. Let me know if you have questions.
So I need to cut my skirt sections now. From the calculations above, for each fabric, I’ll need to cut 4 3″ x 11″ pieces.
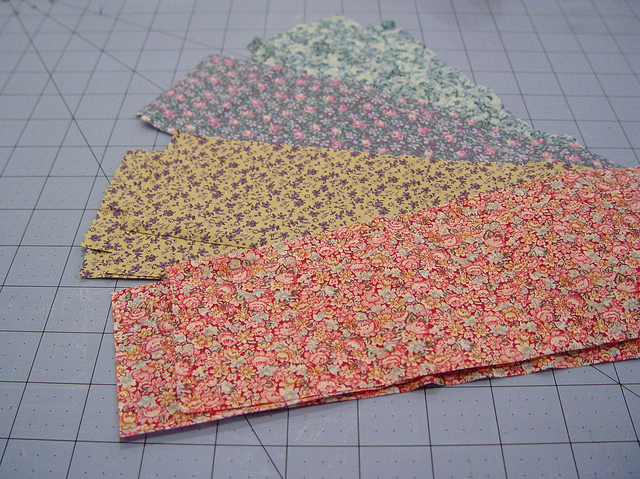
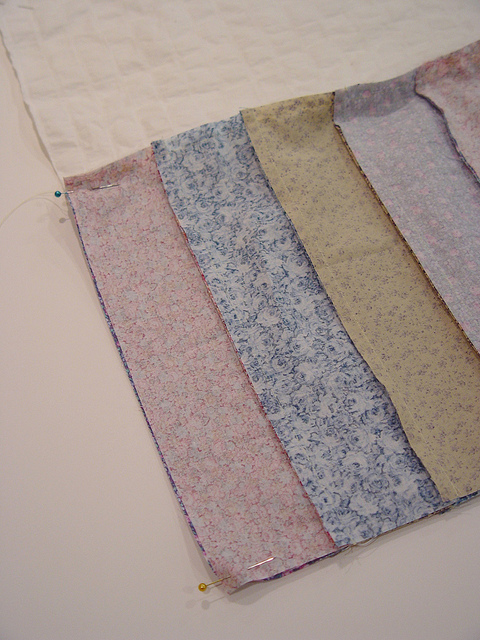
Sew them together in your pattern (A-B-C-D-A-B-C-D . . . ) with a 3/8″ seam allowance. Iron seams flat.
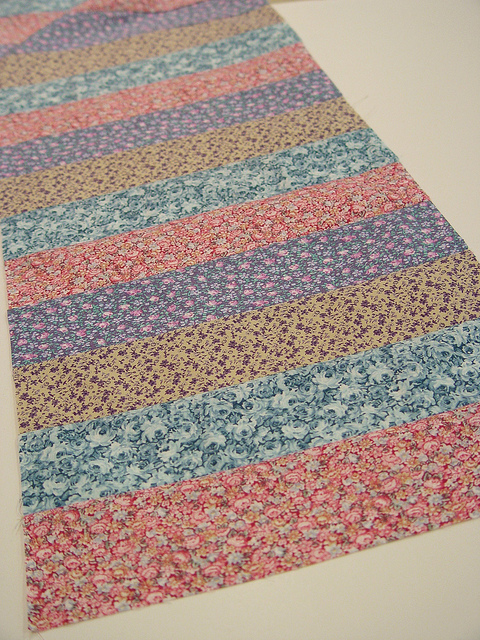
Cut your lining to be the same width as your strip piece (you just made above – 36″ for me) and cut it the same length as the measurement of the waist to the top of knee (9″ for me). So your lining piece is the same width as the patchwork piece, but 2″ shorter in length.
Sew the lining to the outer skirt piece (right sides together) along the bottom with a 3/8″ seam allowance.
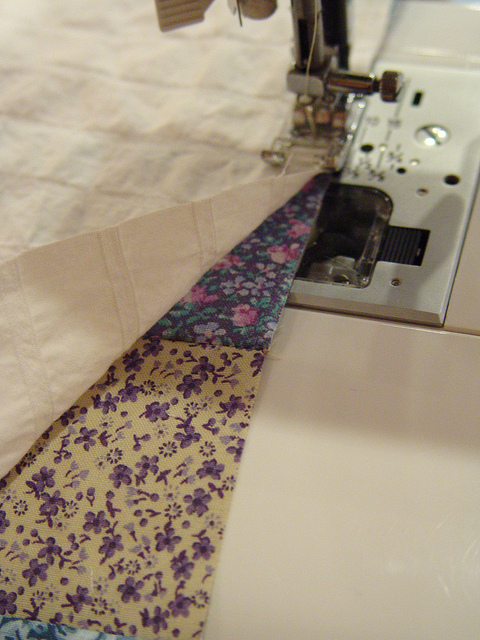
Open up the skirt and place lining to lining and patchwork to patchwork (right sides together) creating a large circle. Sew with a 3/8″ seam allowance.
Turn the skirt right side out, so that the wrong sides are together and the patchwork side is touching the lining.
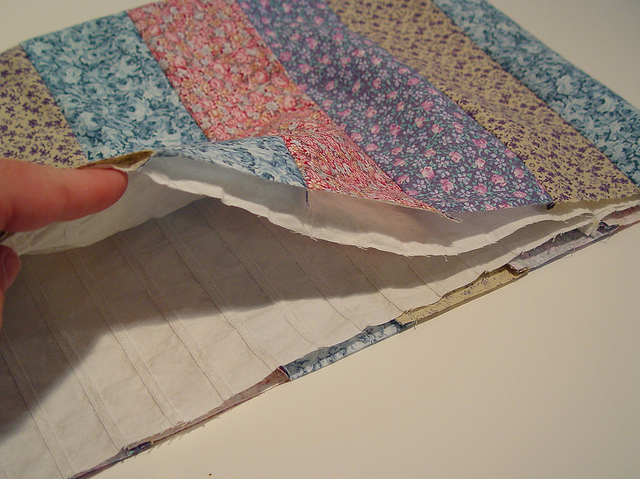
Grab some nylon netting and slightly stuff the bubble skirt so it has a little volume.
UPDATE: To prevent the netting from bunching up, sew it in a large circle so even if it shifts inside it won’t bunch up.
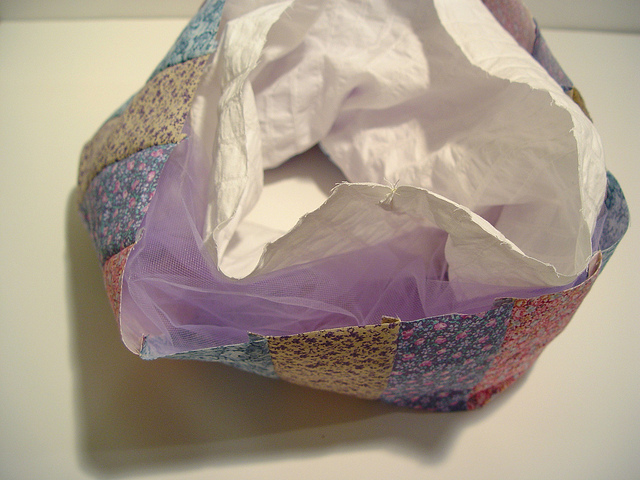
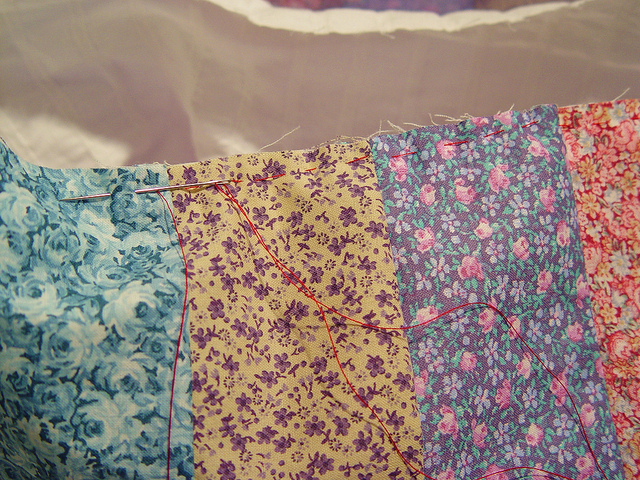
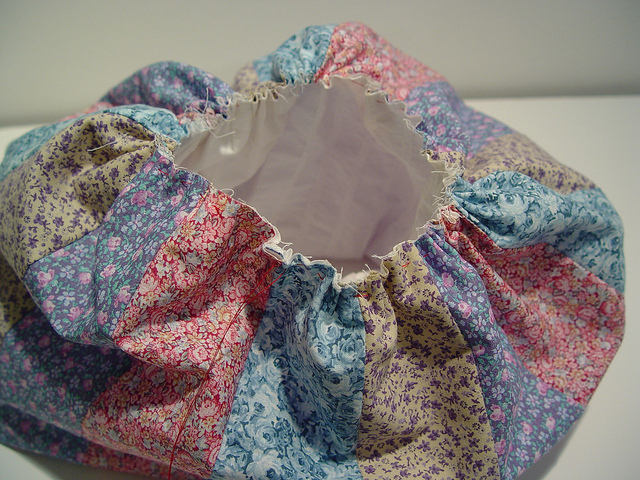
Gather the skirt (both layers together). I find that when I’m gathering two layers at once, it’s easier to do by hand than by machine.
Turn the skirt inside out and tuck the t-shirt inside, so that the right side of the t-shirt is touching the right-side of the skirt.
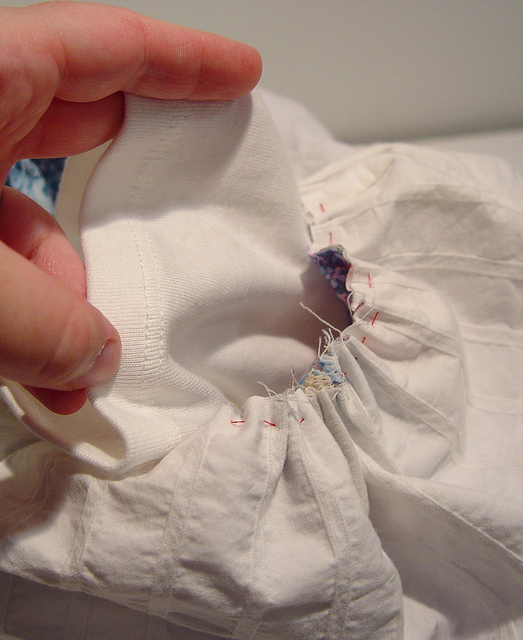
Pin in place.
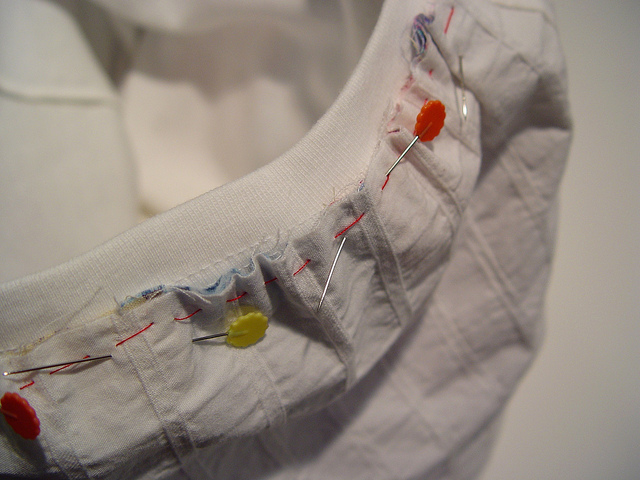
Sew around the skirt. Make sure to use a stitch with stretch (a small zig-zag stitch or straight stretch stitch works) or use your serger.
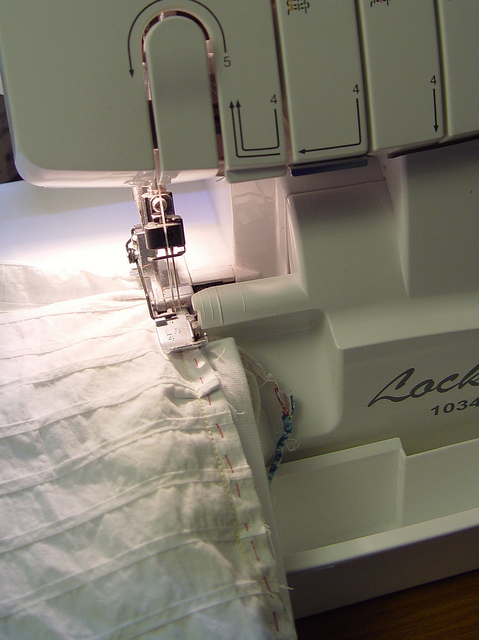
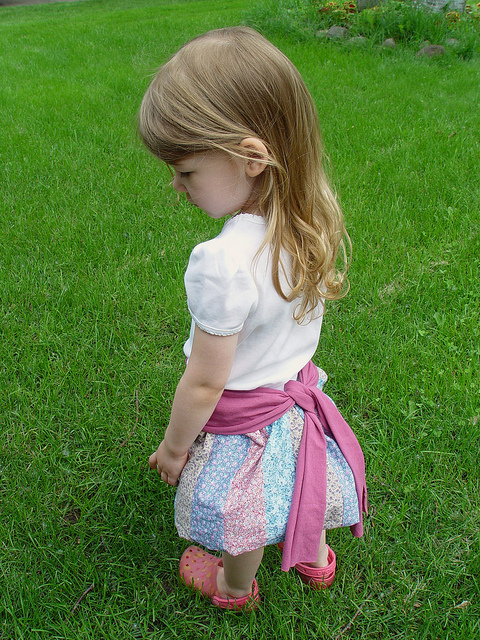
If you want to add a sash, cut a piece of jersey knit to tie around. I cut mine 6.5″ x 22″. No need to sew the edges, the jersey knit edges will roll a bit and won’t unravel.

Let me know if you have any questions! If you make one add a photo to the Punkin Pattern Group Flickr Pool. I’d love to see them!


This is a great pattern! I just wondered if there was any need to attach the tulle inside to make it stay put during the wash? Thanks!
Just a quick note to let you know that a link to this post will be placed on CraftCrave today [28 Jun 01:00am GMT]. Thanks, Maria