This is a re-post of a guest blog I did a couple months back — just in case you missed it!!
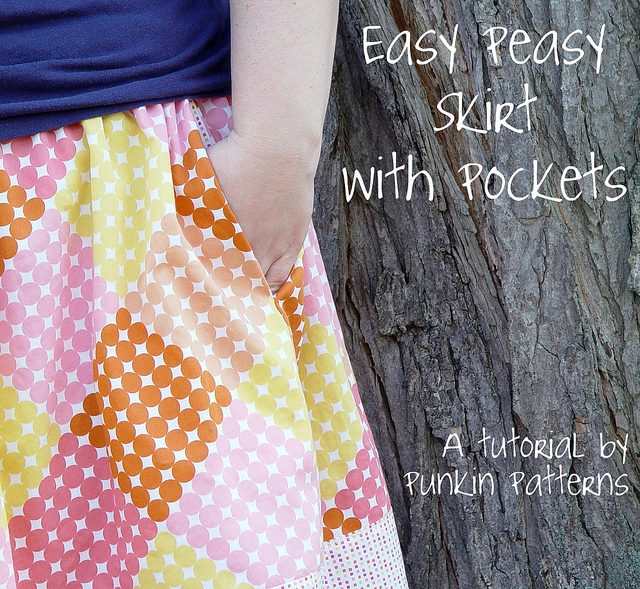
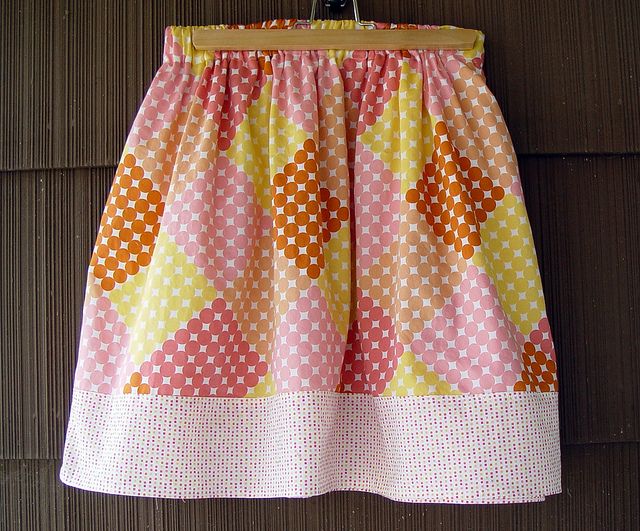
Spring is upon us and it’s time to make some skirts! Skirts can be an easy addition to your wardrobe and easy on the wallet too — especially if YOU make it. These skirts have great, deep pockets. So useful and practical. Every skirt should have pockets! The Easy Peasy Skirt with Pockets is simple enough for even the beginner sewer and a quick sew for a seasoned pro. The skirt I’ll be showing you how to make has a stripe at the bottom. For more variations on the Easy Peasy Skirt go here!
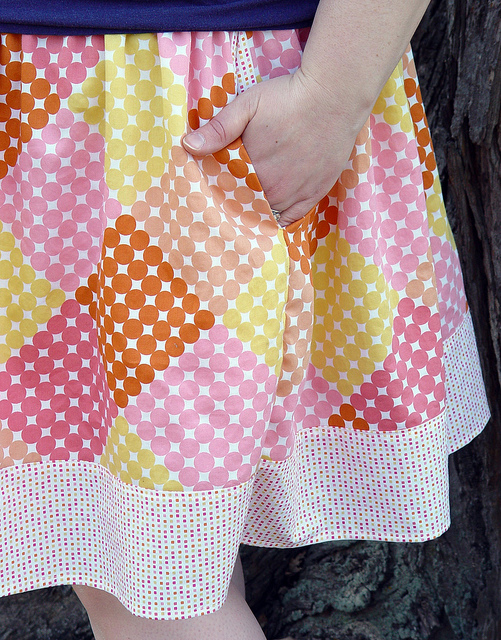
The first thing you’ll need is to measure your waist (we’ll call this W) and distance from your waist to where you want the skirt to fall (we’ll call this L). I wanted my skirt length to stop just below my knees so for me that was 20″.
So let’s determine the width of your skirt. If you want a full skirt you’ll need two pieces that are W x 2. For a less full skirt do W x 1.5. I made a full skirt. Once you’ve determined the width of your two fabric pieces let’s determine the length you’ll need to cut.
If you’re making a skirt out of a solid piece of fabric, you’ll just take your desired length measurement add 1/2″ for the bottom seam and 2.5″ for the elastic casing. This casing size is enough room for a 1.5″ wide elastic. If using a 1″ wide elastic, you’d only have to add 2″, and so on.
Because we’re adding pockets, we’ll be using two panels (a front piece and a back piece) to assemble our skirt. It is also useful to assemble it in two pieces if we’re making a skirt for someone other than a small child.
So our final dimensions for our two panels (for a full skirt) are:
Width = W ( + 1″)
Length = L + 3″
We add the one inche to the waist (W) measurement for seam allowances.
If you’re making a less full skirt, the width of each of your two panels would be:
Width = (W x 0.75) + 1″
If you want to add a 4″ stripe at the bottom, you’ll need to change your length measurement. So for the main fabric length we take off the stripe length and add still add our 2.5″ for the casing and 1/2″ for a seam allowance. To the stripe length, we add 1/2″ seam allowance (to sew it to the top piece) AND 1/2″ for hemming at the bottom.
Main Fabric Length = (L – 4″) + 3″
Stripe Fabric Length = 4″ + 1″ = 5″
So there you go:: You’ll need to cut two pieces of each the Main Fabric and Stripe Fabric.
Main:: Width = W + 1″
Length = (L – 4″) +3″
Stripe:: Width = W + 1″
Length = 5″
Now that you’ve got that cut out, you can cut out your pockets. Use the pocket template found here. (Note: If you’re using the pocket template for a child size skirt, scale it down before printing.) Cut out the two pieces and tape them together overlapping the shaded portions. Cut out two pockets on the folded fabric (so you end up with four pieces).
For your elastic piece, I like it a few inches shorter than the waist measurement. You can simply put the elastic around your waist and see what feels right. Allow for an inch of overlap on each end.
Now we can start sewing!
Lay down your main fabric top piece. Pin a pocket piece 5″ down from the top, right sides together (as shown). Sew in place with 1/2″ seam allowance. Zig-zag the edge next to the seam you just made. Repeat on the other side of the front panel. Then repeat for the back piece.
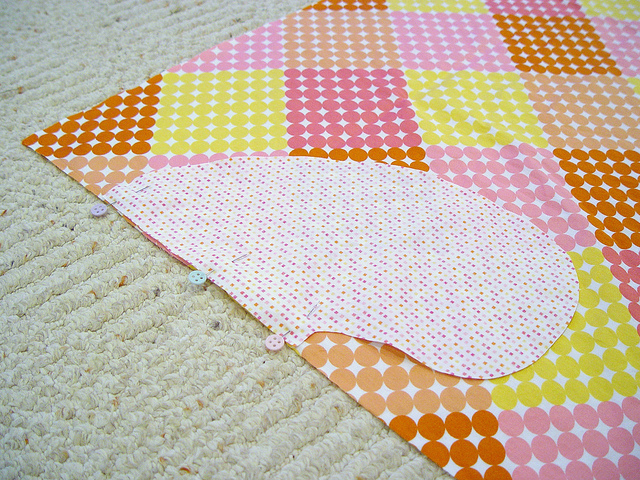
Iron the pocket flat. Now all right sides are facing up.
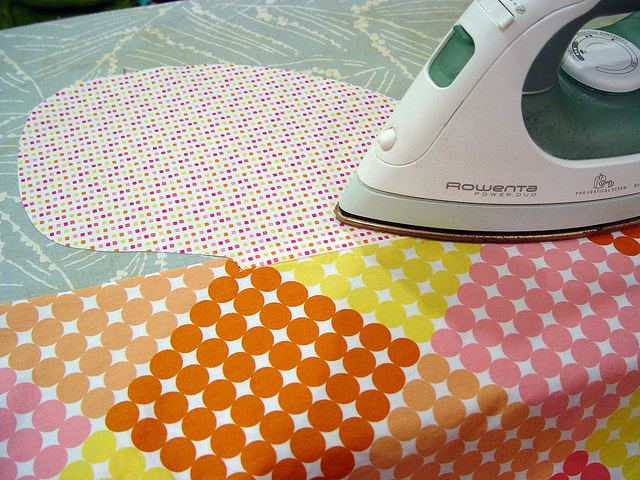
Pin the bottom stripe to the bottom of the main piece, right sides together. Sew with a 1/2″ seam allowance and then zig-zag or serge the raw edge.
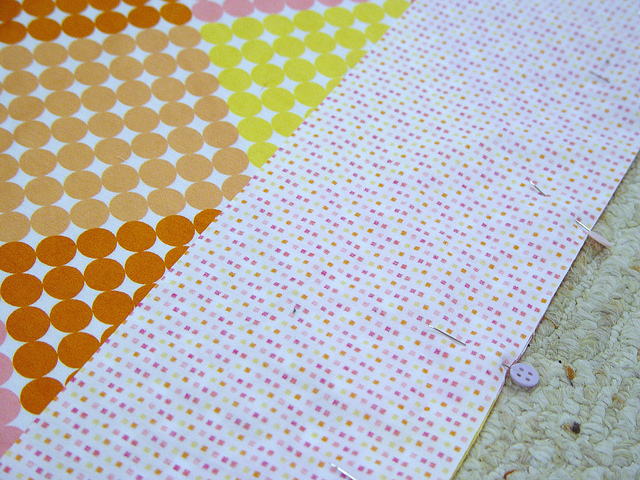
Fold the finished edge toward the bottom stripe and iron flat.
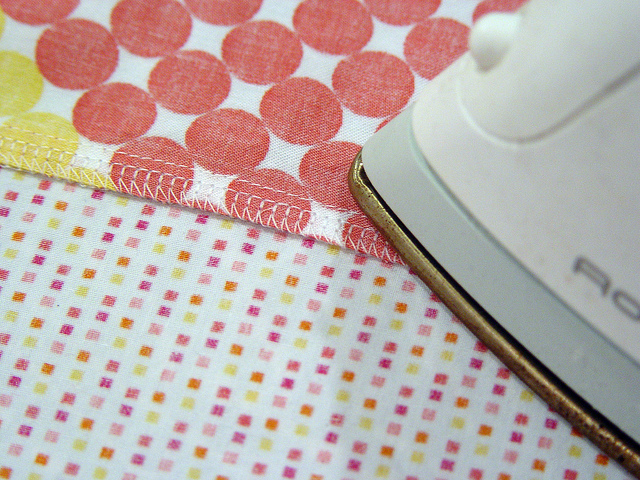
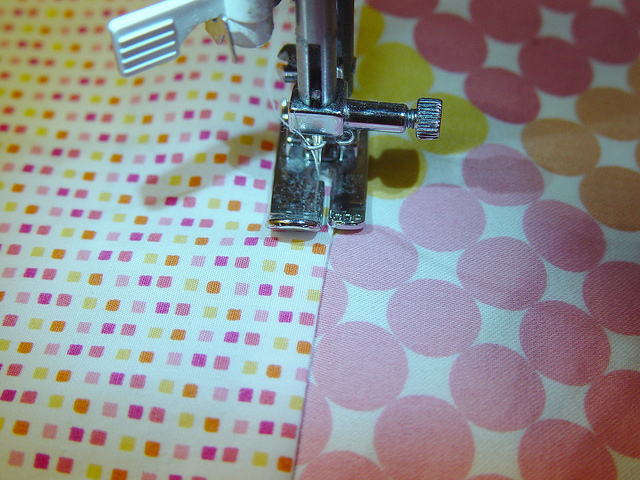
Top stitch this down to keep it flat.
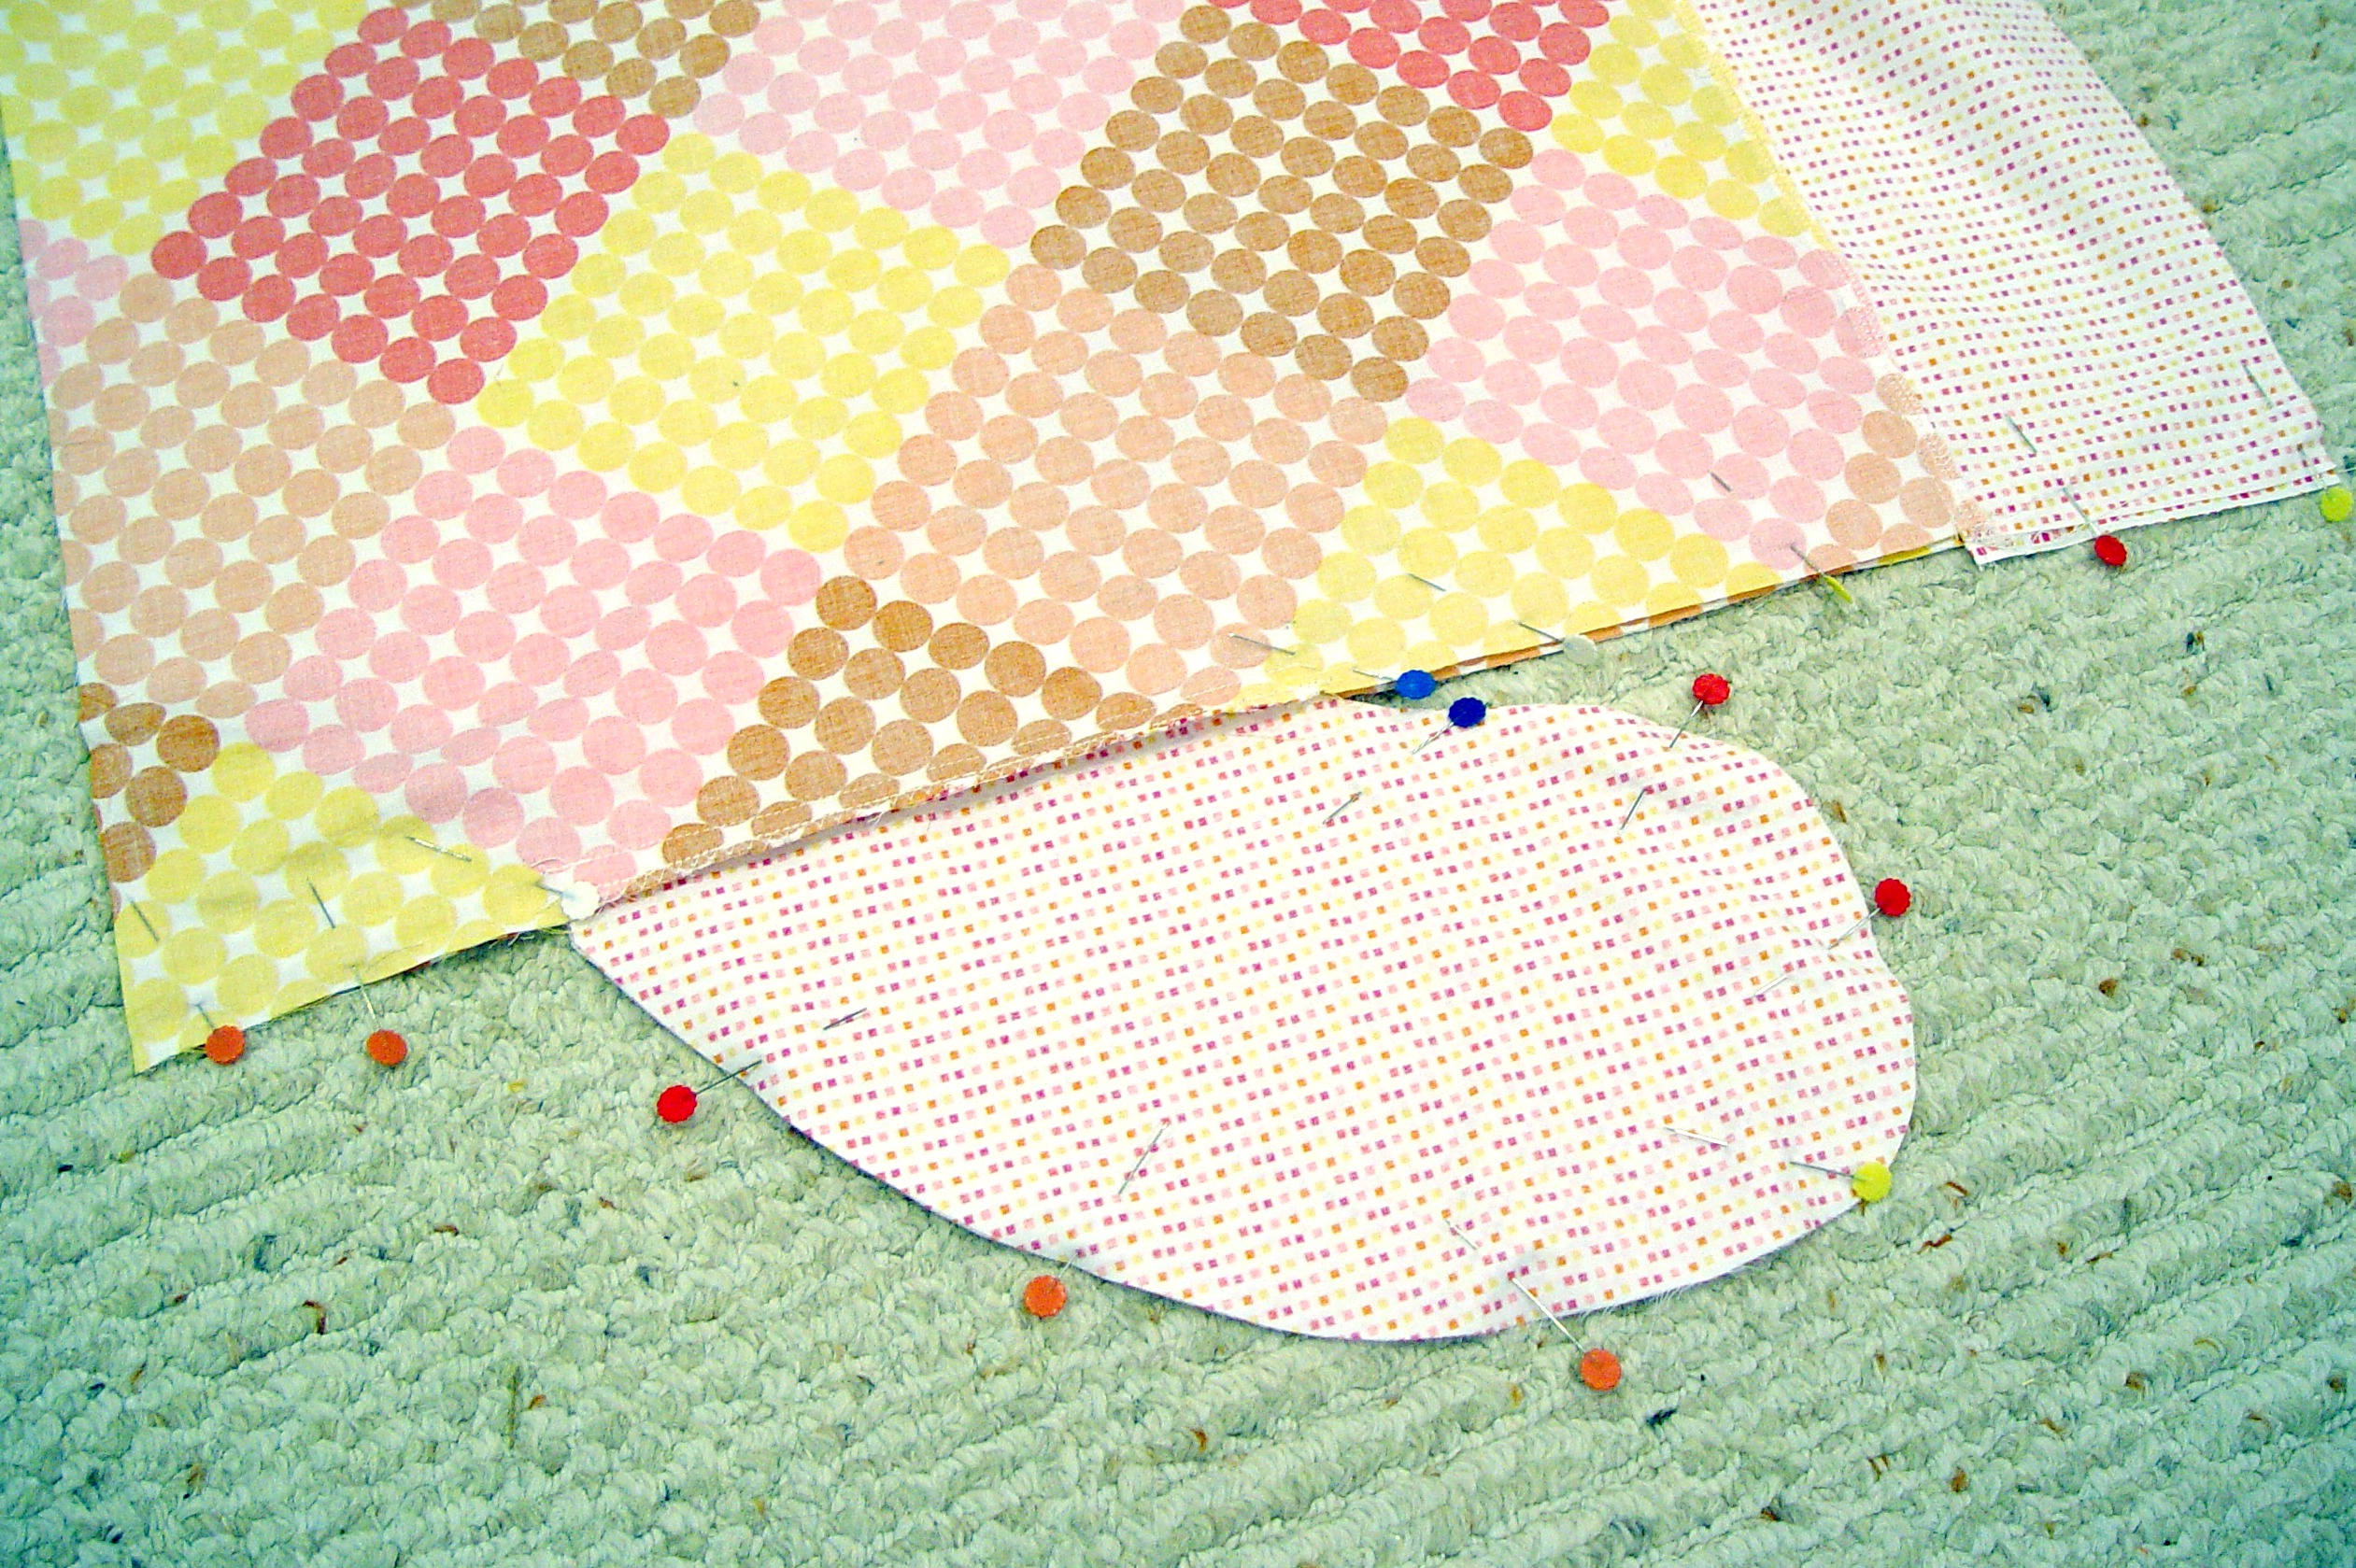
Place the bottom and top pieces together, right sides together. Pin the sides together, going around the edges of the pocket too. Sew down the side of the skirt, going around the pocket outer edge and continue to the bottom. Finish the raw edge with a zig-zag or use a serger. Repeat on the other side.
Hemming the bottom edge by folding the raw edge at the bottom of the skirt up 1/4″. Press. Fold up an additional 1/4″ and press. Pin in place and sew in place with a seam close to the upper edge of the fold.
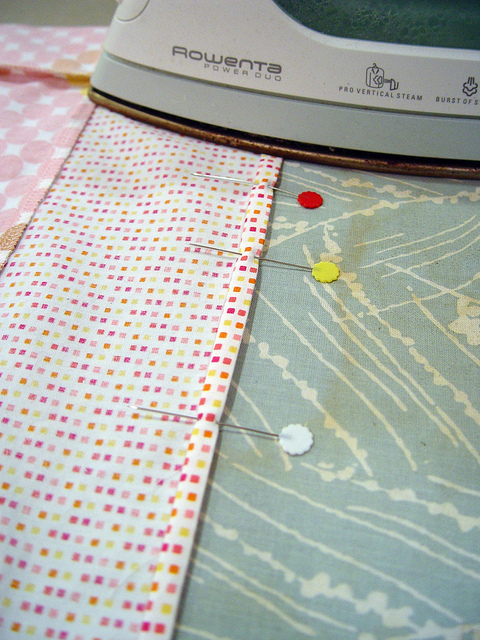
Now let’s finish the top. To make the casing for your elastic, fold down the top edge 2.5″ and iron in place. Fold the raw edge under 1/2″ and iron. Pin in place.
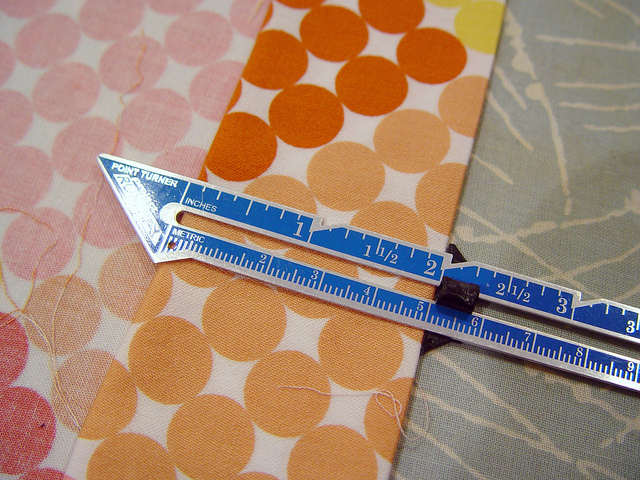
Sew around 1/4″ from the bottom of the folded edge leaving an opening of about 3 or 4 inches unstitched. Place a safety pin at one end of the elastic and start feeding it through the hole you left in the casing. Place a safety pin at one end of the elastic and start feeding it through the hole you left in the casing.
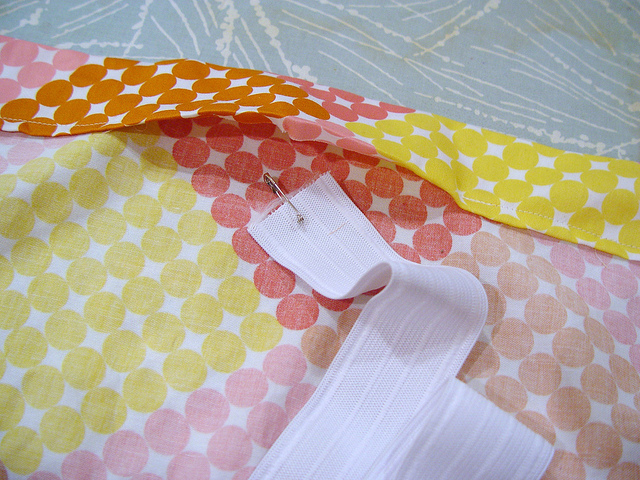
When you’ve gotten the elastic all the way through the casing, pin the two ends of the elastic together with a 1″ overlap and sew in place.
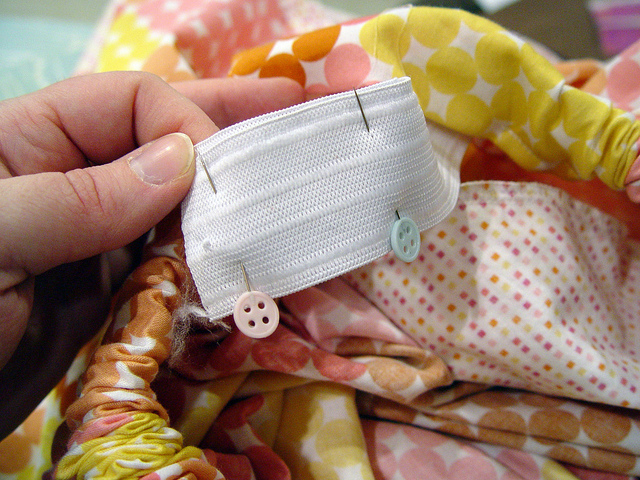
Tuck the elastic into the casing and sew up the opening. And you’re done!


What little girl wouldn’t love this skirt to couple with any color T-shirt in the summer? BTW love the name of yhour blog. PUNKIN. My mom-in-law calls pumpkins punkins and I would buy her a pumpkin every Halloween just to hear the way she pronounced it:D
Hi,Love the skirt! I had a few questions. This would be the first time I am sewing anything. So, bear with me if I ask stupid ones. I would like to add a lining(that slip like thing some skirts have) beneath the skirt…how do i go about that? and what measurements should i use? and i want the skirt to be maxi length…so i just cut my fabric to the length i want. There is no other change in the measurements because of that right?
I love these! As soon as I get my hands on the loaner swieng machine I’m hoping to get, this will be my first project! although i doubt it will come out nearly as nice as yours thanks for the idea, Sonya!