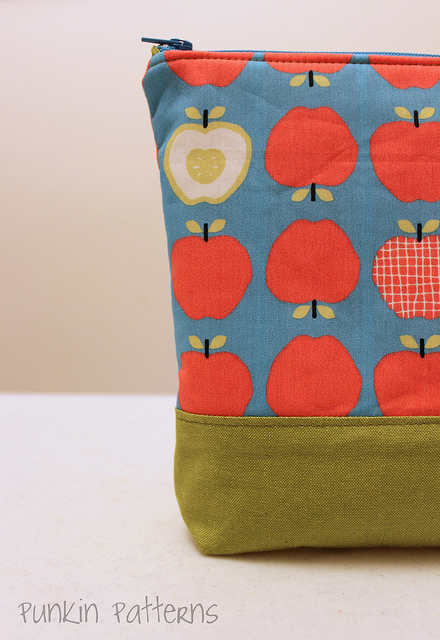
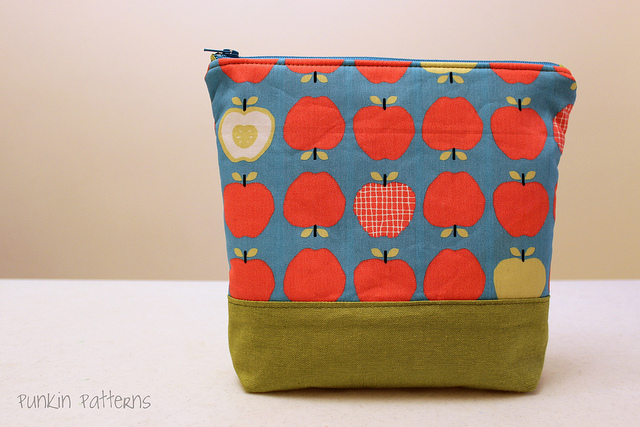
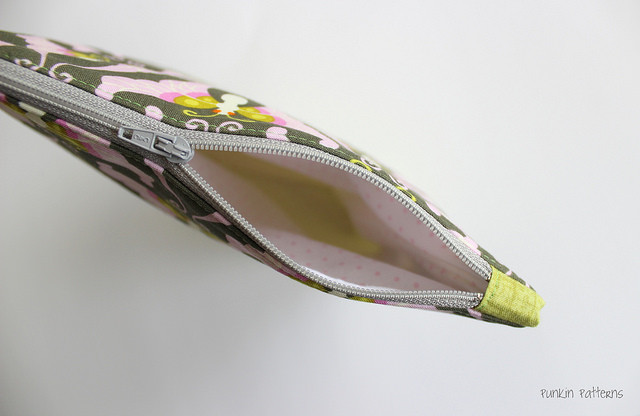
Zippered pouches are really easy to make and once you start, you’ll see so many possibilities (and you won’t be able to stop making them). This tutorial shows how to make a simple lined zippered pouch with a boxed bottom. There’s a contrasting stripe at the bottom.
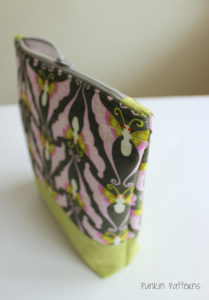
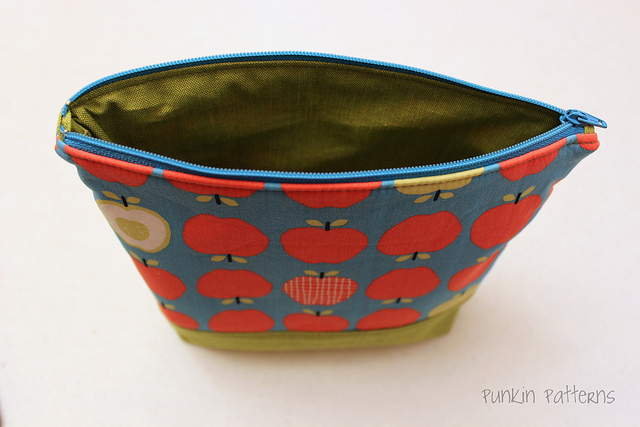
This little zippered pouch I made up for my son’s teacher as an end-of-school year present. I loved the apple print is Mixed Apples from Taali by Monaluna for this and the green is a cross-weave woven fabric from Moda in Wasabi (love the name of that color). It’s my newest favorite green (so you’ll be seeing more of it).
UPDATE:: I’ve made a few minor changes to the zipper instructions to help you get perfect zipper ends and changed a few photos.
So to make this pouch, you’ll need two fat quarters, a nine inch zipper and some interfacing or fleece. I used fusible fleece for my lining.
Cut the main fabric (top) into two 10″w x 6.5″h pieces. Cut the bottom fabric into two 10″ x 10″ pieces, two 10″ x 4.5″ pieces, and two 2.5″ x 1.5″ pieces. If you’re adding lining like interfacing (to give it strength and keep it’s shape) or fusible fleece (which will give it a softer feel and some shape), cut two pieces 9.5″ x 9.5″.
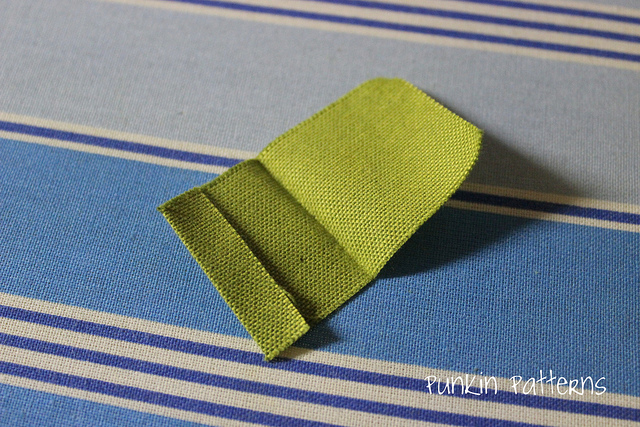
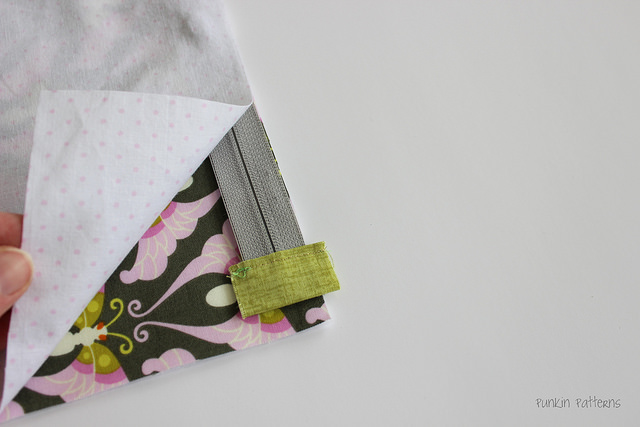
Take your 2.5″ x 1.5″ pieces and fold in half (making it 1.25″ x 1.5″) and iron. Open and fold raw edge in 1/4″. (Repeat for the other side).
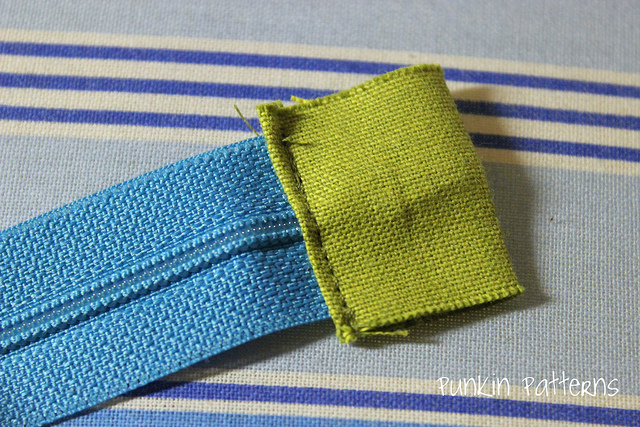
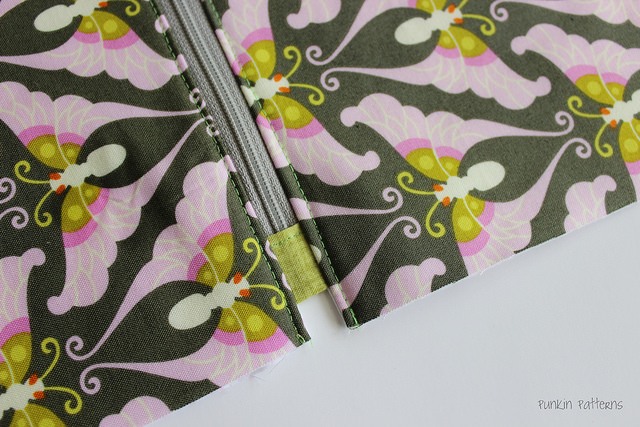
Insert the top end of the zipper into your fabric tab. Fold the edge of the tab over the top. Stitch in place.
You may need to pin this in place before you move the zipper pull back out of the way to ensure it will close properly when you’re done sewing.
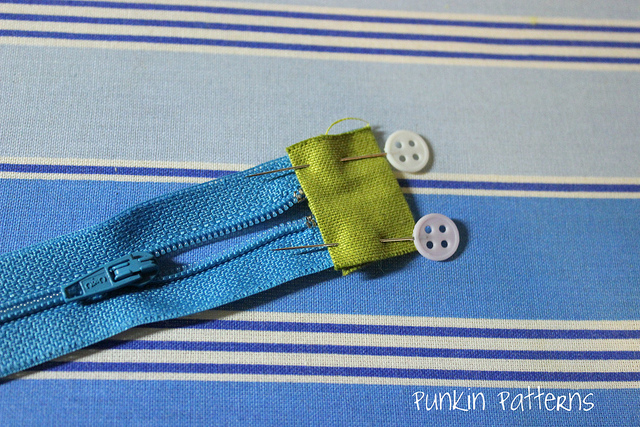
Trim your zipper to 9″ (total length). Even if you are using a zipper that was marked 9″, the total length (including the ends) is longer than that. Trim so the total length is 9″.
Place the trimmed end of the zipper into the other tab, all the way to the fold of the tab. Sew in place. Set aside. With the tabs on your zipper, the total length should be 9″.
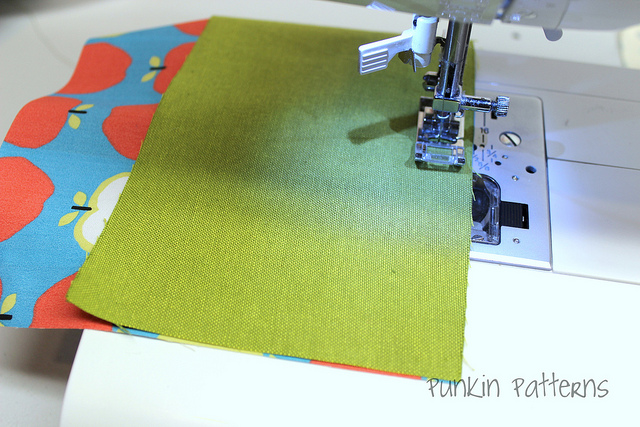
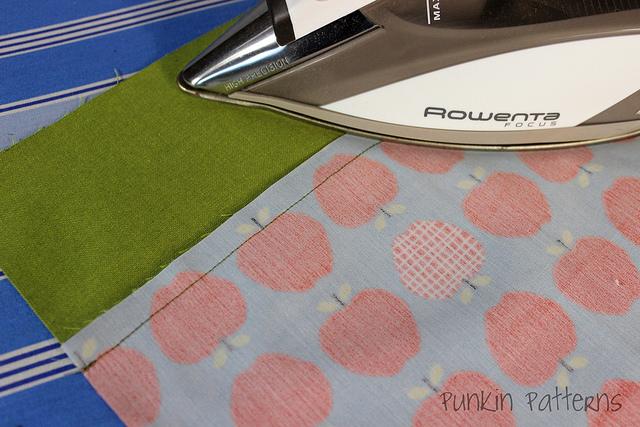
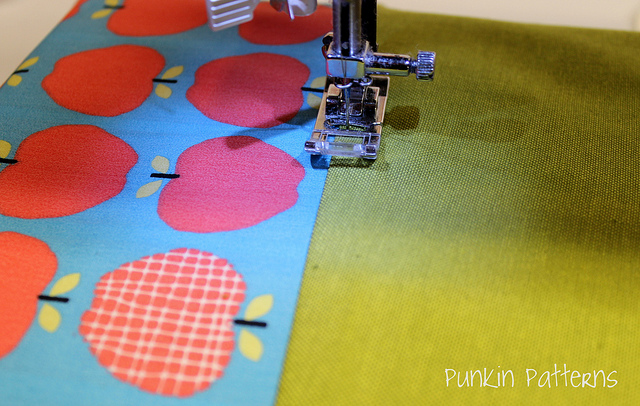
Add interfacing to the wrong side of the outside pieces of the pouch. They are slightly smaller than the side. Make sure they are centered.
Sandwich the exterior piece (right side up), the zipper (teeth down) and the lining (right side down). Make sure the zipper is centered so there is 1/2″ of space at each end.
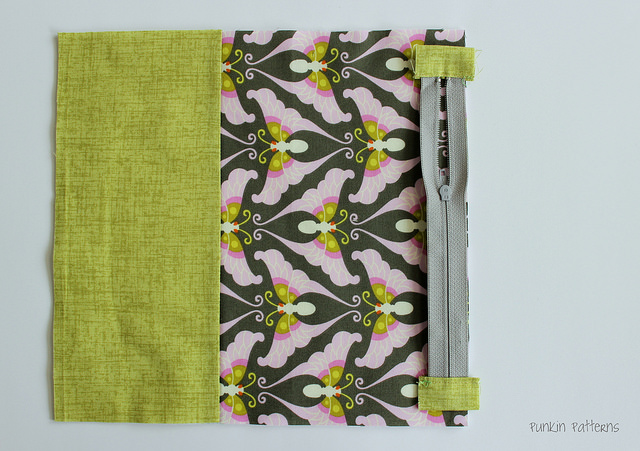
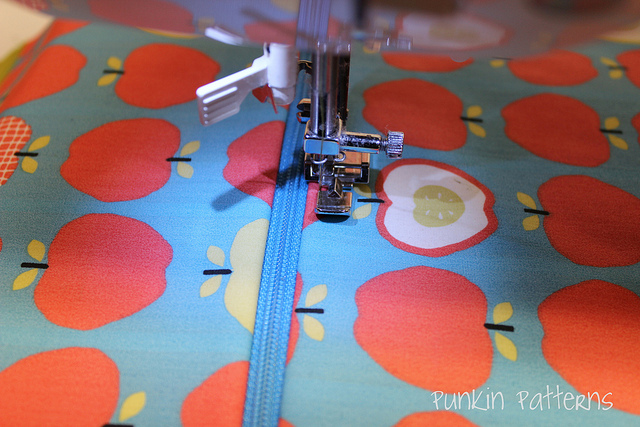
Pin in place and sew with a zipper foot.
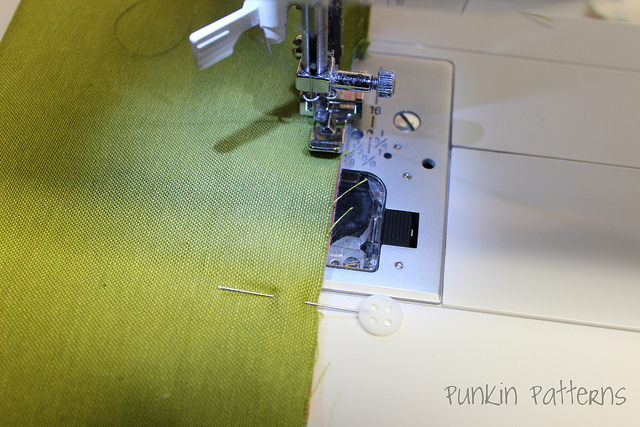
When you close to the end, stop with the needle down, lift the pressure foot and pull the zipper pull under the pressure foot and back out of the way so you can finish sewing in the zipper.
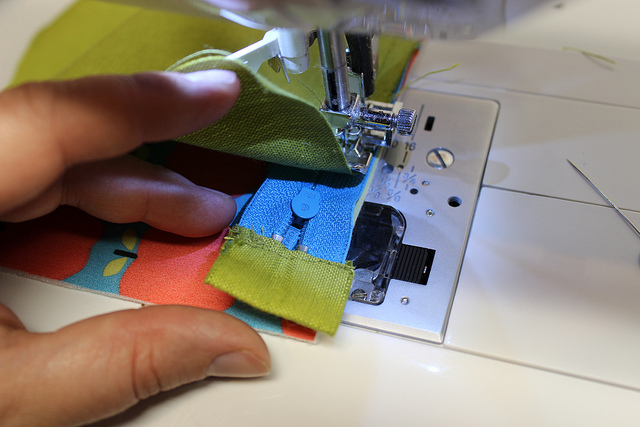
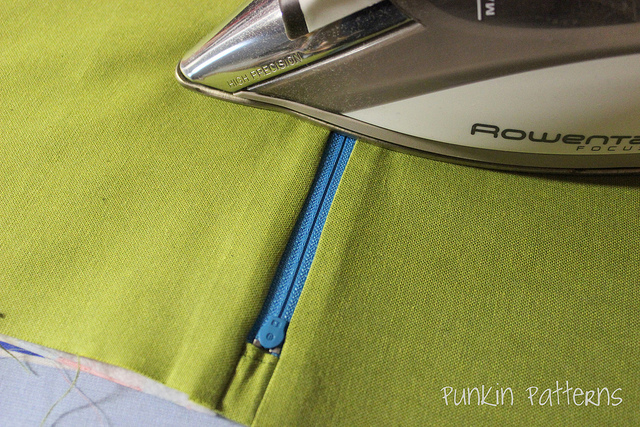
Press the lining and the exterior away from the zipper to expose it. Repeat the process for the other side.
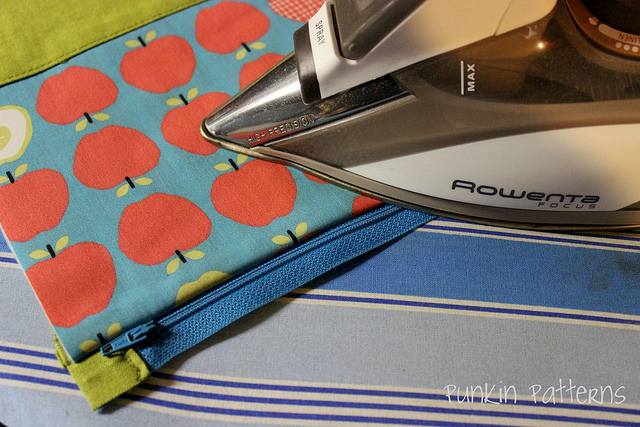
Press fabric again (from the back also) to make sure it’s out of the way of the zipper. Make sure your iron isn’t too hot for this step or you can melt the zipper (if you’re using a plastic one).
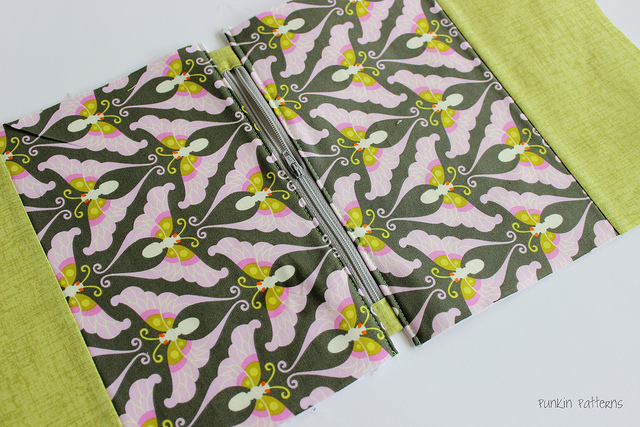
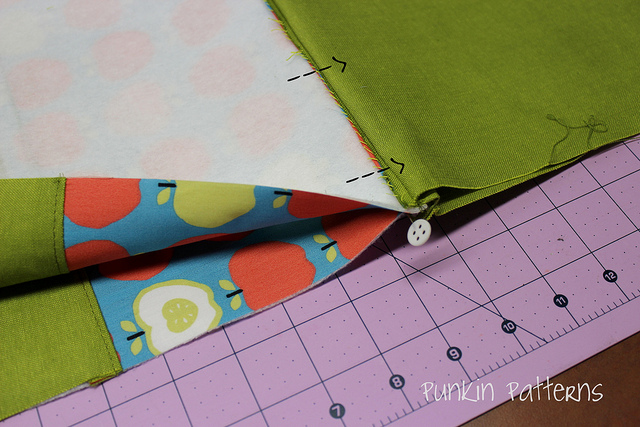
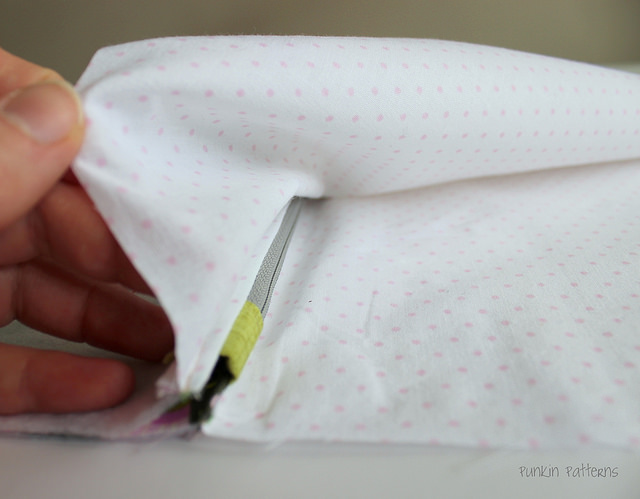
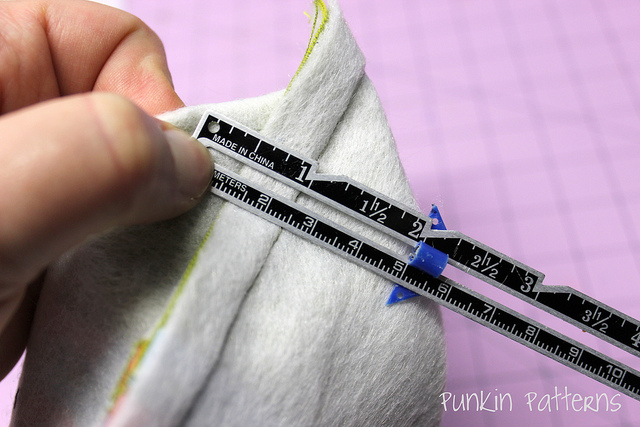
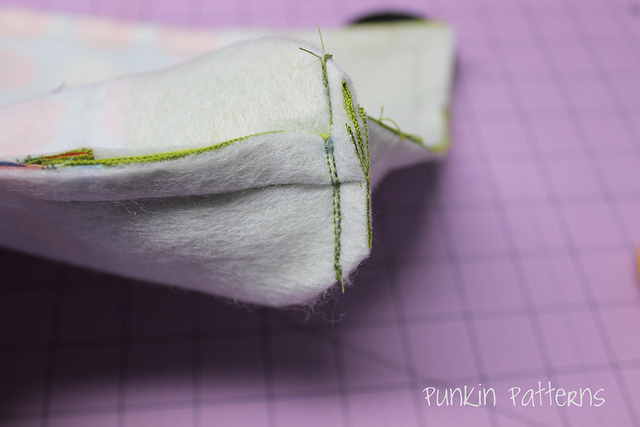
Turn the pouch right side out, keeping the lining out.
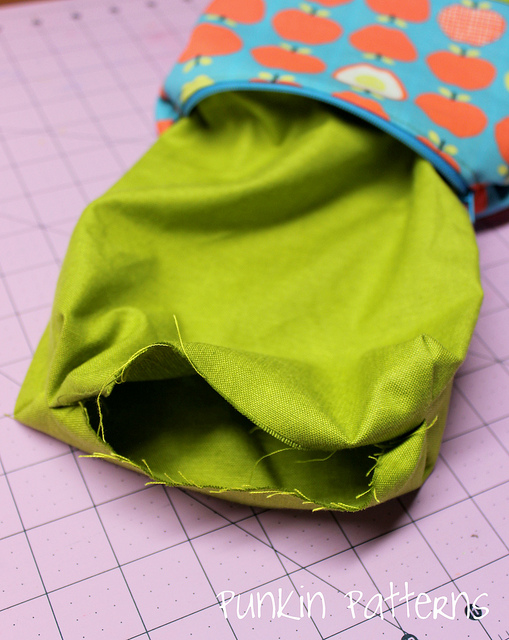
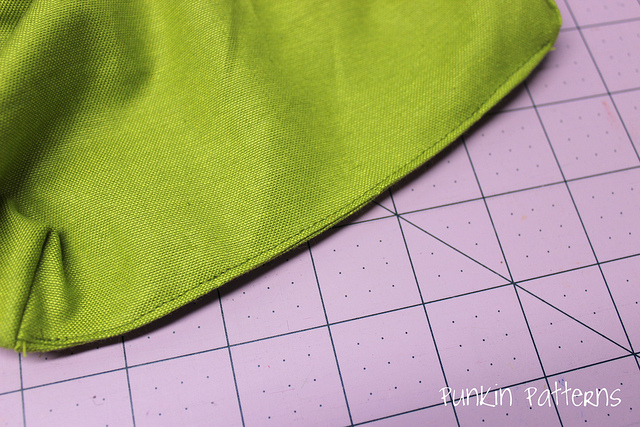
Tuck the raw edges of the lining in and sew close to the edge with your machine (or you can stitch it up by hand to hide the stitches). Tuck the lining into your pouch and you’re done.
Happy Sewing!
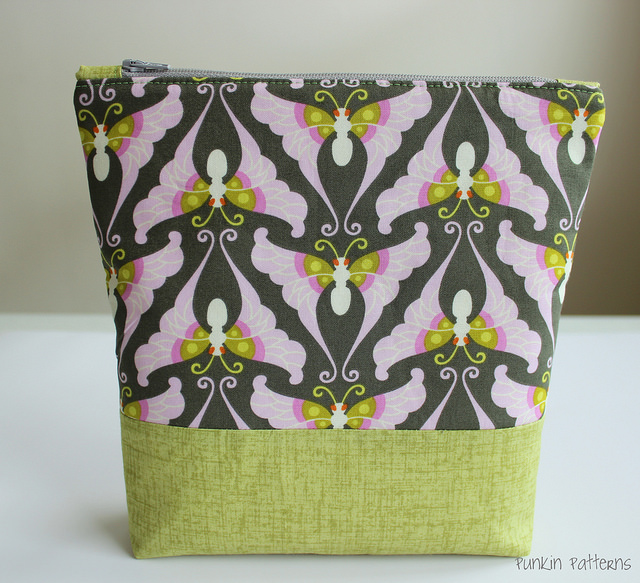


Wasabi, what a great name!! I love the contrasting stripe at the bottom. I am definitely going to make one of these. Thanks so much for sharing the tutorial 🙂
i love this zipper pouch so much! that wasabi is killer! so i’m trying one right now and i’m stuck on the zipper step-my tabs seem to overhang on the edges by 1/2’on either side of the bag pieces-is that going to matter? i’ve checked and double checked measurements and i don’t see what i could have done differently? any thoughts? thanks!
thank you for the tutorial. I am looking for easy gifts for Christmas.
what were the 10 by 10 pieces of the second fabric for ?
These are wonderful and thanks for all the detailed pictures, it will really help when I go to put one of these together myself. Love the fabric choices.
Hi, I have just finished my wasabi make up bag and am so so happy with how it turned out, I added a bit of ric rac and a button for just fun, thanx for tutorial with great pictures
Finally! I found it! A great tutorial on how to make PERFECT zipper tabs! My Niece LOVES the bag I made her (me too)! Thanks! I’m a newbie blogger (and sewer) but, I did manage to post a pic of the bag. 🙂
Wonderful !!!! thank u for the great job doing and picturing ( i would say) the zippered bags
Looking for the finished measurements of the make up bag. Thank you!
The bag is approximately 9″ high, 2″ deep at the base, and 9″ wide.
Thank you! Going to try and take a little off the width and turn it into a sling purse for my mom. Thanks for sharing your great tutorial!!!
I will be making a few of these I’m sure. Your instructions are easy to follow, thank you.